Onion kulcha recipe over stove top, an easy variation. Learn how to make a perfect one with tips and tricks. Full video, step by step photos.
As I mentioned in my last post, I tried onion kulcha too. But could not finish shooting the video as well as photos. So I thought I will save it for some other time. However, after finishing some videos for Instant pot, I could not decide in what to post next . As a result, the half shot videos helped me today. I made Aloo gobi gravy and onion kulcha for lunch as Aj is in his holidays.
Without doubt, he enjoyed the lunch as he too loves North Indian for lunch. When I tried onion kulcha last time, in-spite of how fine I chopped, I could not roll it thin and properly. Especially, it was not the same as we tasted in the restaurant. In fact Aj told, it was like rava dosa flavour. What I noticed in the restaurant was it was white without any addition in it. No coriander, not kalonji seeds or chilli. Just a very little onion.

Video
Is video more your thing?
Here’s a quick video on how to prepare onion kulcha at home.
For that reason, I wanted to try with yellow onion/ white onion and did the same. Also I made sure I did not over stuff the kulcha with lots of onion. Just 1 tbsp per kulcha was perfect. In addition, I want to try a dash of onion powder as I felt it will give a deep flavor to the kulcha without over stuffing the onion. Equally important, I used a food processor to finely chop onion.
I have shared both ways, as we had in restaurant as well as the stuffed version. You can adapt whichever way you like it. The base of the recipe is same as my first kulcha post I posted back in 2014.
How to make perfect onion Kulcha?
I used 1 cup of all purpose flour and 1 cup of wheat flour (atta). You can choose to use either one of it too, fully. Add baking soda and baking powder along with salt, sugar, curd and milk. Use water as needed to make a soft dough. Knead the dough well for 10 mins. Give one hour resting time which improves softness.
Use a food processor for best results. Because this gives the required soft texture of onion that blends well with onion kulcha. Otherwise, if not chopped finely, it is too crunchy and over power in the kulcha. Also I recommend using white or yellow onion for the looks sake.
Use lots of maida (APF) for dusting while rolling if sticky. Always roll gently after you include onion. But I love to keep it simple and fully have it in onion flavor. But kalonji seeds doesnot alter the flavor much, so I added in stuffed version.
Last but not least, apply water to one side and place the water applied side to hot pan. This gives nice browning and Since onion is there, I prefer cooking in tawa itself.
VARIATIONS
Using kalonji, coriander leaves or green chilli is your choice. Stuffing or just studding externally, it’s also your own choice. Also you can cook over tawa itself after flipping or directly cook in flame as we do for phulkas.
STORAGE/ SHELF LIFE
As soon as you smear butter, keep it either in a hot pack (casserole) or in a basket lined with cotton towel.
RELATED POSTS
GOES WELL WITH

Onion kulcha
Equipments (Amazon Affiliate links)
Ingredients
- 1 cup Wheat flour
- 1 Cup All purpose flour
- 1/2 tsp Baking powder
- 1/4 tsp Baking soda
- 1 tbsp Curd/ Yogurt
- 1 tsp Salt
- 1/2 tsp Sugar
- 1 White/ Yellow onion finely chopped
- As needed
- Oil as needed
- Butter to Smear
Instructions
-
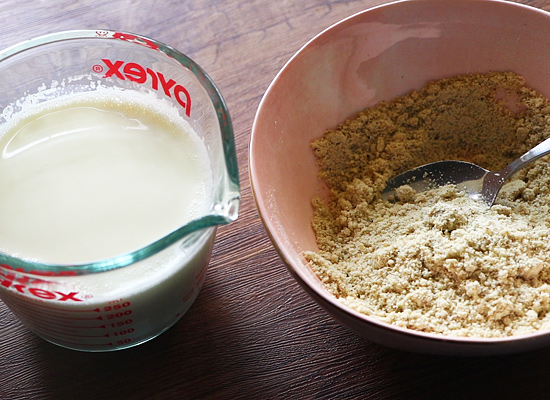
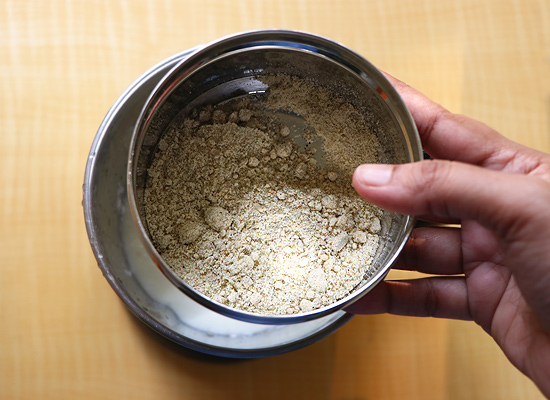
Firstly, take all purpose flour, wheat flour, baking powder, baking soda, salt and sugar in a mixing bowl. Mix well.
-
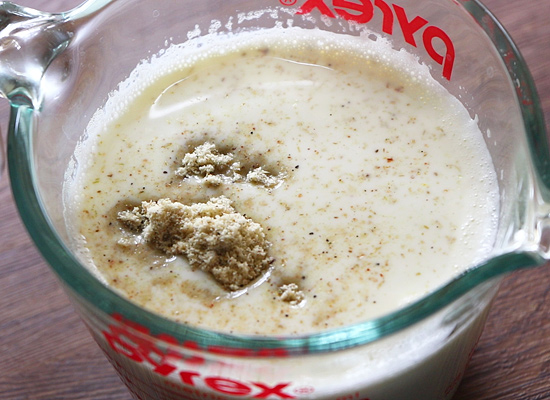
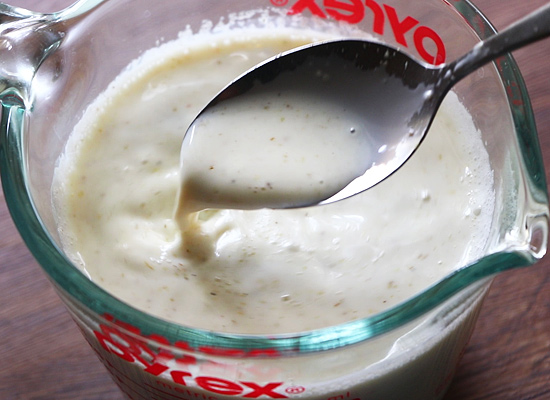
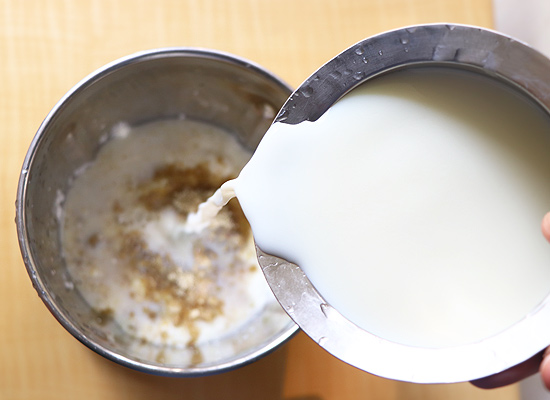
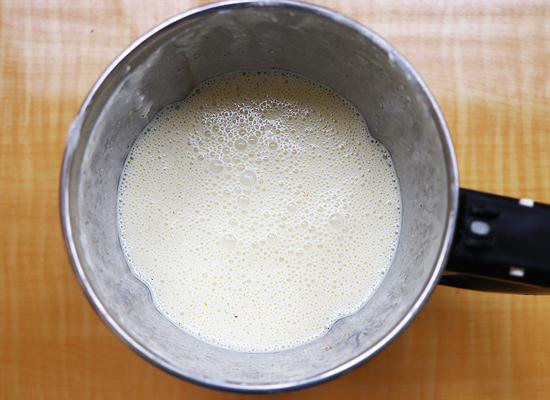
Add milk, curd and required water as needed little by little and make a non sticky dough.
-
Knead well for 10 mins and keep aside for 1 hour. Smear a little oil over the surface.
-
I used my bread machine for kneading but you can do it in hands.
-
After that, knead again to smooth and divide into 9-10 equal sized balls.
-
Chop onion very finely using a food processor or with your knife.
-
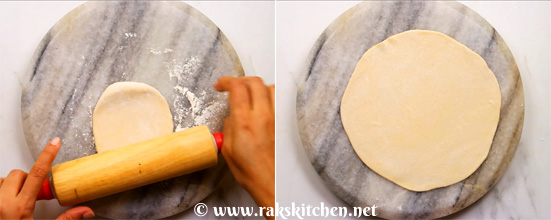
Dust and roll out the dough into slightly thick roti.
-
Sprinkle little chopped onion below and roll gently to stick the onion in kulcha.
-
Apply water on the top and place the water applied side to the hot tawa.
-
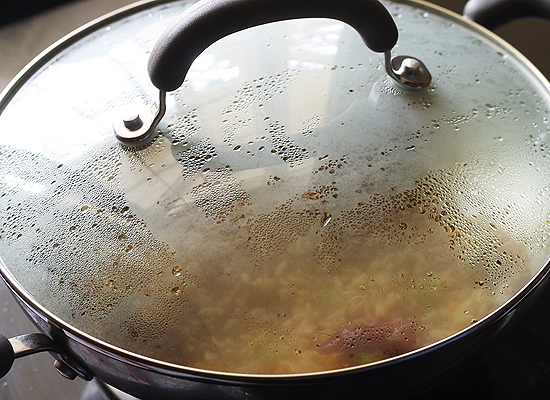
Cook covered until the color changes and bubbles appear on top.
-
Flip and press gently to cook evenly. Let golden spots appear all over. Refer video for stuffing version.
-
Lastly, smear butter and serve.
Video
Notes
- Make the dough soft, not too stiff.
- Resting time improves the softness of the kulcha.
- Baking powder and baking soda helps in softness as well as it helps in cooking the kulcha.
- Use white or yellow onion and also food processor for best results.
Step by step photos:
- Firstly, take all purpose flour, wheat flour, baking powder, baking soda, salt and sugar in a mixing bowl. Mix well.
- Add milk, curd and required water as needed little by little and make a non sticky dough.
- Knead well for 10 mins and keep aside for 1 hour. Smear a little oil over the surface. I used my bread machine for kneading but you can do it in hands.

- After that, knead again to smooth and divide into 9-10 equal sized balls.

- Chop onion very finely using a food processor or with your knife.

- Dust and roll out the dough into slightly thick roti.
- Sprinkle little chopped onion below and roll gently to stick the onion in kulcha.

- Apply water on the top and place the water applied side to the hot tawa.
- Cook covered until the color changes and bubbles appear on top.

- Flip and press gently to cook evenly. Let golden spots appear all over. Refer video for stuffing version.

- Lastly, smear butter and serve.

Serve with any rich gravy. A dal makhani or a onion tomato base side dish.

The post Onion Kulcha, Stove top Onion kulcha appeared first on Raks Kitchen.
from Raks Kitchen https://ift.tt/3dqqmqy
via KITCHEN MASALA


 Serve hot!