Wednesday, June 30, 2021

Easy Pizza Pasta Sauce Recipe

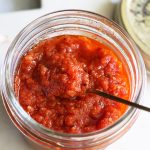
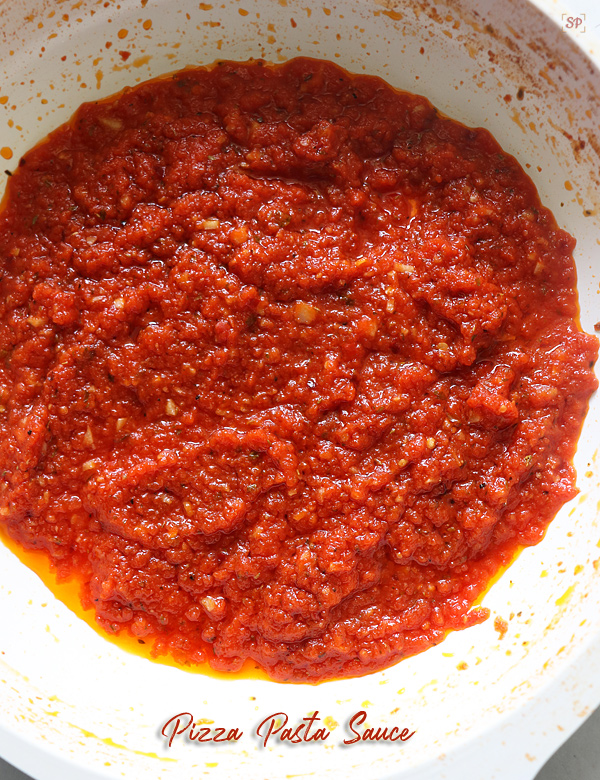
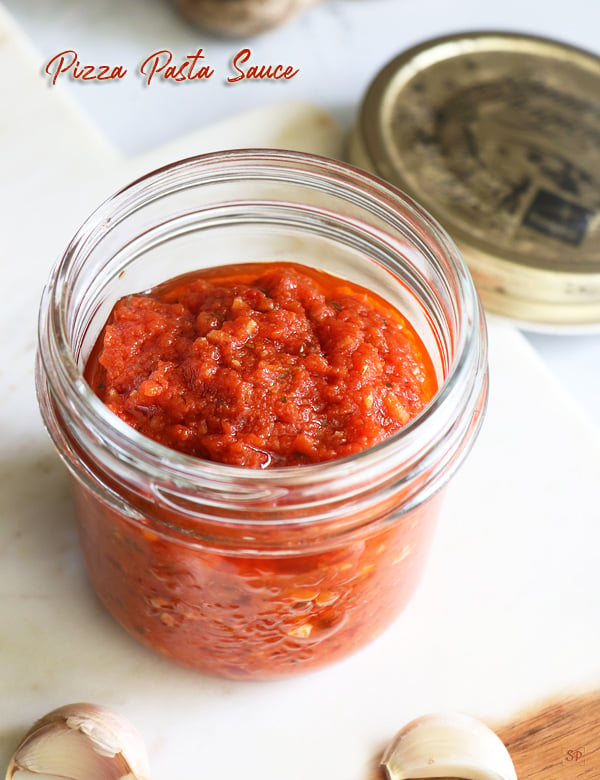
Pizza Pasta Sauce Recipe an easy homemade sauce that can be useful for a variety of dishes.
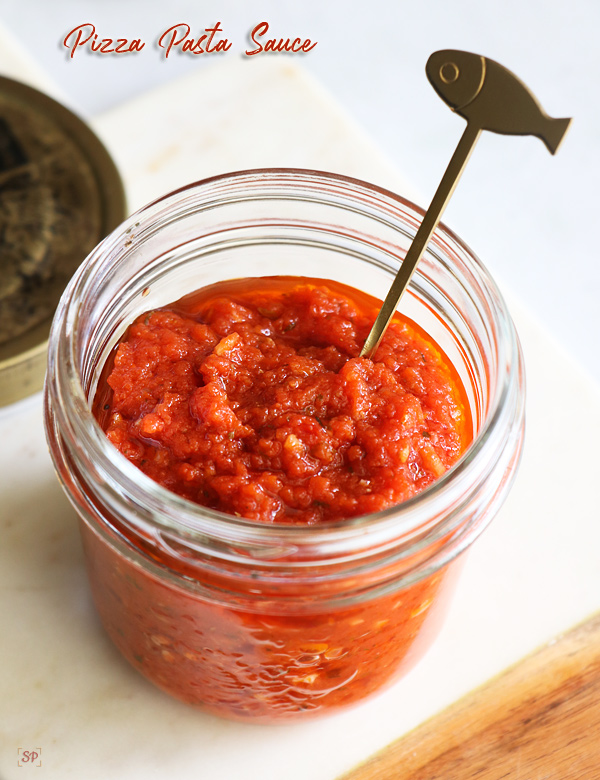
Homemade Pizza Pasta Sauce Recipe

Homemade pizza / pasta sauce recipe with step by step pictures and video. Pizza or pasta sauce is very handy for a variety of dishes not only for pizza or pasta. Sometimes I spread it on dosa, oothapam add cheese and serve it for the kids and they absolutely love it.

I have tried a handful of brands that sell pizza pasta sauces and have not liked them as the fresh flavour was missing.  Also the brands keep disappearing so it was hard for me to stick with one. So I decided to make my own batch of pizza cum pasta sauce. One thing that was in my mind was to make the process easy and quick as its going to be my keeper recipe. This is like a one pot recipe, cut grind and simmer in a large pot. Finally garnish and your homemade pizza pasta sauce is ready.

I wanted one sauce that serves for both pasta and pizza and this is it. I have tested this recipe for the shelflife and its pretty good too. Also when you get tomatoes in bulk do make this and store. It comes handy for lazy night dinners.

Pizza Pasta Sauce Recipe:

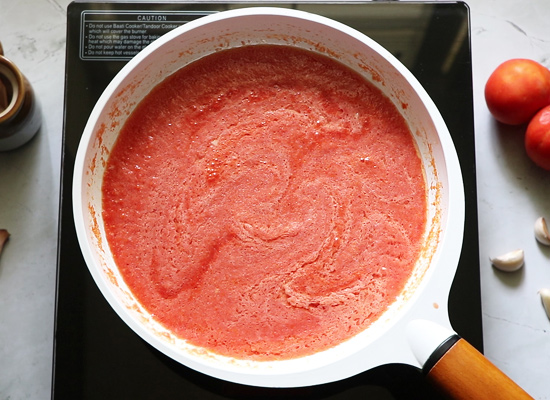
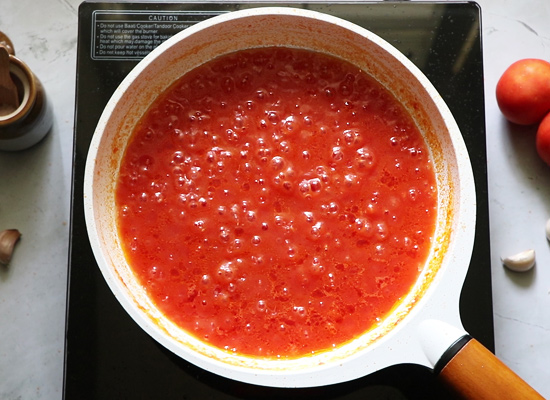
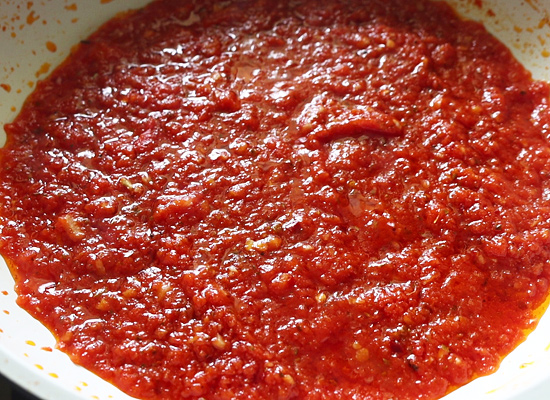
This is a fairly simple recipe that works for both pizza and pasta. To begin with first choose ripe tomatoes, rinse them well.Trim the edge, chop them roughly. Add to mixer jar along with garlic and puree it without adding any water. Now heat olive oil in a pan – add minced garlic saute for a minute then add the puree. It starts to splutter so give a quick mix, close with lid leaving a gap at the edge for the vapour to release. Open and stir on and off. Cook until raw smell leaves and moisture is reduced. Finally add salt, sugar, oregano, chilli flakes and crushed pepper. Give a quick mix and cook until oil starts to float on top. Switch off, cool down completely then store in a clean dry container.

Variations:

  • You can add finely chopped onion too but I prefer adding it fresh while adding to pizza / pasta.
  • You can reduce garlic if you want a mild flavour.
  • Spices and seasoning are your choice, you can alter as per your liking.

Serving:

  • It goes well as a pizza sauce or pasta sauce.
  • Apart from that you can use it as a spread for bread, oothapam etc.

Storage:

  • I have made this sauce in bulk, keeps well even for 2 weeks in fridge.
  • Use a clean dry spoon everytime.

Similar Recipes:
Print

Easy Pizza Pasta Sauce Recipe

Pizza Pasta Sauce Recipe a easy homemade sauce that can be useful for a variety of dishes.
Course Side Dish
Cuisine Indian
Prep Time 10 minutes
Cook Time 15 minutes
Total Time 25 minutes
Calories
Author Sharmilee J

Ingredients

  • 5 nos tomatoes
  • 2 nos garlic pearls
  • 2 nos minced garlic
  • 1 tsp oregano
  • 1 tsp chilli flakes
  • 1/2 tsp crushed pepper
  • 1 tsp sugar
  • salt to taste

Instructions

  • To begin with first choose ripe tomatoes, rinse them well. Trim the edge, chop them roughly.
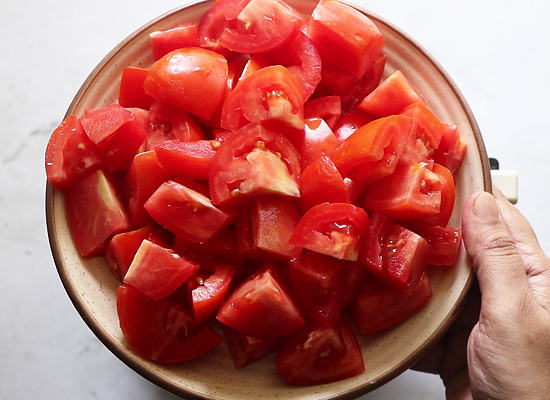
  • .Chop it roughly as shown trimming the edges.
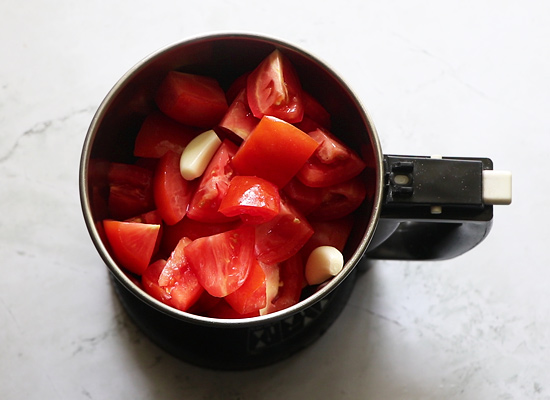
  • Add it to a mixer jar along with garlic.
  • Puree it fine without adding water.
  • It should be fine and smooth.
  • To a pan - heat olive oil add minced garlic. Saute for a minute. Do not let it brown.
  • Add the tomato puree.
  • Give a quick mix.
  • Let it boil.
  • It starts to splutter so give a quick mix, close with lid leaving a gap at the edge for the vapour to release. Open and stir on and off.
  • 11.Cook until raw smell leaves and moisture reduces.
  • 12.Add chilli flakes, oregano, pepper powder,salt and sugar.
  • 13.Cook until oil floats on top.
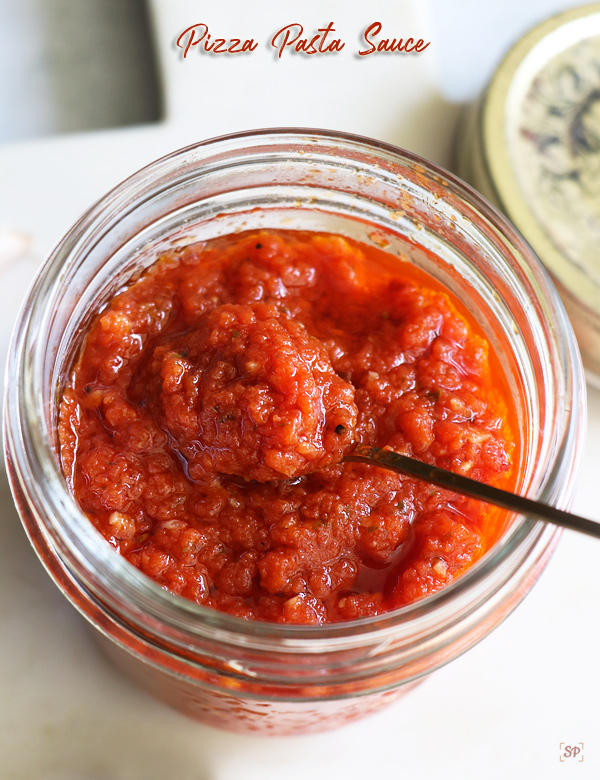
  • 14.It should be slightly thick but spreadable. Cool down completely then store in a clean dry jar.

Video

Notes

  • Make sure to cook until raw smell leaves and no moisture content so the the shelf life is long.
  • Also be generous while adding oil to increase shelf life.
  • Grind tomatoes as fine as possible.

If you have any more questions about this pizza pasta sauce recipe do mail me at sharmispassions@gmail.com. In addition, follow me on InstagramFacebookPinterest ,Youtube and Twitter .

Tried this pizza pasta sauce recipe ? Do let me know how you liked it. Also tag us on Instagram @sharmispassions and hash tag it on #sharmispassions.

Step by step method to make pizza pasta sauce recipe:

1.To begin with first choose ripe tomatoes, rinse them well. Trim the edge, chop them roughly.
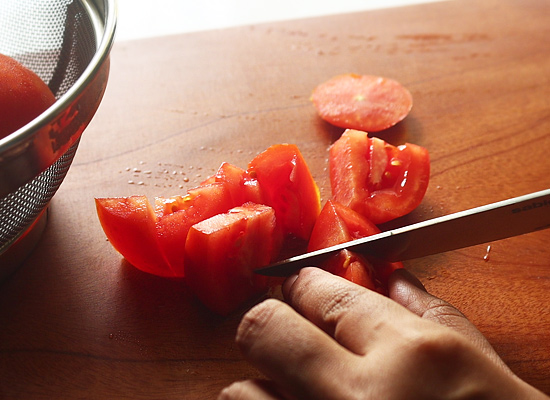
Pizza Pasta Sauce Recipe cut tomatoes

2.Chop it roughly as shown trimming the edges.Pizza Pasta Sauce Recipe tomatoes
3.Add it to a mixer jar along with garlic.Pizza Pasta Sauce Recipe
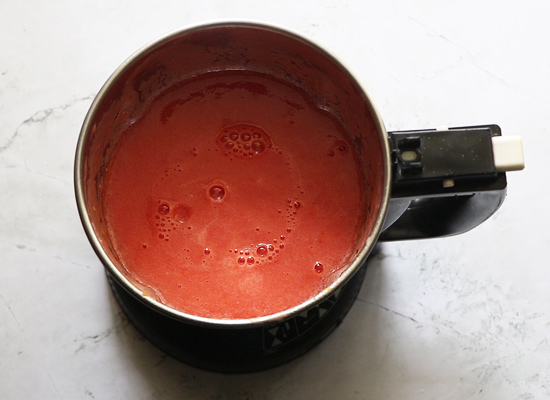
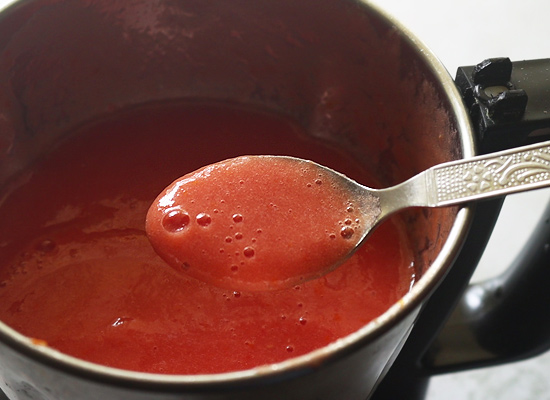
4.Puree it fine without adding water.Pizza Pasta Sauce Recipe tomato puree

5.It should be fine and smooth.Pizza Pasta Sauce Recipe puree fine

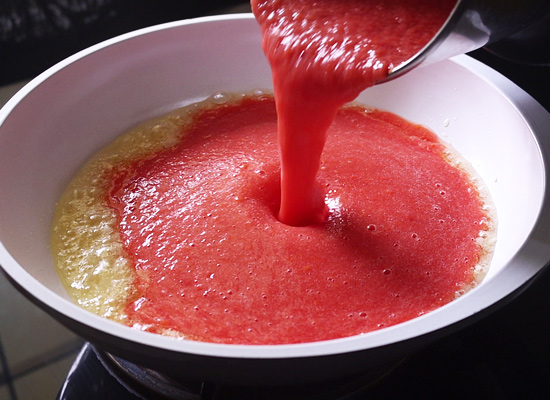
6.To a pan – heat olive oil add minced garlic. Saute for a minute. Do not let it brown.Pizza Pasta Sauce Recipe add garlic
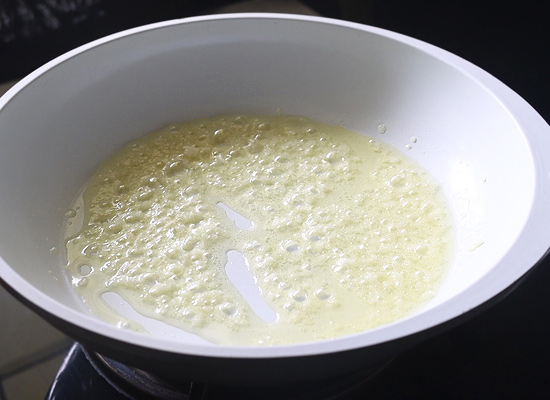
7.Add the tomato puree.add puree

8.Give a quick mix.boil

9.Let it boil.boil well

10.It starts to splutter so give a quick mix, close with lid leaving a gap at the edge for the vapour to release. Open and stir on and off.cover and cook
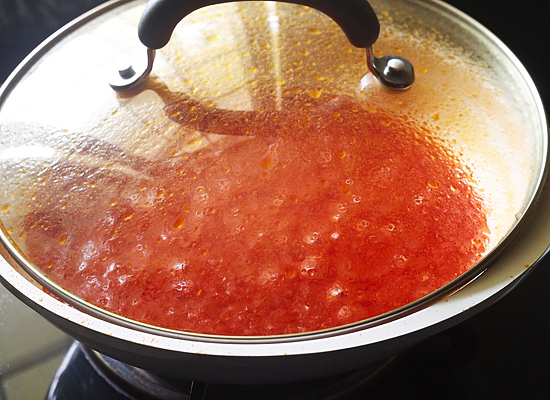
11.Cook until raw smell leaves and moisture reduces.oil floats
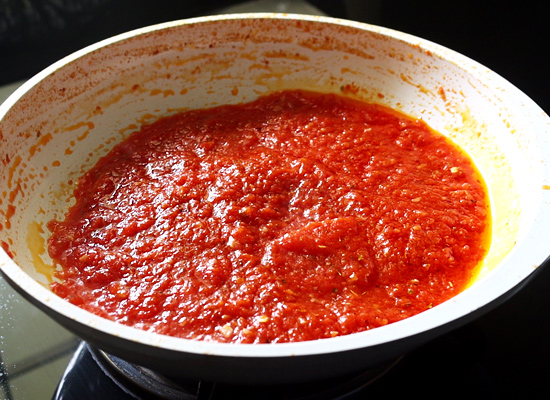
12.Add chilli flakes, oregano, pepper powder,salt and sugar.add seasoning
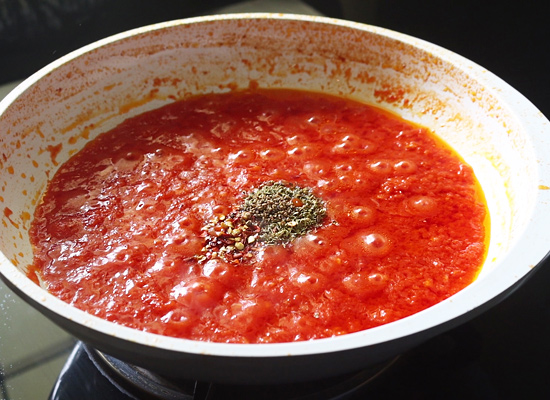
13.Cook until oil floats on top.sauce done

14.It should be slightly thick but spreadable. Cool down completely then store in a clean dry jar. cool down and store
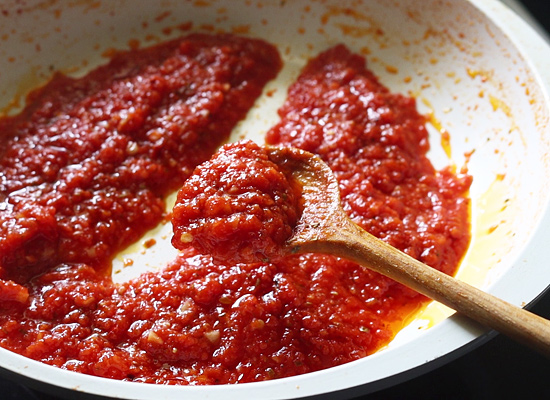
 

Pizza Pasta Sauce Recipe

My tips while making Pizza pasta sauce:

  • Make sure to cook until raw smell leaves and no moisture content so the the shelf life is long.
  • Also be generous while adding oil to increase shelf life.
  • Grind tomatoes as fine as possible.

Homemade Pizza Pasta Sauce Recipe

The post Easy Pizza Pasta Sauce Recipe appeared first on Sharmis Passions.


from Sharmis Passions https://ift.tt/3hmSxZw
via KITCHEN MASALA

Tuesday, June 29, 2021

Indian groceries online Singapore MyIndiaSG Review

Indian groceries online shop in Singapore – MyIndia.Sg for home delivery. From fresh vegetables, groceries, appliances and many more.

[feast_advanced_jump_to]

Disclosure: This post is sponsored by MyIndia.SG (Singapore only)

I used to do monthly groceries my visiting little India before the pandemic. The frequency used to be from weekly to monthly. But after lockdown, order Indian groceries online.

In between Vj used to buy from a grocery shop near his office, but now again after the heightened alert, it’s back to square one. I keep looking for best online store for Indian grocery.

Online shop

This is when MyIndia.SG approached me to try their service. I browsed their site and found a wide range of products online. You can find groceries in wholesale price.

There are various brands from popular, organic, new, local brands available to choose from. Website have categorized by clearly for your needs for easily browsing and choosing the product you want.

Shop online now!

Home delivery

They deliver across the island and you can choose your comfortable timing from their deliver slot which is open from very next 24 hours.

The minimum order for free delivery is 60 SGD and above. There is no cash on delivery option.

I ordered on an afternoon and the very next day evening I received the delivery on time.

Highlights

When I browsed the products there were a wide range of items from rice, cereals, legumes, dal, oil, spices, organic products, beverages, fresh fruits and vegetables.

Furthermore, beauty products, Pooja prayer items, snacks and sweets from popular brands, even some medicines, stationeries, home appliances.

They promise fresh groceries, quality products at best price that are cheapest and on-time deliver too.

My shopping haul

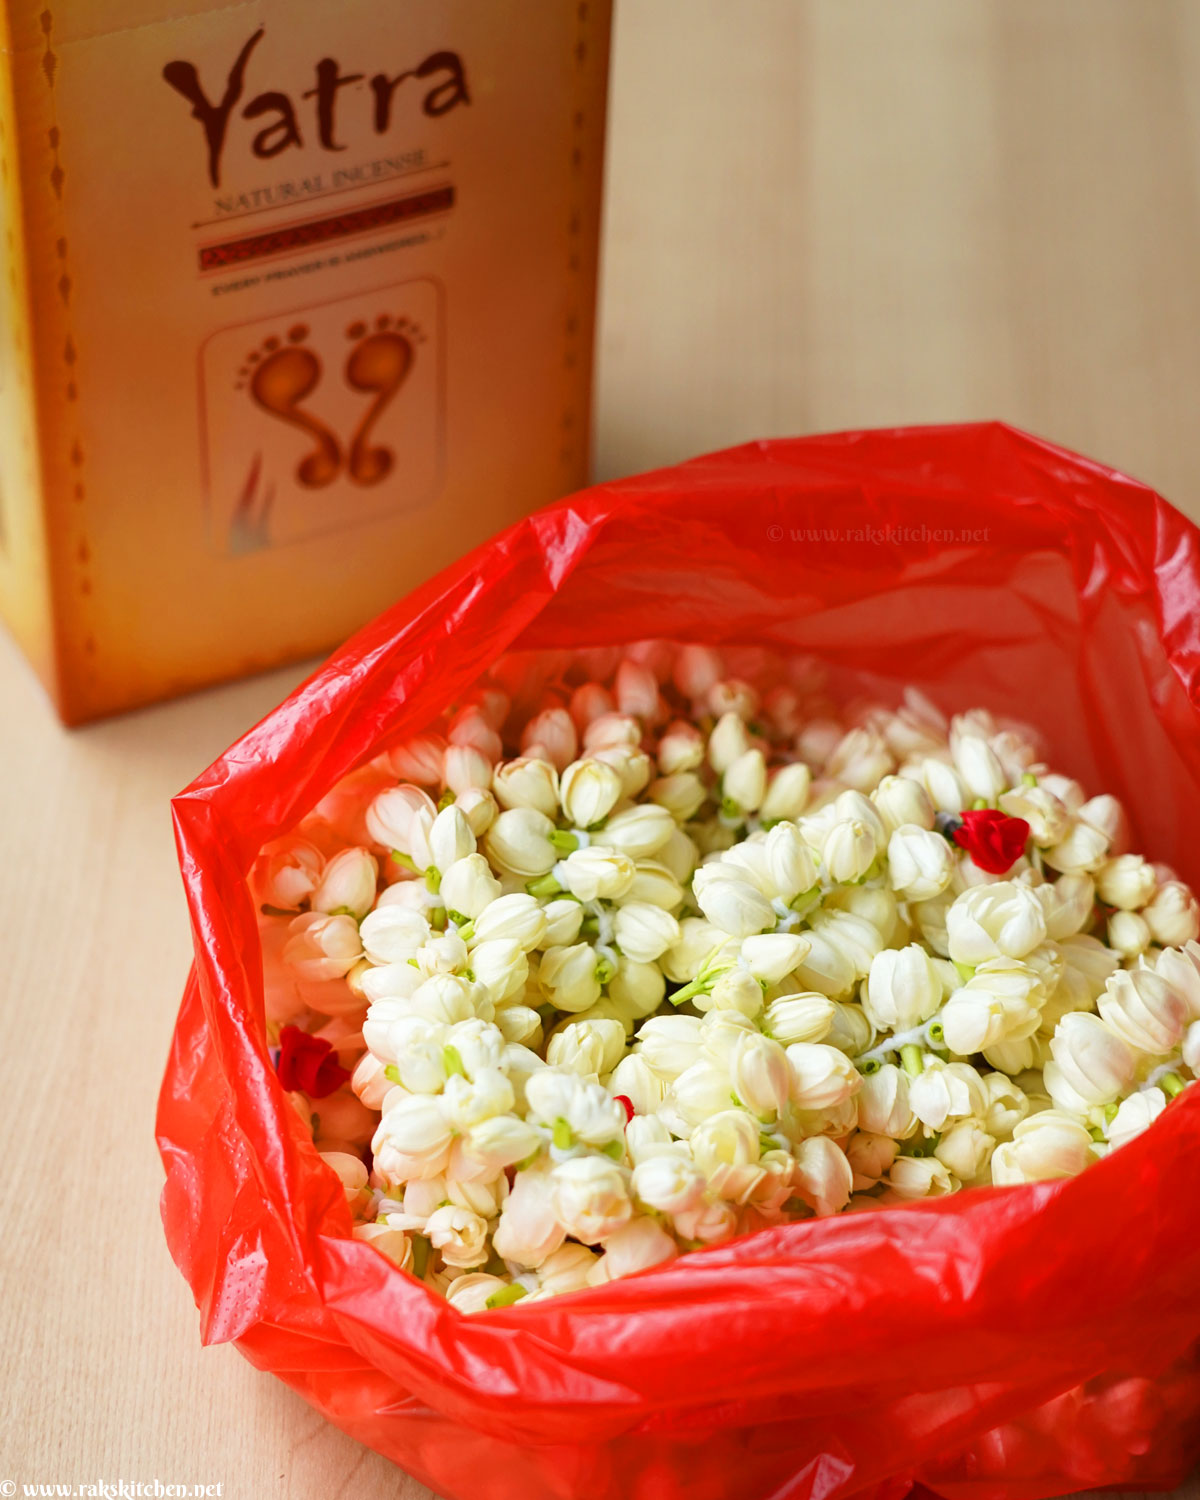
From Pooja items section I bought my usual buy Agar bathi and a bundle of Indian Jasmine.

The jasmine was very fresh and house was filled with the fragrance once our delivery reached home. Just as fresh as you would go and pick personally, good quality!

Fresh Indian Jasmine 12 SGD per Ball

From fresh vegetable section, I bought raw banana, green chillies, ginger, lemon and my most interesting buy freshest Brahmi leaves (vallarai keerai). Can’t wait to try out new dishes with it. Check out my latest post : Vallarai keerai thuvaiyal

Vallarai keerai Singapore

I also bought A2B mullu murukku as I am big fan of their snack ranges. Other popular brand snacks also available, so do check it out. You will also find other popular snack items like then mittai, kadalai mittai etc that you will find in little India shops.

Ordered tetra pack milk carton as well as we regularly buy for making curd. I am sure many of you do this, so you can make use of this as well.

Amul Taaza best price – 19.90 SGD

Roti tawa – I saw and picked up a roti tawa from a popular brand. Though I own a roti making machine, I rely on such dedicated pan for making parathas and other flat breads. I do not mix my pan I use for making dosa with the roti making tawa.

Don’t miss

I found this interesting category which has Best deals on shopping online grocery. I got our favorite Panneer Soda and found many other great deals from popular brands like 777, Nirapara, Bambino etc. under the weekly clearance sale. Don’t forget to check it out.

Don’t miss clearance sale & super sale!

Other than that, there is also Super sale where you can get up to 70% discounted price on selected products.

Other than that I also got Instant Gulab Jamun mix popular in India at a good price.

Shop online now!

Review

Overall my experience with them are smooth and I got prompt response with delivery on time.

The products we all in good condition, vegetables I ordered were as fresh as I would go and personally get from Little India.

While browsing the products I had a feel like a mini Mustafa online.

I am sure they will keep introducing more and more range of products, brands.

If you are in Singapore and looking for online delivery of Indian groceries, products, do check their website and try their service to experience.

Disclosure: Though this is a sponsored post, I have expressed the views honestly.

The post Indian groceries online Singapore MyIndiaSG Review appeared first on Raks Kitchen.


from Raks Kitchen https://ift.tt/3joZc85
via KITCHEN MASALA
Monday, June 28, 2021

Vallarai keerai thuvaiyal recipe (for rice)

Vallarai keerai thuvaiyal recipe, Healthy and tasty chutney for rice. Vallarai keerai recipe with quick video, stepwise photos. Read on to know more!

Vallarai keerai thuvaiyal
[feast_advanced_jump_to]

About

Vallarai keerai (Centella asiatica) is a type of keerai and I remember mom saying it is good for memory power. Though we know the health benefits, we have not consumed it before as far as I know.

It is also known as Gotu Kola. Vallarai keerai in Singapore can be found in Indian groceries like Sri Murugan or Little India vegetable shops. I have seen few times in Mustafa too.

At some places, yeli kaadhu keerai is sold as vallarai keerai as both look similar (though the former looks dark hue and have reddish tint). Also I could see there are couple of variants in this.

What I bought was thick, large and had complete round leaves. While the one we get in India are thinner, smaller and not complete rounds.

One more confusion is there are two plants called by the same common name in India as Brahmi leaves. I read an informative article here, to know both have many overlapping properties.

Ingredients

For any thuvaiyal, my common base ingredients are urad dal, asafoetida, lots of red chillies, tamarind and salt to balance each other and the main ingredient in which I am making thuvaiyal. I add a bit of jaggery too for highlighting other tastes.

I decided I would try the same way I will try this thuvaiyal as well. But glad I didn’t. The video in which I referred (source) told it should not include tamarind which will nullify the health benefits.

Actually it is true for all and also it is best to use black pepper in place of red chillies too for getting the fullest benefits of the vallarai keerai. I was bit scared to experiment this as this is the first time I am making this keerai.

So I used onion, tomato (instead of tamarind), red chillies, urad dal along with the leaves and salt. Usually we do not temper thuvaiyals and I followed same here.

vallarai keerai also known as gotu kola

Variations

  • You can use 2-3 tbsp grated coconut in the same recipe.
  • Instead of asafoetida, you can use 8 small variety garlic cloves.
  • Replace red chillies with green chilli for different taste and flavor.

Cleaning : Remove the stem part of the keerai, collect only the leaves. Wash and drain from water, keep aside.

vallarai keerai bought in Singapore

Video

Is video more your thing? Watch quick video here.

Recipe card

vallarai keerai also known as gotu kola
Print Pin
No ratings yet

Vallarai keerai thuvaiyal recipe

Vallarai keerai thuvaiyal recipe, Healthy and tasty chutney for rice. Vallarai keerai recipe with quick video, stepwise photos. Read on to know more!
Course Condiments
Cuisine Indian, South Indian
Prep Time 15 minutes
Cook Time 15 minutes
Servings 15 Servings
Cup measurements

Ingredients

  • 3 cups Vallarai keerai measure packed
  • 1 Onion
  • 1 Tomato
  • 1 tbsp Urad dal
  • 5 Red chillis
  • tsp Asafoetida
  • 2 tsp oil
  • Salt as needed

Instructions

  • To start with, heat a pan with oil. Add red chillies, asafoetida and urad dal to it.
  • Roast until dal turns reddish. Drain from oil and keep aside.
  • In the same oil, add onion and sautee for a minute. Tip in tomatoes and give it a stir.
  • Add vallarai keerai to the pan and saute in low flame. As you stir, it gets shrunk.
  • Cook well for 3-4 minutes in low flame.
  • Actually you can saute in oil separately first and set aside. Then proceed with sauteeing onion and tomato. But I did this way.
  • Just make sure to cook vallarai keerai well.
  • Remove in a plate and cool down everything.
  • Place the cooled items in blender/ mixie and add 2-3 tbsp of water.
  • Grind with required salt. Mix in between once for even grinding.
  • Transfer to the serving bowl.

Video

Notes

  • You can saute keerai separately to ensure it’s cooked well.
  • Using tangy tomato ensures balance in taste.
  • Adjust the red chillies as per your required spice level and the spice level of red chillies. Mine is spicy in this recipe still we love it spicy for rice, so used more.
YoutubeDo you like short videos? Subscribe now!
InstagramMention @rakskitchen or tag #rakskitchen if you have tried this recipe.

Stepwise method

1. To start with, heat a pan with oil. Add red chillies, asafoetida and urad dal to it.

roast ingredients

2. Roast until dal turns reddish. Drain from oil and keep aside.

roasted golden

3. In the same oil, add onion and sautee for a minute.

cubed onions

4. Tip in tomatoes and give it a stir.

tomato cubed

5. Add vallarai keerai to the pan and saute in low flame. As you stir, it gets shrunk.

add vallarai keerai

6. Cook well for 3-4 minutes in low flame.

shrunk

8. Actually you can saute in oil separately first and set aside. Then proceed with sauteeing onion and tomato. But I did this way. Just make sure to cook vallarai keerai well.

9. Remove in a plate and cool down everything. Place the cooled items in blender/ mixie and add 2-3 tbsp of water. Grind with required salt. Mix in between once for even grinding.

add salt

10. Transfer to the serving bowl.

ground thuvaiyal

Mix with steamed rice, and generous sesame oil to enjoy.

vallarai keerai thuvaiyal

The post Vallarai keerai thuvaiyal recipe (for rice) appeared first on Raks Kitchen.


from Raks Kitchen https://ift.tt/3hdt2K7
via KITCHEN MASALA
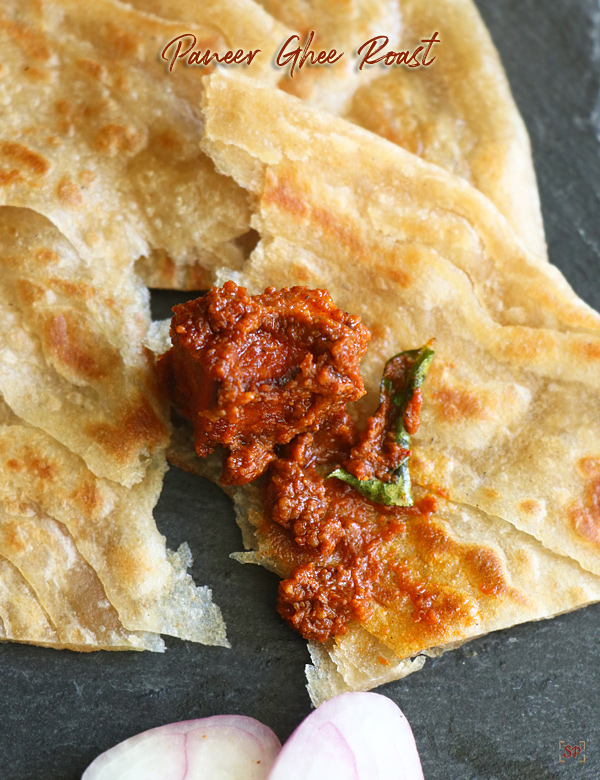
Paneer ghee roast recipe

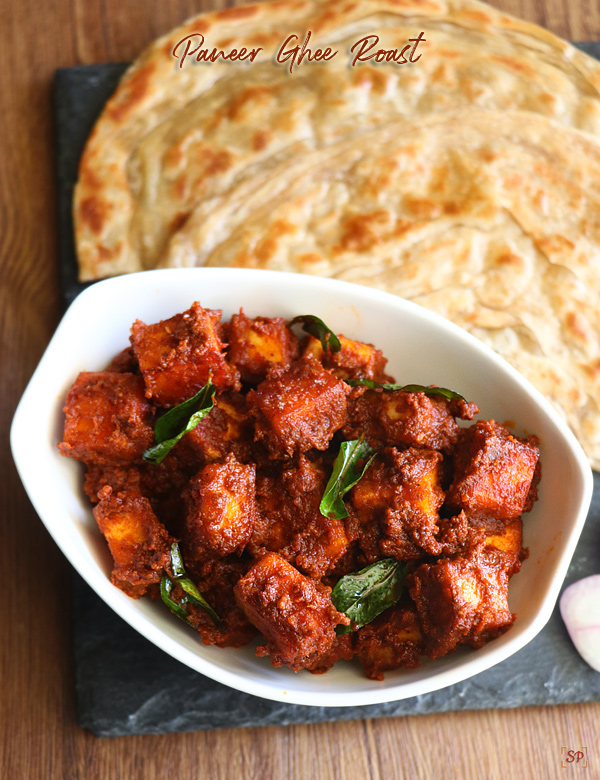
Paneer ghee roast recipe a Mangalorean style paneer dish tastes so delicious.

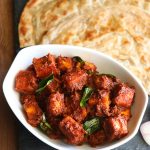
paneer ghee roast recipe

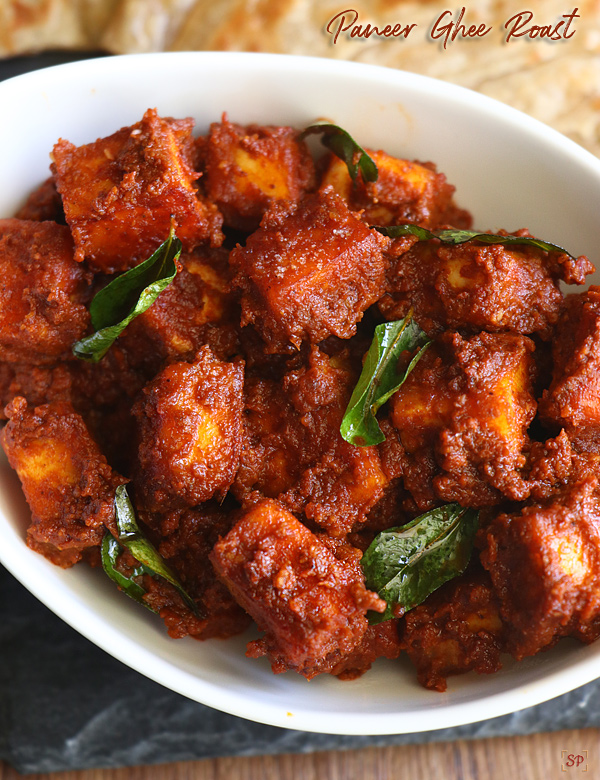
Paneer ghee roast recipe with step by step pictures and video. It is a flavourful sidedish made with freshly roast and ground spices.

I had the desire to try ghee roast with chicken but first wanted to try with paneer first hence sharing a vegetarian version of Mangalorean style chicken ghee roast. The orginal ghee roast recipe was with chicken which was orginated from a small town named Gundapur near Mangalore.

I had a Mangalorean style recipe book gifted by my SIL so this recipe is from there. I just adapted it to suit our taste.I remember during my school days I was studying in a tuition and the tuition mam was a Mangalorean so got to eat few of their style dishes. I love them so much.

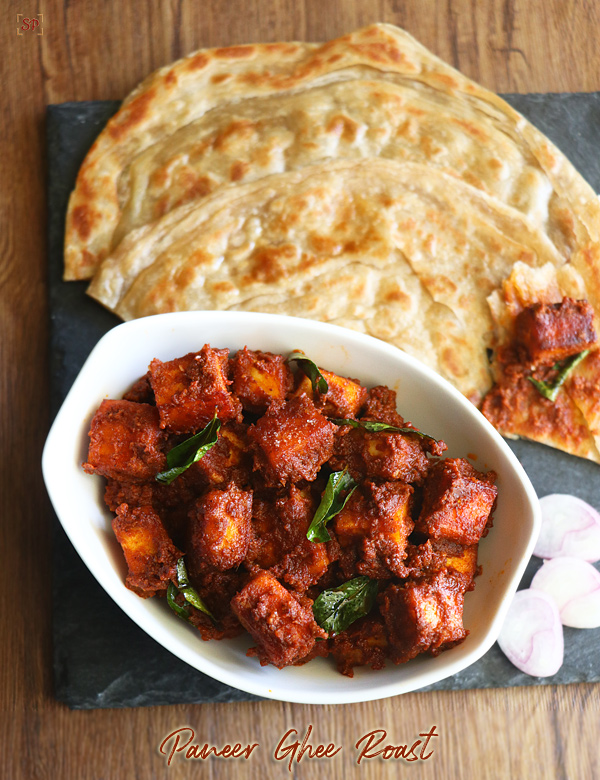
Paneer ghee roast can be made dry as a starter which is apt for the name roast. But I made it more like a semi gravy to serve it with wheat parottas. It was an ultimate combo, do try and taste. This ghee roast recipe does not call for any onions or tomatoes.

Paneer ghee roast recipe:

To begin with first cut paneer into small cubes, set aside. Gather all the ingredients for roasting, roast well until nice aroma comes finally add red chillies and roast for 2 more mins and switch off. Add tamarind pulp along with garlic to this and grind it a fine paste with enough water – Set aside. Fry paneer in ghee until golden brown set aside. Next add the paste and fry for few mins then add curd, sugar and mix well. Cook for few mins then finally add paneer along with curry leaves mix well and cook until oil separates at the edges. Switch off and serve hot with parotta.

Red chillies used – Two varieties of red chillies are used one for the bright color and the other for spice level and taste. I used  kashmiri red chillies and regular ones. The flavour of this dish mainly depends on the variety of red chillies we use so choose accordingly.

Variations :

  • You can replace paneer with mushroom, chicken, tofu etc.
  • You can add a mix of red chillies for flavour and color or if you don’t have try with regular red chillies itself.

Serving and Storage:

  • Serve with roti, nan, chapathi, parotta, dosa, oothapam etc
  • It goes well even with pulaos, rice – sambar  or rice-rasam combo.

It keeps well for a day in room temperature and for 2 days in fridge. But tastes best when consumed fresh. I made it noon and we had leftovers for dinner which tasted great as paneer was well soaked in the gravy.

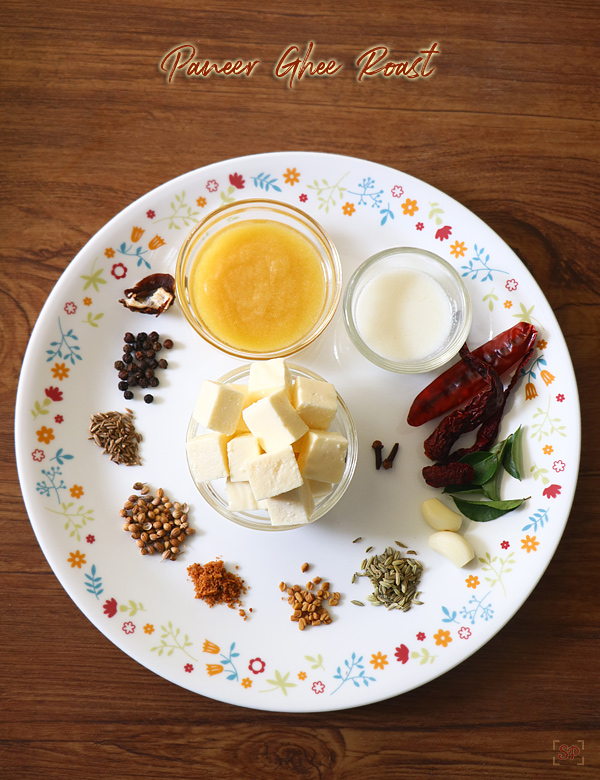
Ingredients shown in the below picture is the not the exact measure I have used for the recipe. This is just a glimpse of the ingredients used.

paneer ghee roast ingredients

More related recipes:

If you have any more questions about this paneer ghee roast recipe do mail me at sharmispassions@gmail.com. In addition, follow me on InstagramFacebookPinterest ,Youtube and Twitter .

Tried this paneer ghee roast recipe ? Do let me know how you liked it. Also tag us on Instagram @sharmispassions and hash tag it on #sharmispassions.

Print

Paneer ghee roast recipe

Paneer ghee roast recipe a Mangalorean style paneer dish tastes so delicious.
Course Side Dish, Snack
Cuisine Indian
Prep Time 10 minutes
Cook Time 20 minutes
Total Time 30 minutes
Servings 2
Calories
Author Sharmilee J

Ingredients

  • 200 gms paneer
  • 2-3 tbsp ghee
  • 1 tbsp curd
  • 1 tsp jaggery powder
  • 1 tsp tamarind
  • salt to taste
  • water as needed

To roast and grind :

  • 1 tbsp coriander seeds
  • 1/2 tsp pepper
  • 1 tsp cumin seeds
  • 1 tsp fennel seeds
  • 1/4 tsp methi seeds
  • 2 nos cloves
  • 2 nos red chillies
  • 6 nos kashmiri red chillies

Instructions

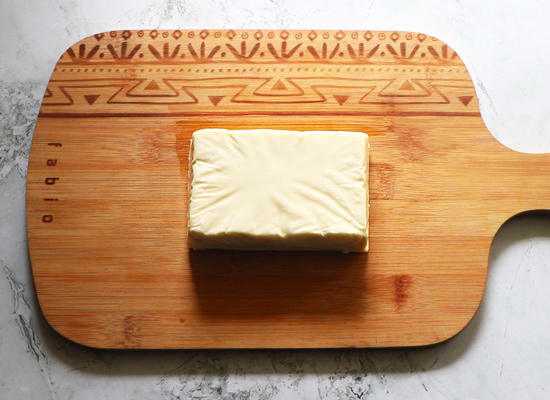
  • Take paneer block, rinse it well and plac eit on a chopping board.
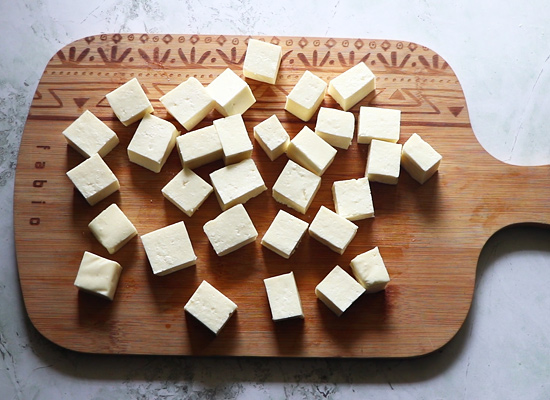
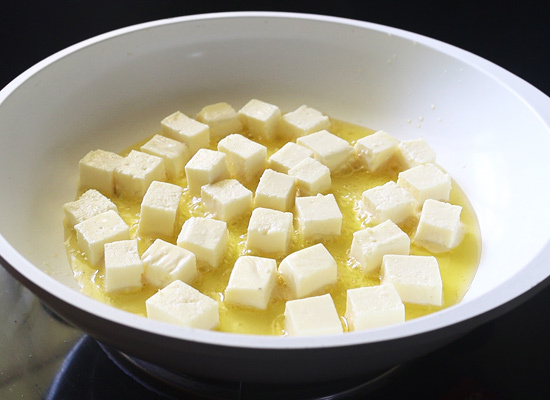
  • Cut into small cubes. Set aside.
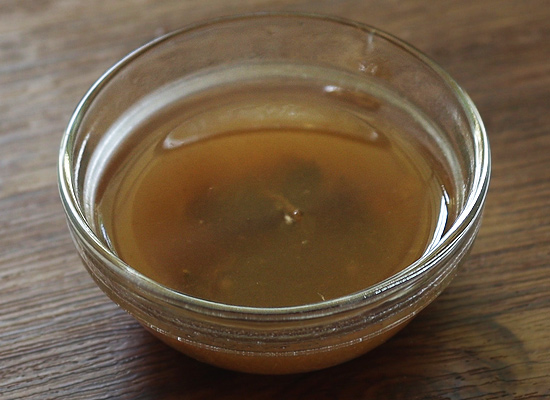
  • Add hot water to tamrind crush it well and set aside.
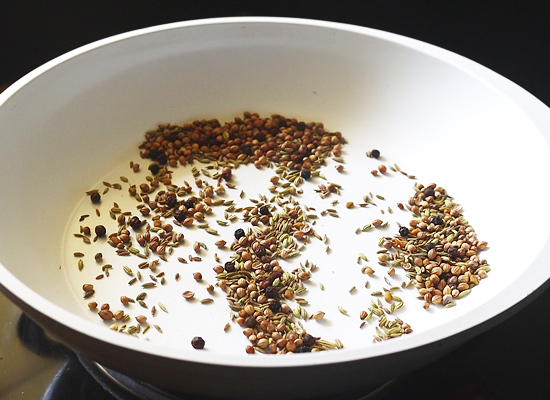
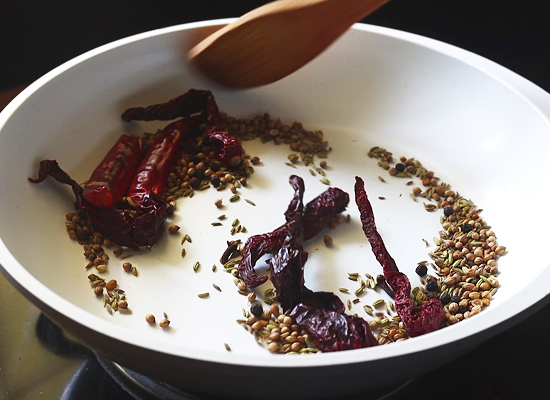
  • To a pan add all the spices(except red chillies) and roast for 2 mins.
  • Finally add red chillies and dry roast for 2 more mins and switch off.
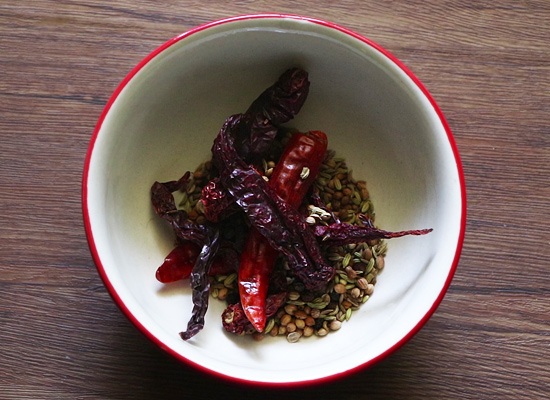
  • Transfer to a bowl to cool down.
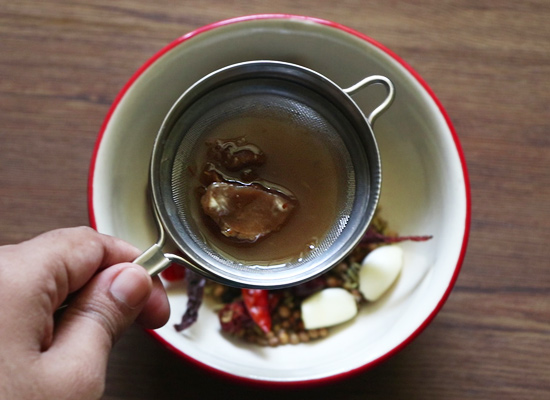
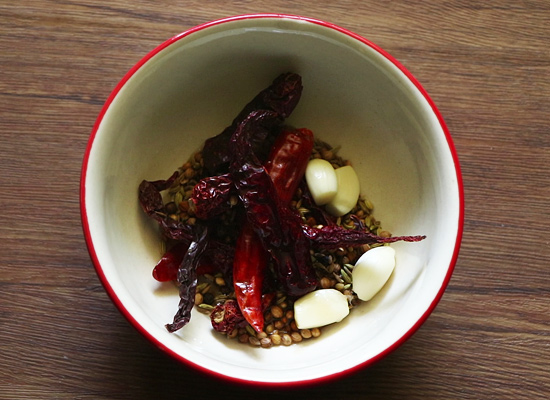
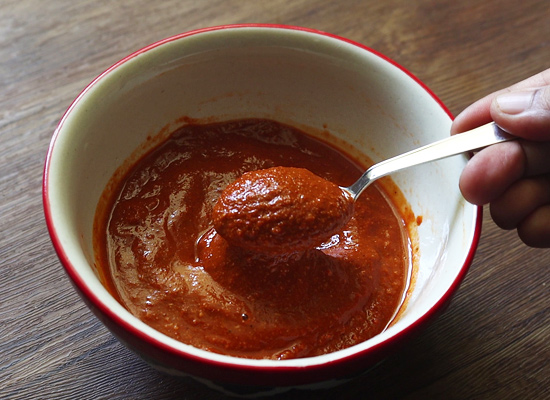
  • Strain and add tamarind pulp, add garlic to it.
  • Add enough water and grind.
  • Grind to a fine paste and set aside.It should be a paste so add water accordingly.
  • To the same pan heat ghee - add paneer cubes.
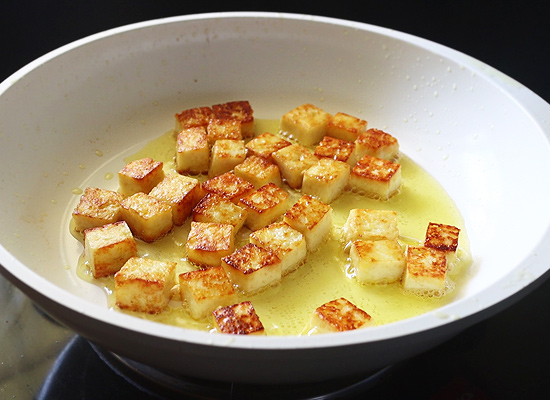
  • Roast until golden brown like shown below. Transfer to a plate and set aside.
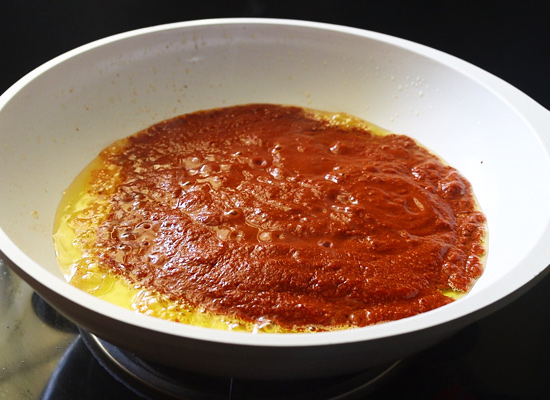
  • Now add the paste and cook for few mins.
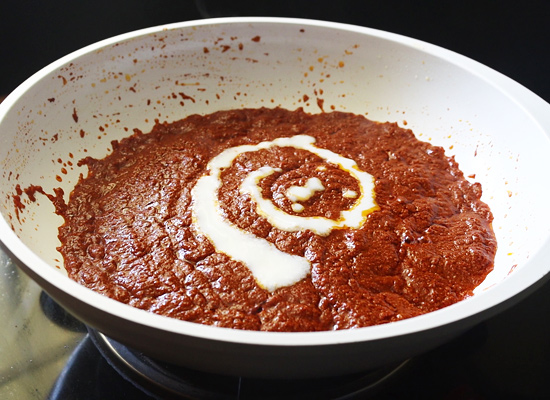
  • Now add whisked curd.Stir continuously for 2 mins after curd is added.
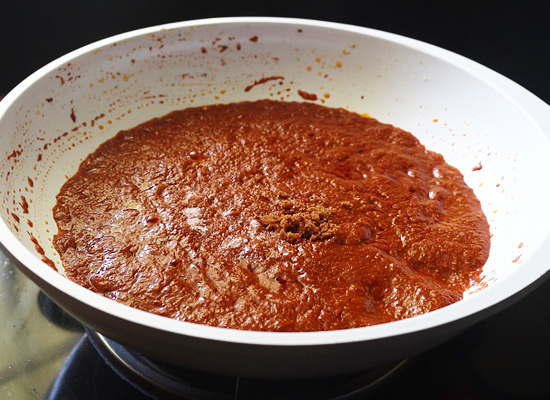
  • Add salt and jaggery powder to it.Mix well cook for few mins.
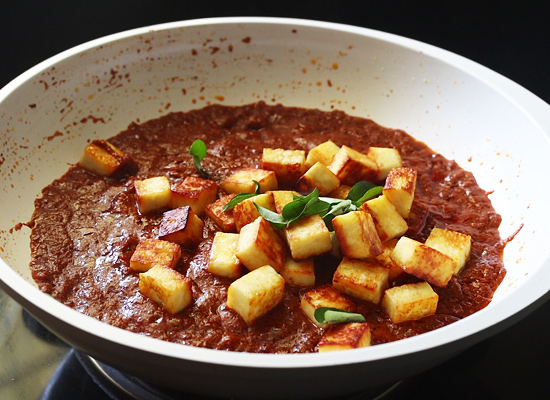
  • Add fried paneer along with curry leaves.
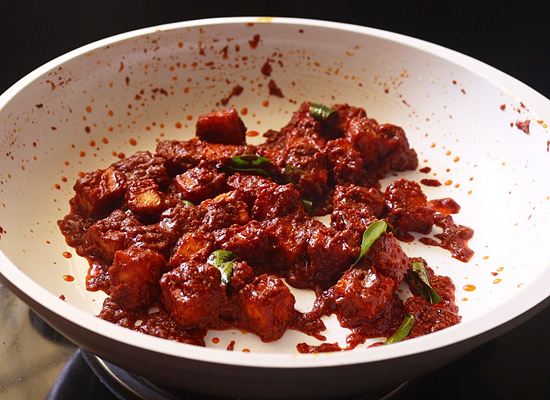
  • Mix well cook for 2 mins and switch off when ghee starts to ooze out at the edges.It should be semidry.But its purely your preference you can even switch off when its in gravy consistency.
  • Serve hot with parotta or chapathi.

Video

Notes

  • Do not use oil for this recipe, use only ghee for best flavour.
  • Adjust red chillies as per your preference you can reduce kashmiri red chillies to 4.
    If you prefer skip jaggery powder but I strongly recommend adding it for a tangy taste.
  • Do not cook paneer for a long time after adding to masala as it might turn rubbery.
  • Alternatively without roasting paneer you can even marinade paneer in the ground paste and add it directly and cook it.
  • Roasting paneer gives good texture and flavour.
  • The consistency is purely your choice, you can make it dry like a starter or semi dry or gravy kind too. I made it semi dry.
  • Use good quality ghee for a good flavour.

paneer ghee roast recipe

Step by Step method to Paneer ghee roast recipe:

1.Take paneer block, rinse it well and place it on a chopping board.paneer ghee roast

2.Cut into small cubes. Set aside.paneer ghee roast cut into cubes

3.Add hot water to tamarind crush it well and set aside.tamarind water

4.To a pan add all the spices(except red chillies) and roast for 2 mins.paneer ghee roast roast spices

5.Finally add red chillies and dry roast for 2 more mins and switch off.paneer ghee roast add red chillies

6.Transfer to a bowl to cool down.paneer ghee roast transfer to cool

7.Strain and add tamarind pulp, add garlic to it.add garlic,tamarind water

8.Add enough water and grind.transfer to bowl

9.Grind to a fine paste and set aside.It should be a paste so add water accordingly.paneer ghee roast grind to a fine paste

10.To the same pan heat ghee – add paneer cubes.roast paneer

11.Roast until golden brown like shown below. Transfer to a plate and set aside.fry paneer till golden brown

12.Now add the paste and cook for few mins.paneer ghee roast add ground spice paste

13.Now add whisked curd. Stir continuously for 2 mins after curd is added.add curd

14.Add salt and jaggery powder to it.Mix well cook for few mins.paneer ghee roast add jaggery powder

15.Add fried paneer along with curry leaves.paneer ghee roast add paneer

16.Mix well cook for 2 mins and switch off when ghee starts to ooze out at the edges.It should be semidry. But its purely your preference you can even switch off when its in gravy consistency.paneer ghee roast mix well

Serve hot with parotta or chapathi.

paneer ghee roast

My tips while making Paneer ghee roast recipe:

  • Do not use oil for this recipe, use only ghee for best flavour.
  • Adjust red chillies as per your preference you can reduce kashmiri red chillies to 4.
  • If you prefer skip jaggery powder but I strongly recommend adding it for a tangy taste.
  • Do not cook paneer for a long time after adding to masala as it might turn rubbery.
  • Alternatively without roasting paneer you can even marinade paneer in the ground paste and add it directly and cook it.
  • Roasting paneer gives good texture and flavour.
  • The consistency is purely your choice, you can make it dry like a starter or semi dry or gravy kind too. I made it semi dry.
  • Use good quality ghee for  good flavour.

paneer ghee roast

The post Paneer ghee roast recipe appeared first on Sharmis Passions.


from Sharmis Passions https://ift.tt/3jlqCvS
via KITCHEN MASALA