Bournvita cake recipe a simple fussfree eggless cake with bournvita flavour.
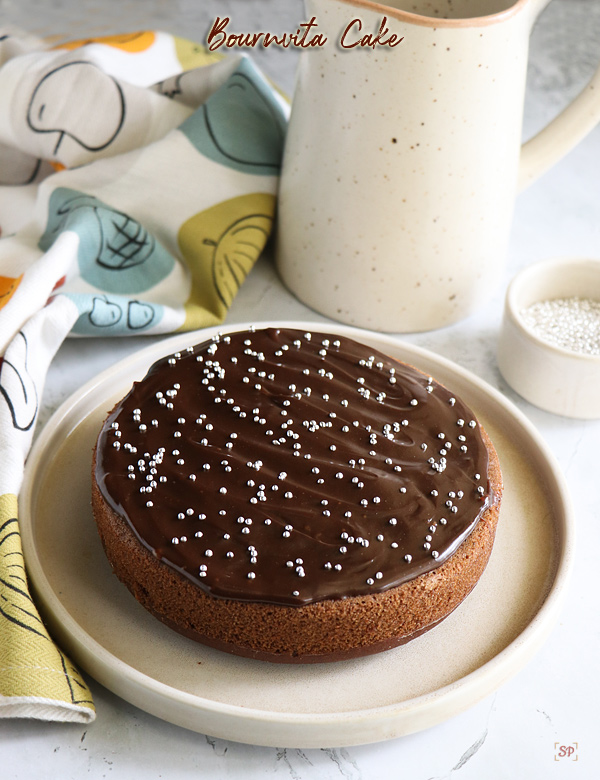
Bournvita cake recipe with step by step pictures and video. An easy and simple eggless bournvita cake without eggs, maida and no oven required too.
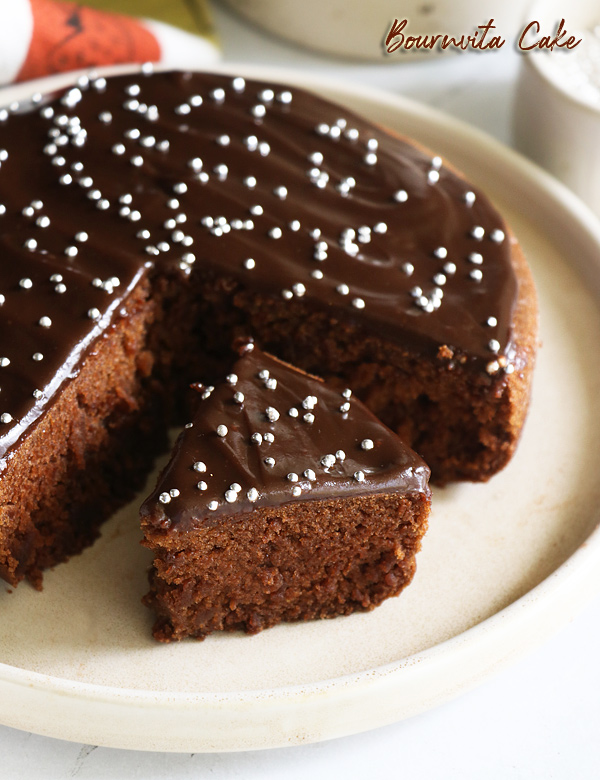
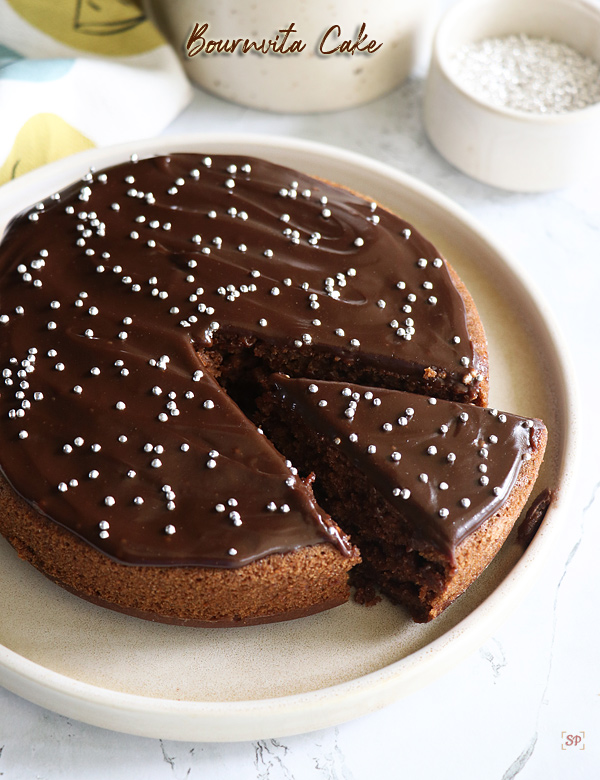
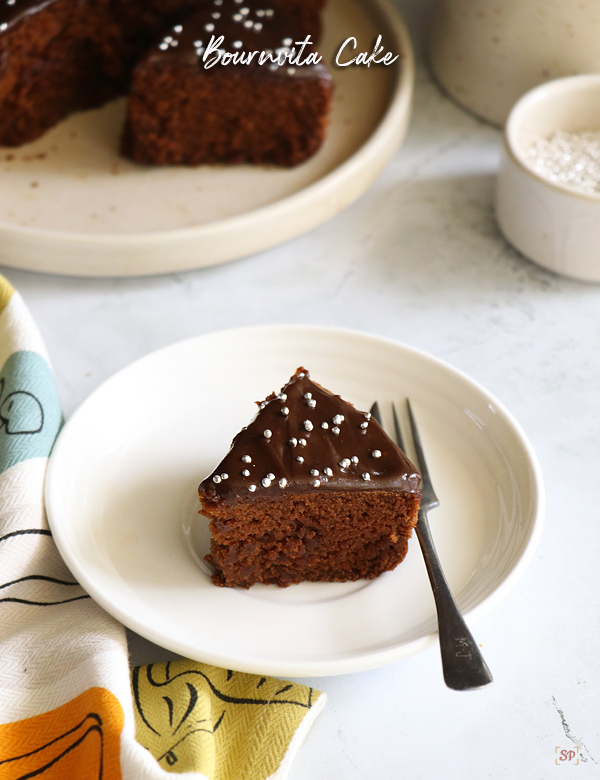
After trying bournvita mug cake I gained confidence to try a whole wheat bournvita cake with a simple frosting too. I tweaked a basic wheat cake recipe and tried this. I should say it came out so moist and tasty that it got over on the same day itself.The cake was so soft that it can be had as such too without any frosting.Trust me I am not fond of heavy frostings except for birthdays. Kids don’t complain if I serve cakes without frosting so I don’t push myself to frost cakes and cupcakes. But for this bournvita cake I wanted to make a simple frosting which I tried from here and it came out so good. So glad I frosted the cake, it was extra yummy.
Variations:
- I used wheat flour you can replace with maida too.
- I have used bournvita powder as I had it. You can use boost or maltova or milo or any chocolate malted powder for this.
- You can skip frosting and have the cake as such too.
- Top it up with chocolate chips when its still warm, and spread it. Easy no cook frosting ready.
Serving Suggestion:
- You can just add sprinklers or add chocolate sauce as topping.
- You can have it as a plain cake with a scoop of vanilla icecream too.
- Saying that it doesn’t mean that it can’t be had as such, I tell you it tastes delicious on its own too.
More Related Recipes:
Bournvita cake recipe
Ingredients
- 1 cup wheat flour
- 1/2 tsp baking soda
- 1/8 tsp salt
Wet Ingredients:
- 3/4 cup + 1/4 cup warm water
- 1/4 cup granulated white sugar
- 1/2 tsp vinegar
- 1 tsp vanilla essence
- 3 tbsp cooking oil
For bournvita frosting:
- 1/2 cup milk
- 1/2 tsp cornflour
- 1 tbsp sugar
- 1 tbsp bournvita
- 1 tbsp choco chips
Instructions
-
To begin with first to a mixing bowl add flour, baking soda and salt.
-
Mix it well with a whisk for even mixing, set aside. You can alternatively sieve it too.
-
To another mixing bowl - add sugar and bournvita.
-
Powder it fine using a mixie. Use a dry mixer jar. Transfer to the bowl and set aside.
-
To a big mixing bowl add warm water, oil and vinegar.
-
Now add powdered sugar bournvita mixture to it.
-
Mix it well without lumps. Mix until sugar and bournvita dissolves completely.
-
Add in flour mixture.
-
Add remaining warm water.
-
Whisk to form a smooth flowing batter.
-
The batter should be thick but flowing.
-
Prepare the cake tin by placing butter paper. Brush with oil/butter, sprinkle wheat flour. Tap to remove excess flour.
-
Pour the batter inside the cake tin.
-
Preheat the kadai with steel stand placed inside.
-
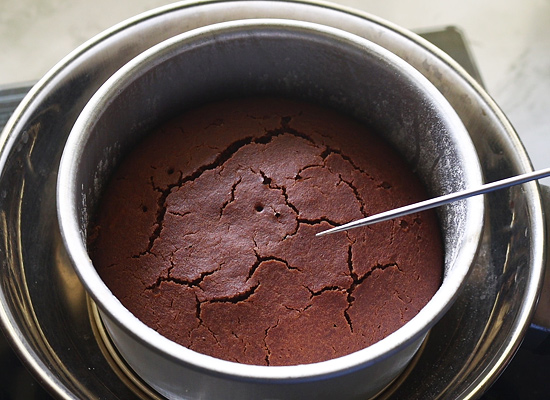
Cook covered for 35-40 mins or until a tooth pick inserted in center comes out clean.
-
Cake is done id the toothpick inserted in middle comes out clean or with cake crumbs. If baking in oven bake at 180 deg C for 30 - 35 mins or until a toothpick inserted in middle comes out clean. Don't worry if the cake cracks out, its normal.
-
Let the cake cool down for few mins then invert to demould.
-
Remove butter paper, let the cake cool down completely.
-
Meanwhile we can prepare bournvita frosting : To a pan add milk,chocochips,bournvita,cornflour and sugar.Heat it up.
-
Mix well without any lumps.
-
Keep cooking until a thick sauce consistency is reached. Set aside to cool.
-
Once both the cake and frosting is cool, add the frosting to the top of the cake. Spread it to a thin layer. If you prefer you can frost the sides too.I just wanted to make it simple so stopped with just frosting the top alone.
-
Add edible sugar silver beads on top. Cut and serve!
-
Enjoy!
Video
Notes
- Pulsing bournvita along with sugar makes it easy to dissolve without any lumps.
- Also use a kadai which do not want anymore for cooking as the base will get dark when you use it for stovetop baking. I use the kadai as such with a steel stand placed inside. You can add a layer of sand or salt then place stand and bake too.
- You can use cane sugar if you want. But personally I haven't tried it so not sure of the result.
- If baking in oven bake at 180 deg C for 30 - 35 mins or until a toothpick inserted in middle comes out clean.
- I used fully wheat flour, you can use a combination of maida and wheat flour half and half say 2 tbsp wheat flour and 2 tbsp maida.
- You can use any chocolate powder you like. You can even add horlicks. If you like add 1/2 tsp of cocoa powder or instant coffee powder to enhance the chocolate flavour.
- Don't worry if the cake cracks out, its normal. If you are planning for a birthday cake, then sliec the craked part and apply frosting to get a smooth flat top. I usually invert it upside down then apply frosting.
If you have any more questions about this bournvita cake recipe do mail me at sharmispassions@gmail.com. In addition, follow me on Instagram, Facebook, Pinterest ,Youtube and Twitter .
Tried this bournvita cake recipe ? Do let me know how you liked it. Also tag us on Instagram @sharmispassions and hash tag it on #sharmispassions.
Step by step method to make Bournvita cake recipe:
1.To begin with first to a mixing bowl add flour, baking soda and salt.
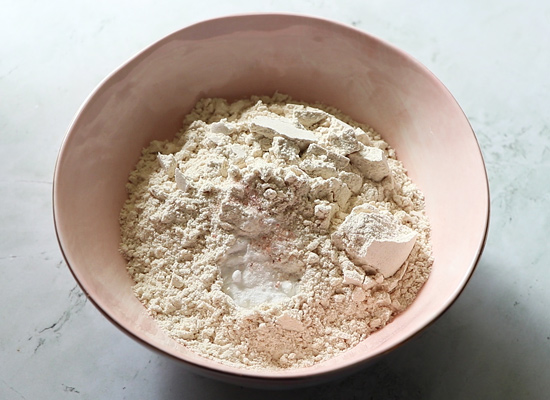
2.Mix it well with a whisk for even mixing, set aside. You can alternatively sieve it too.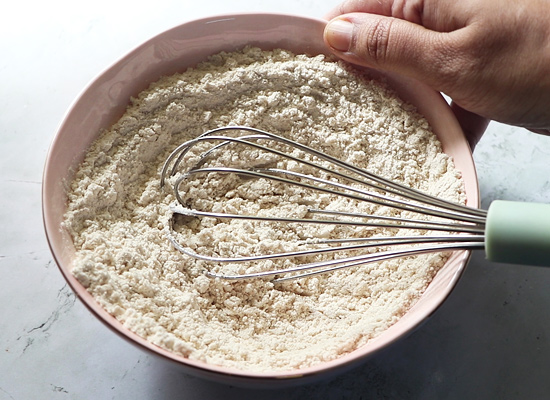
3.To another mixing bowl – add sugar and bournvita.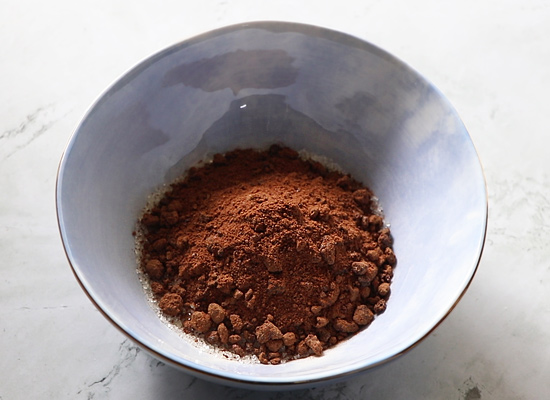
4.Powder it fine using a mixie. Use a dry mixer jar. Transfer to the bowl and set aside.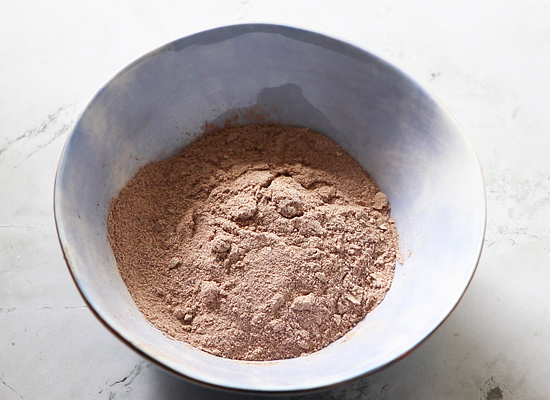
5.To a big mixing bowl add warm water, oil and vinegar.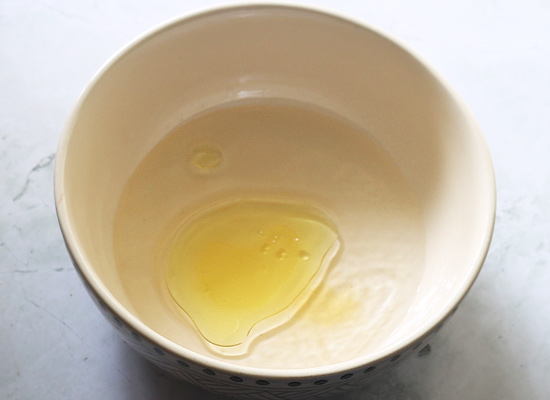
6.Now add powdered sugar bournvita mixture to it.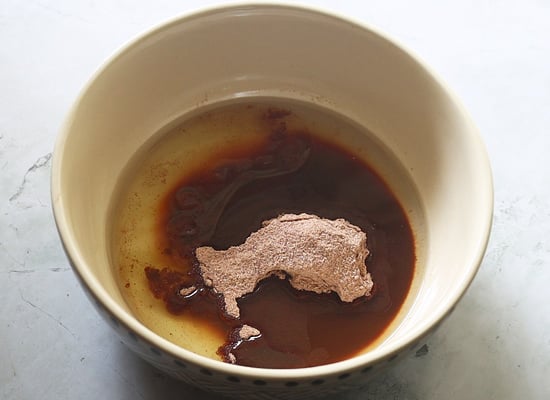
7.Mix it well without lumps. Mix until sugar and bournvita dissolves completely.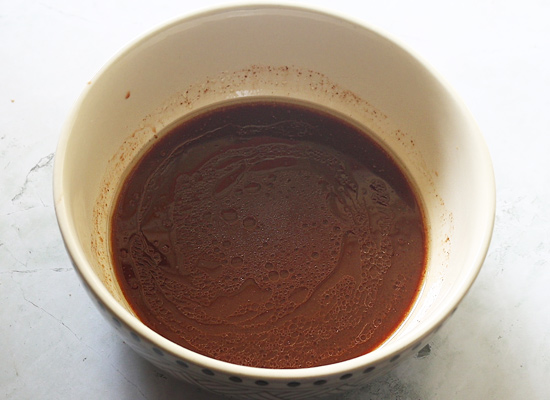
8.Add in flour mixture.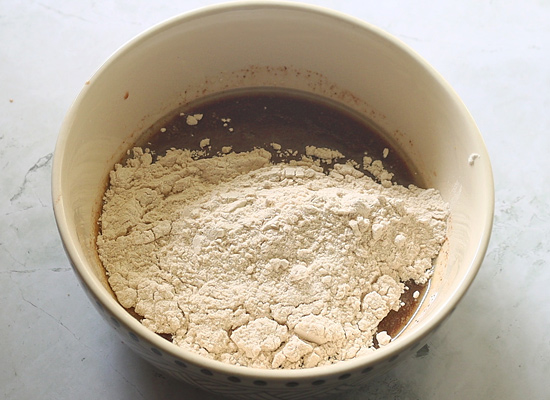
9.Add remaining warm water.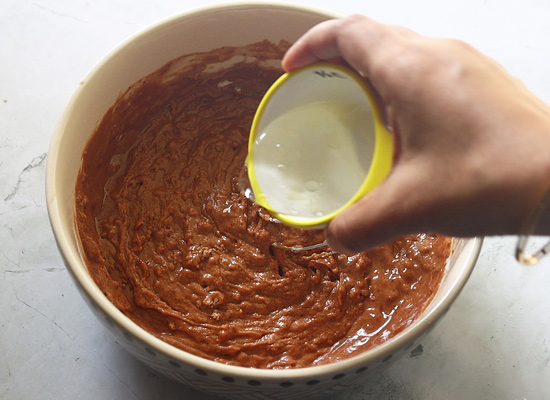
10.Whisk to form a smooth flowing batter.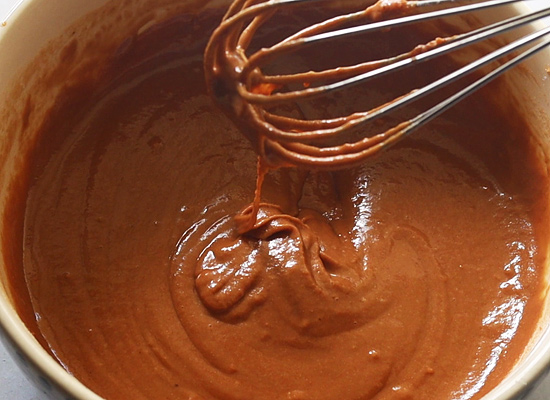
11.The batter should be thick but flowing.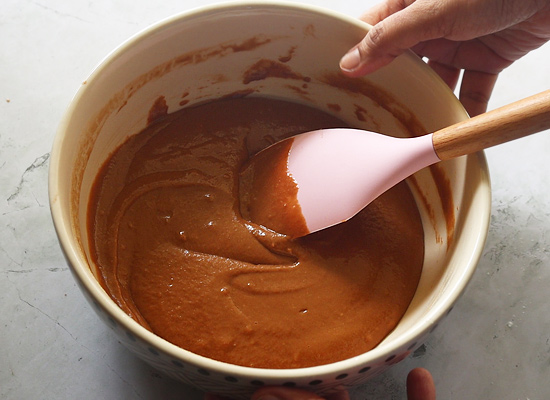
12.Prepare the cake tin by placing butter paper. Brush with oil/butter, sprinkle wheat flour. Tap to remove excess flour.I used an 6.5inch cake tin.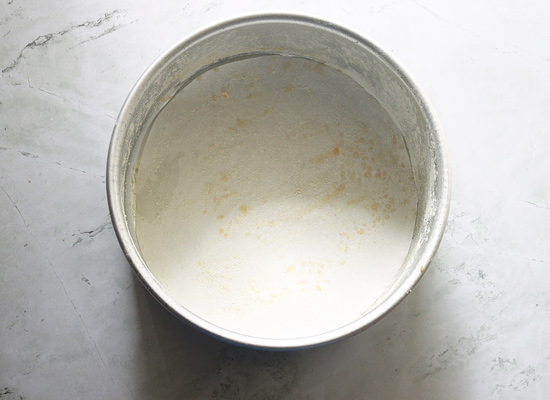
13.Pour the batter inside the cake tin.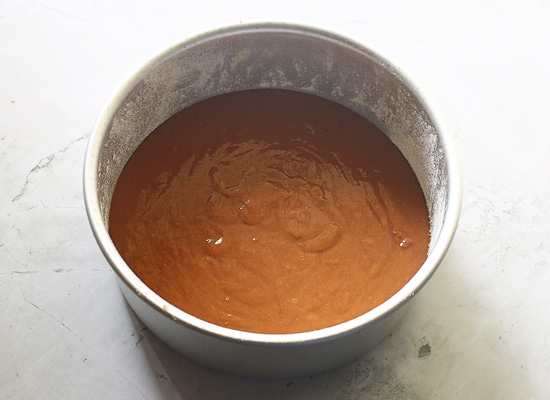
14.Preheat the kadai with steel stand placed inside.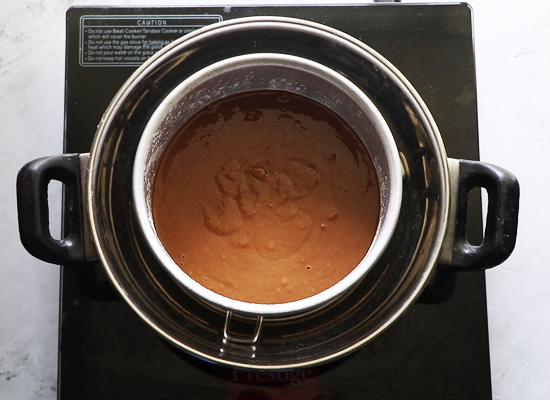
15.Cook covered for 35-40 mins or until a tooth pick inserted in center comes out clean.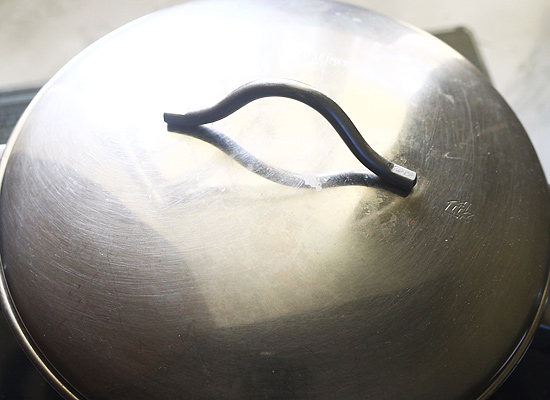
16.Cake is done id the toothpick inserted in middle comes out clean or with cake crumbs. If baking in oven bake at 180 deg C for 30 – 35 mins or until a toothpick inserted in middle comes out clean. Don’t worry if the cake cracks out, its normal.
17.Let the cake cool down for few mins then invert to demould.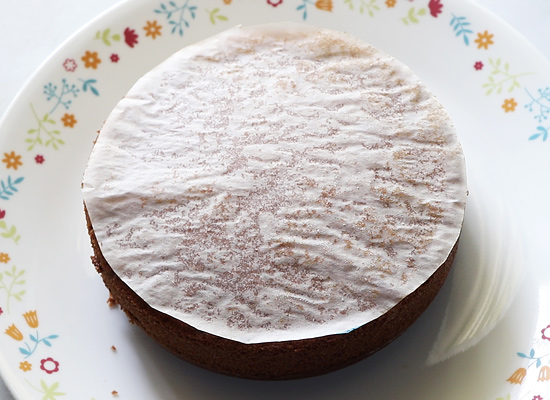
18.Remove butter paper, let the cake cool down completely.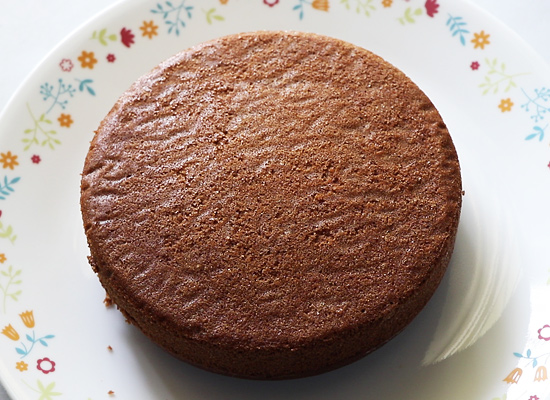
19.Meanwhile we can prepare bournvita frosting : To a pan add milk,chocochips,bournvita,cornflour and sugar.Heat it up.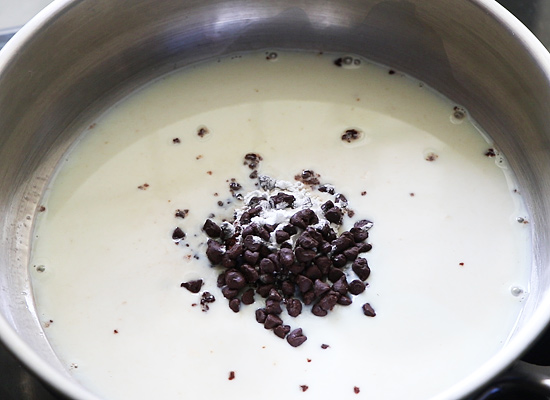
20.Mix well without any lumps.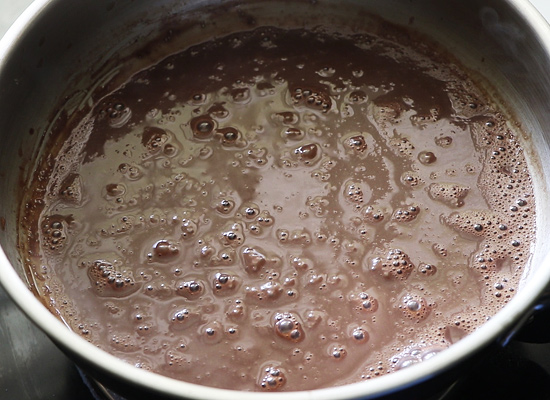
21.Keep cooking until a thick sauce consistency is reached. Set aside to cool.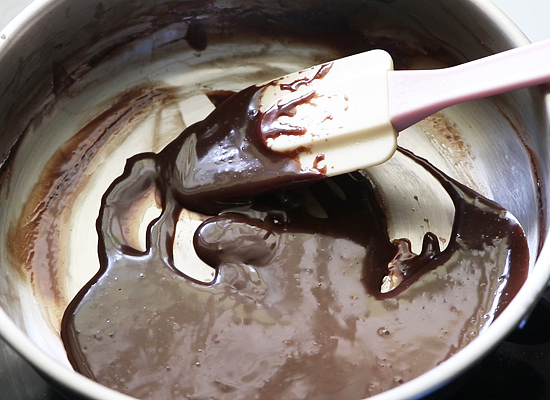
22.Once both the cake and frosting is cool, add the frosting to the top of the cake. Spread it to a thin layer. If you prefer you can frost the sides too.I just wanted to make it simple so stopped with just frosting the top alone.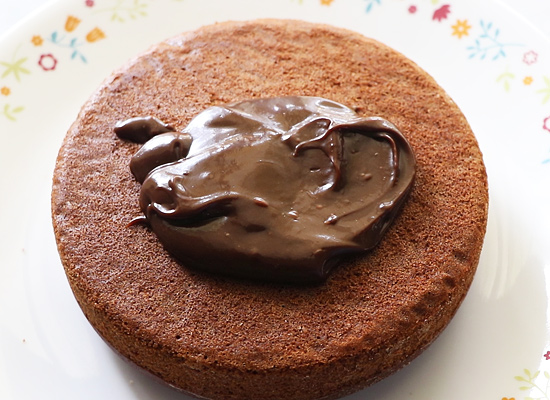
23.Add edible sugar silver beads on top. Cut and serve!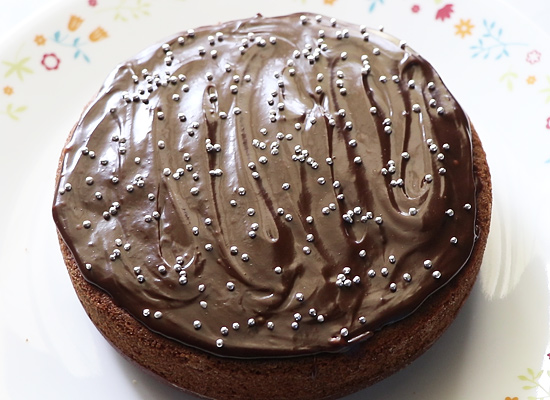
Enjoy!
My tips while making bournvita cake recipe:
- Pulsing bournvita along with sugar makes it easy to dissolve without any lumps.
- Also use a kadai which do not want anymore for cooking as the base will get dark when you use it for stovetop baking. I use the kadai as such with a steel stand placed inside. You can add a layer of sand or salt then place stand and bake too.
- You can use cane sugar if you want. But personally I haven’t tried it so not sure of the result.
- If baking in oven bake at 180 deg C for 30 – 35 mins or until a toothpick inserted in middle comes out clean.
- I used fully wheat flour, you can use a combination of maida and wheat flour half and half say 2 tbsp wheat flour and 2 tbsp maida.
- You can use any chocolate powder you like. You can even add horlicks. If you like add 1/2 tsp of cocoa powder or instant coffee powder to enhance the chocolate flavour.
- Don’t worry if the cake cracks out, its normal. If you are planning for a birthday cake, then sliec the craked part and apply frosting to get a smooth flat top. I usually invert it upside down then apply frosting.
The post Bournvita cake recipe appeared first on Sharmis Passions.
from Sharmis Passions https://ift.tt/2UmmRM0
via KITCHEN MASALA
No comments:
Post a Comment