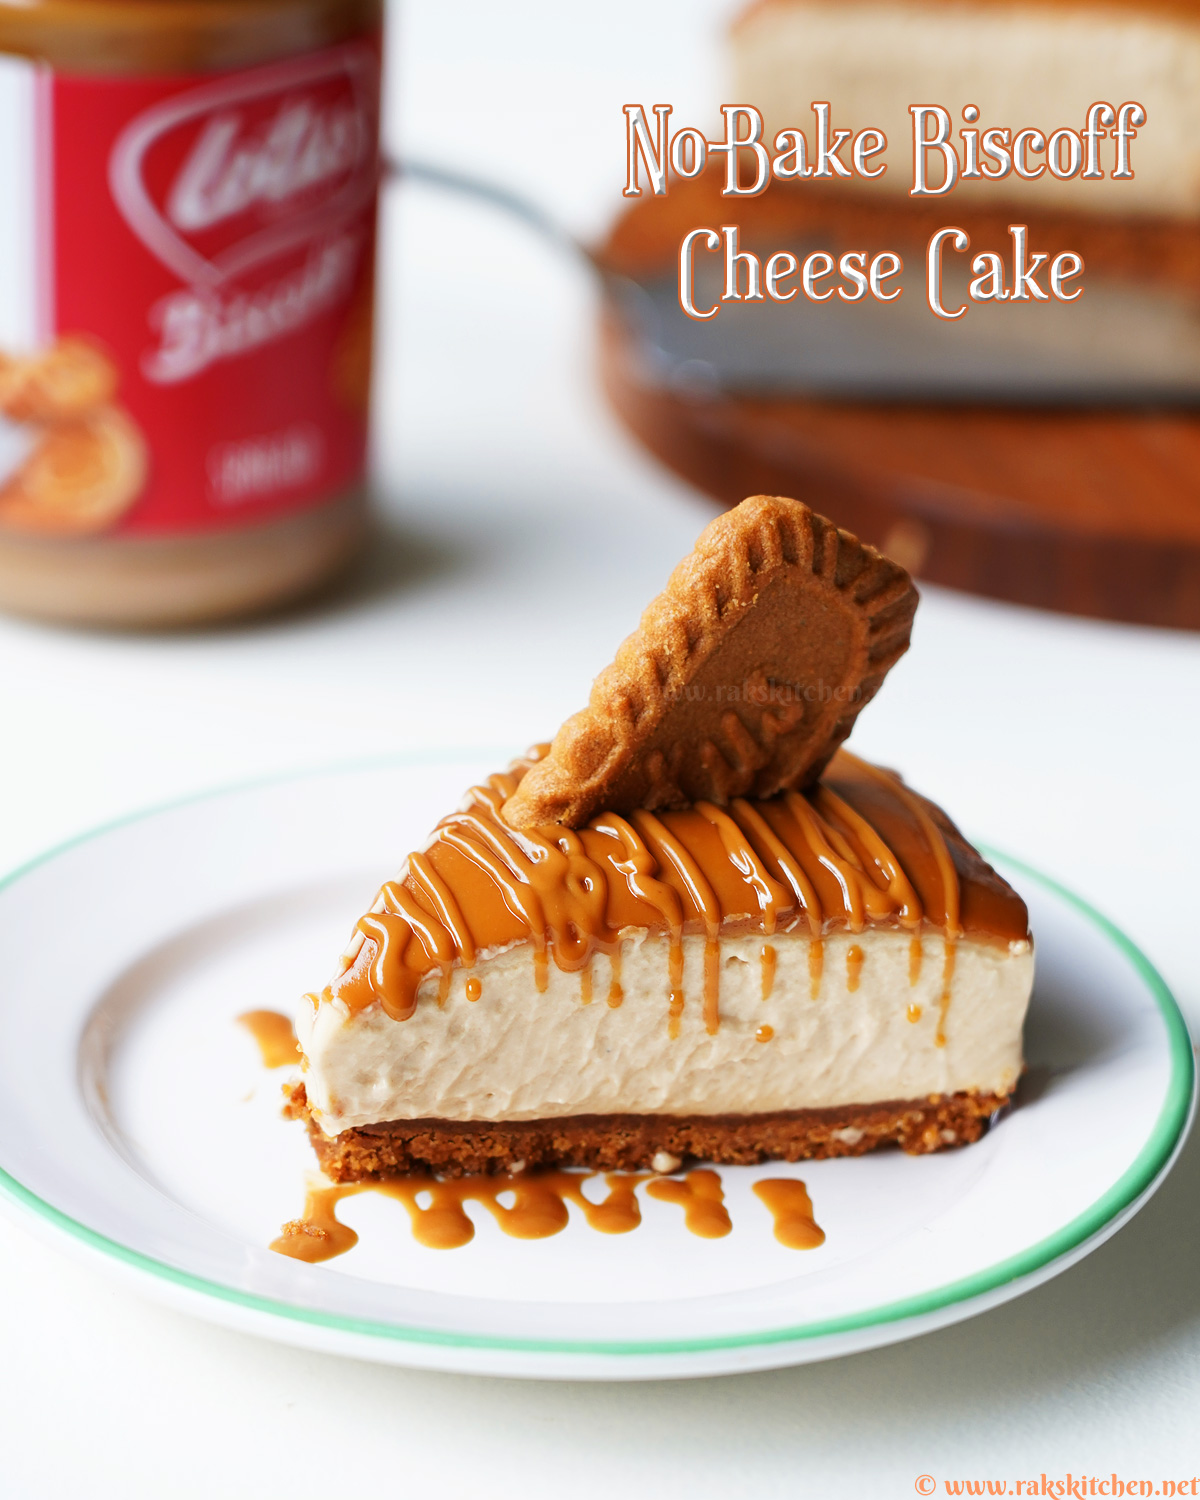
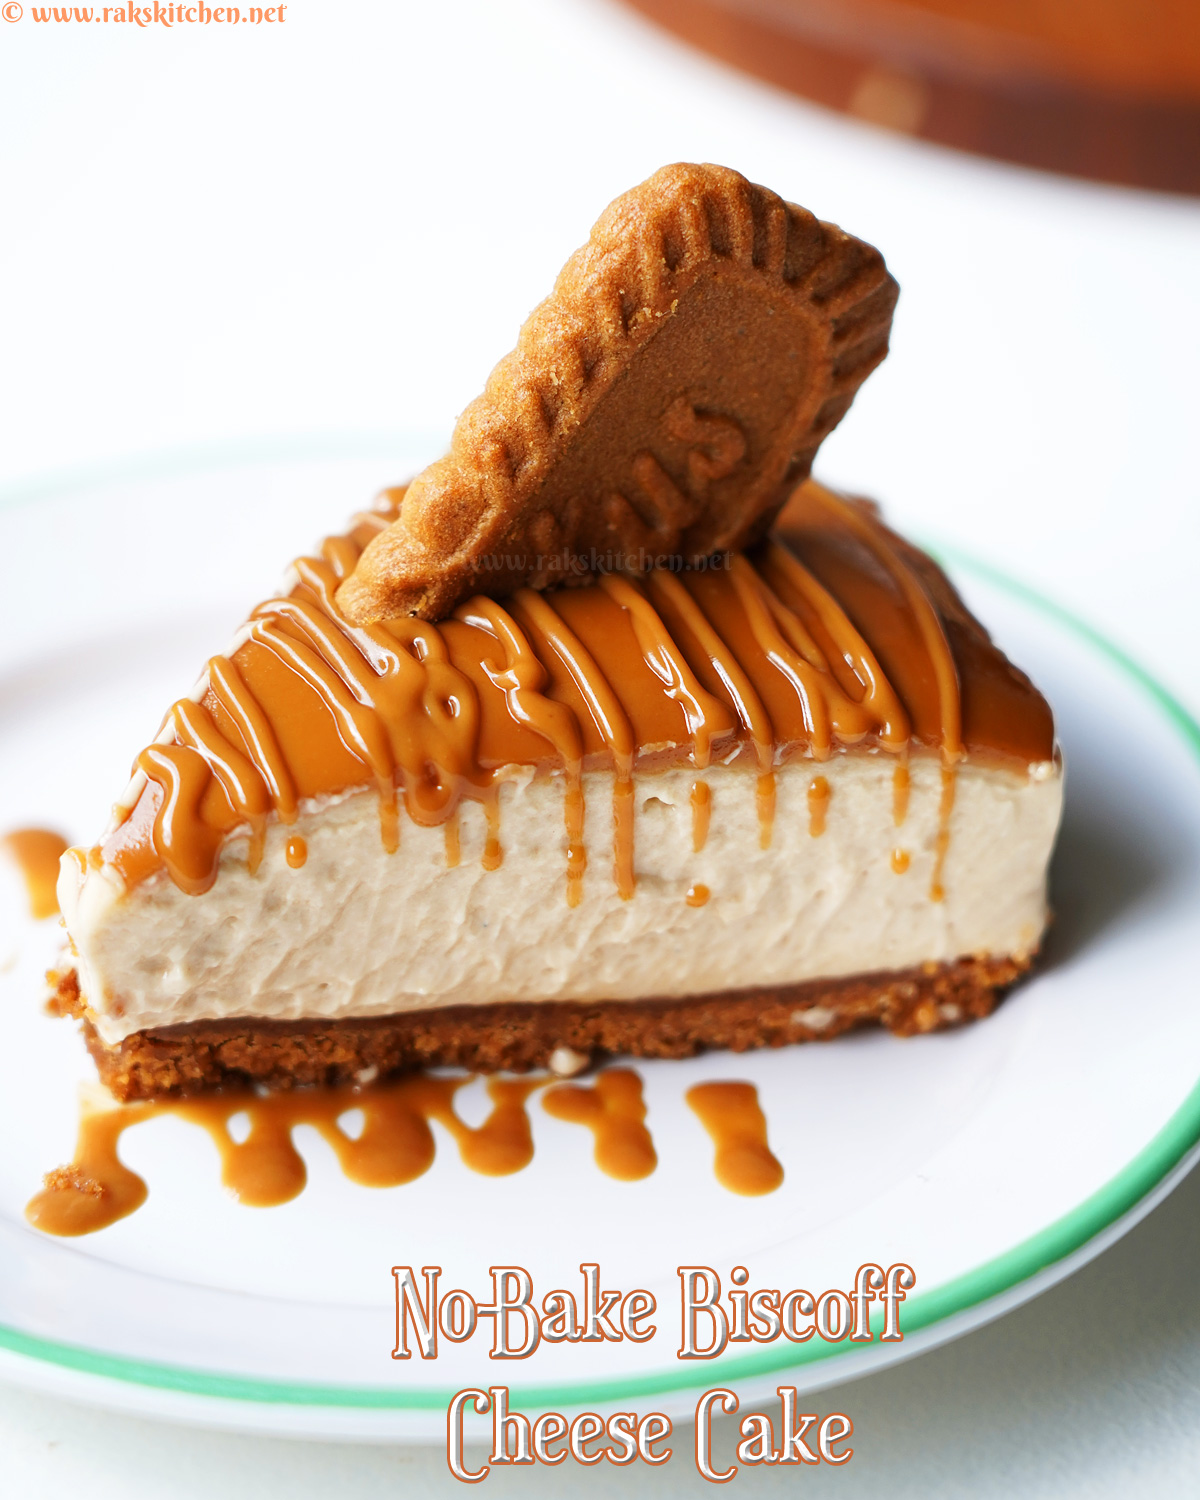
No bake biscoff cheesecake recipe with detailed stepwise photos and video. No gelatin, agar agar or baking involved. Just 5 main ingredients!

Before even knowing the hype about these Lotus Biscoff biscuits, I randomly picked a pack of this in Fairprice when Aj was studying his Primary. I used to pack some dry snacks and one day I pack biscuits.
I thought it was local brand and had no idea it is this much known brand. Recently only I came to know about it after tiktok and Instagram Biscoff trend. Though I buy for Aj, will I refrain from eating, hehe.
I love it a lot with coffee/ milk like how we dip and have it along like other biscuits. Later, we got bored of this biscuits and stopped, forgotten for years.

During lockdown, I somehow found there is also spread in this through Instagram. I got very excited once while ordering, saw it in Redmart. Ordered it rightaway.
Like most of the spreads, I know it is loaded with sugar and fat. Somehow I like nutella, but never become crazy about it given the fact about the ingredients in it.
Same way, I could not have it without any guilt. Also I like the biscuits better than spread. But surprisingly, Vj started to love this and we got few rounds of this spread.
Other than milkshake and coffee, I never experimented in creating recipes. But since Mother’s day coming up, you might be looking for some desserts. Especially, no-bake recipes for Mother’s day. Recipe partially adapted from here.

🍪 About the biscuit
If you are new to Biscoff biscuits, it’s also known as speculaas or speculoos. It’s an European cookie, baked with spices. Lotus Biscoff is a popular brand which sells biscuits with a subtle flavor of cinnamon and a strong caramelized flavor.
It goes well with coffee, tea as they claim. The spread is just a cookie butter, a spreadable paste with ground cookies in it, with same taste.
🍰 Texture
Did I mention before in my posts, that I am not a big fan of cheesecake? Somehow I don’t. Aj loves it and Vj is neutral about it. It has nothing to do with texture but the taste.
I can’t stand the savory taste of cheese in dessert. But this no bake Biscoff cheesecake is not at all like the regular one, I should tell you. Thanks to all the cream we fold in, sugar and the cookie spread.
It is more creamy, mousse like to be precise. I am in a hot humid place, so with all the video shooting and the climate, it was really soft and melting while shooting. But, perfectly holds it shape, no worries!
If you are okay with mousse like texture, then you just need refrigeration. Want firmer texture? Pop in the freezer for 30 mins just before serving. This gives you firm Ice cream like texture.
👪 Verdicts
To tell you more in detail, at first I gave Aj a slice which I used for shooting & clicking. Later one from freezer. He liked the freezer one best. In his own words, ‘This is how I like it! Firm like ice cream and just melts in your mouth once you pop inside’
Actually I made this for Vj’s Birthday as a treat for him. I know he loves biscoff like anything, so I planned this ahead. I am not at all a planner or an executer of what I plan.
But this guy deserves it, so I ordered biscuits and spread last month itself and planned for this. I first thought I will not do post as I would flop it in anxiety. But some how gathered confidence and made a video post itself.
Until I heard from himself I was not confident about this, but he told he liked it very much. I passed on to one friend, they loved it so much as well!
💭 Top tip
Since this is the first time I made cheesecake like this, I want share some notes.
- Use good quality, full fat cream cheese.
- Use icing sugar with corn starch as it helps in stabilizing the cheese layer.
- Importantly, about the base we spread in the bottom. Do not press too firmly, as it could become hard while setting. Be gentle enough for setting too.
- I also noticed this. While spreading the base, slightly rise the spread a little to make a curve with the wall of the tin.
- To take out the cake from the base of the tin, carefully slide in a thin, broad spatula in between the crust and the baking pan’s base.
- Use lining for best results while un molding.
🎥 Video
Is video more your thing? Watch how to make this dessert.
🍽 Serving size
This has full fat cream cheese, whipping cream, sugar, the biscoff spread everything that are high in calories. So watch out and restrict yourself with a thin slice.
But do not try to make it low fat, better to follow the recipe and make it for special occasions once in a while.
🍮 Storing
While setting the base and filling I cling wrap it. Once un-molded, you can use a cover (dome) and refrigerate/ freeze. It will be good upto 5 days in fridge or freeze in an airtight box for a month. Thaw in fridge before night for serving next day.
📋 You may also like
No bake biscoff cheesecake recipe
Equipments (Amazon Affiliate links)
-
6 inch Spring foam pan
Ingredients
- 16 Biscoff biscuits
- 200 gm Cream cheese
- 200 ml Whipping cream
- ½ cup Biscoff spread
- ¼ cup Icing sugar
- 1 tsp Vanilla extract
Instructions
Base
-
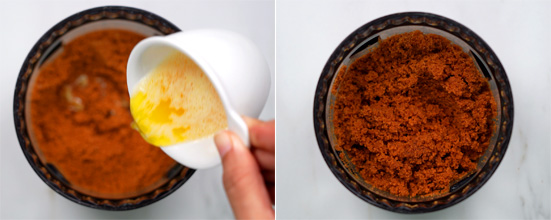
First, break the biscuits roughly and place it in a processor. Grind finely.
-
Add melt butter to it and mix thoroughly.
-
Take a 6 inch spring foam pan. Line the base with butter paper.
-
Spread the biscuit mixture and gently press it to form a base. Keep inside fridge for 30 mins.
Cheese filling
-
Meanwhile, prepare the cheese filling. Take whipping cream in a mixing bowl.
-
Start beating in low speed and gradually increase it to high. Whip until stiff peaks form. Transfer to another bowl.
-
Now place cream cheese, biscoff spread, icing sugar, vanilla in the mixing bowl and beat well to mix.
-
Once done, gently fold in the whipped cream until silky and smooth.
-
Take out the base from fridge, pour the prepared cheese filling over it. Spread evenly.
-
Keep in fridge overnight (recommended) or minimum 6 hours.
Unmolding
-
Once set, take out the pan, run a knife around the sides gently.
-
Take a heavy cup, place the pan over it. Release the clip, gently pull the pan down.
-
Now transfer the base to the cake stand or platform. Smoothen the cheese filling if needed.
-
Insert a broad spatula in between crust and pan base carefully. Gently remove it from the pan's base. Since we have lined it, it will come off easily.
For top glaze
-
In a small pan, take around 3 to 4 tbsp biscoff spread. Heat slightly to melt it.
-
Pour it over the set cheesecake. Spread evenly without disturbing the filling.
-
For the sides, you can carefully spoon few drops for a dripping effect. You can do this using piping bag for precisely doing it.
-
Refrigerate again minimum 30 mins before serving. For firmer texture, freeze for not more than 30 mins just before serving.
Slice cheesecake & serving
-
Dip the knife in hot water, wipe the water, cut. Wipe clean the knife, dip again in hot water, cut. Serve immediately.
Video
Notes
- Please note that the topping biscuit and spread is not included in the measurements.
- Make sure to beat the whipping cream to right stage. Neither soft peak or over beating.
- Whipping cream or double cream with high fat content works best for this cake.
- There is no need for setting agents like egg, gelatin or agar agar needed. This by itself will be set perfectly.
📸 Stepwise photos
Base
1. First, break the biscuits roughly and place it in a processor. Grind finely.

2. Add melt butter to it and mix thoroughly.

3. Take a 6 inch spring foam pan. Line the base with butter paper. Spread the biscuit mixture and gently press it to form a base. Keep inside fridge for 30 mins.

Cheese filling
1. Meanwhile, prepare the cheese filling. Take whipping cream in a mixing bowl. Start beating in low speed and gradually increase it to high. Whip until stiff peaks form. Transfer to another bowl.

2. Now place cream cheese, biscoff spread, icing sugar in the mixing bowl and beat well to mix.

3. Once done, gently fold in the whipped cream until silky and smooth.

4. Take out the base from fridge, pour the prepared cheese filling over it. Spread evenly. Keep in fridge overnight (recommended) or minimum 6 hours.

Unmolding no bake biscoff cheesecake
1. Once set, take out the pan, run a knife around the sides gently. Take a heavy cup, place the pan over it. Release the clip.

2. Gently pull the pan down. Now transfer the base to the cake stand or platform. Smoothen the cheese now if you need.

3. Insert a broad spatula in between crust and pan base carefully. Gently remove it from the pan’s base. Since we have lined it, it will come off easily.
For top glaze
- In a small pan, take around 3 to 4 tbsp biscoff spread. Heat slightly to melt it. Pour it over the set cheesecake. Spread evenly without disturbing the filling.

2. For the sides, you can carefully spoon few drops for a dripping effect. You can do this using piping bag for precisely doing it.

3. Refrigerate again minimum 30 mins before serving. For firmer texture, freeze for not more than 30 mins just before serving.
Slicing a cheesecake & serving
1. Dip the knife in hot water, wipe the water, cut. Wipe clean the knife, dip again in hot water, cut.

To Serve the no bake biscoff cheesecake, you can drizzle the melt spread using a piping bag (I used ziploc), top with half of a biscuit on top and serve. You can use the biscuit crumble too to cover the top.

The post No bake Biscoff cheesecake recipe appeared first on Raks Kitchen.
from Raks Kitchen https://ift.tt/3t6MVGy
via KITCHEN MASALA

No comments:
Post a Comment