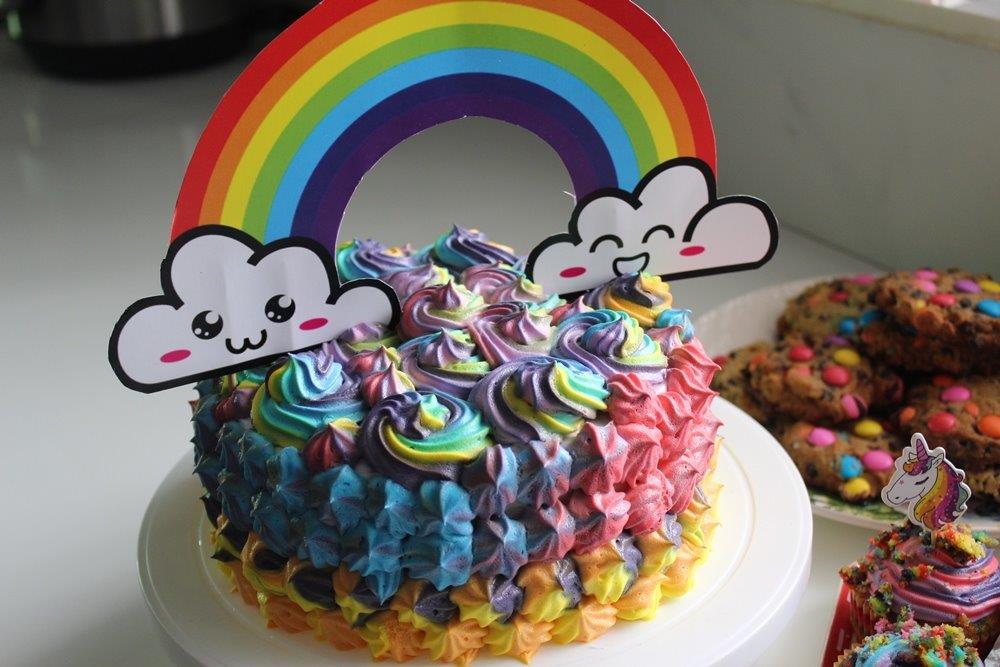
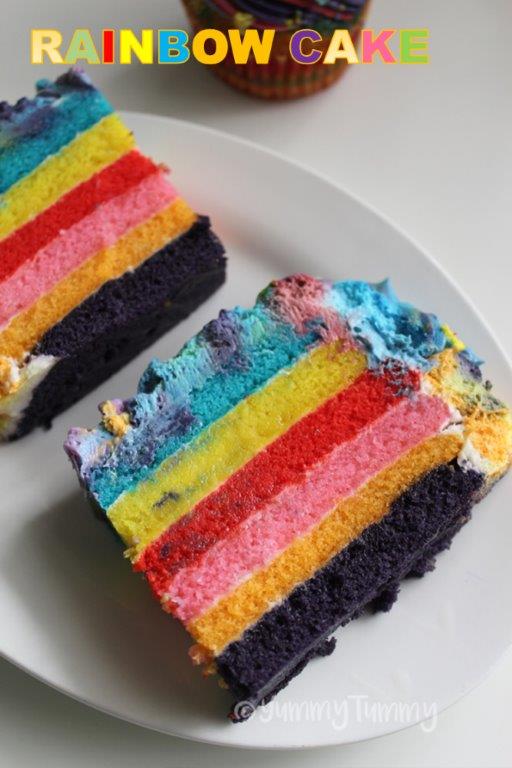
“Rainbow Unicorn Cake is a vibrant colourful cake which makes any party special. You will get a blast of happiness when you slice into the cake.”
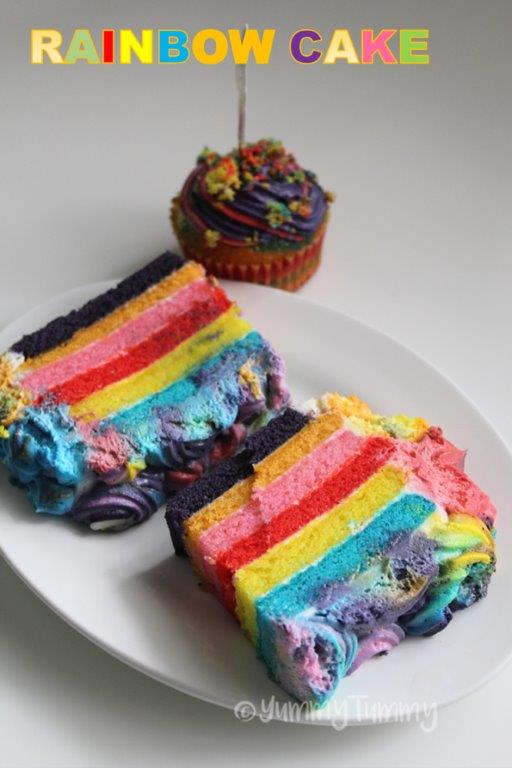
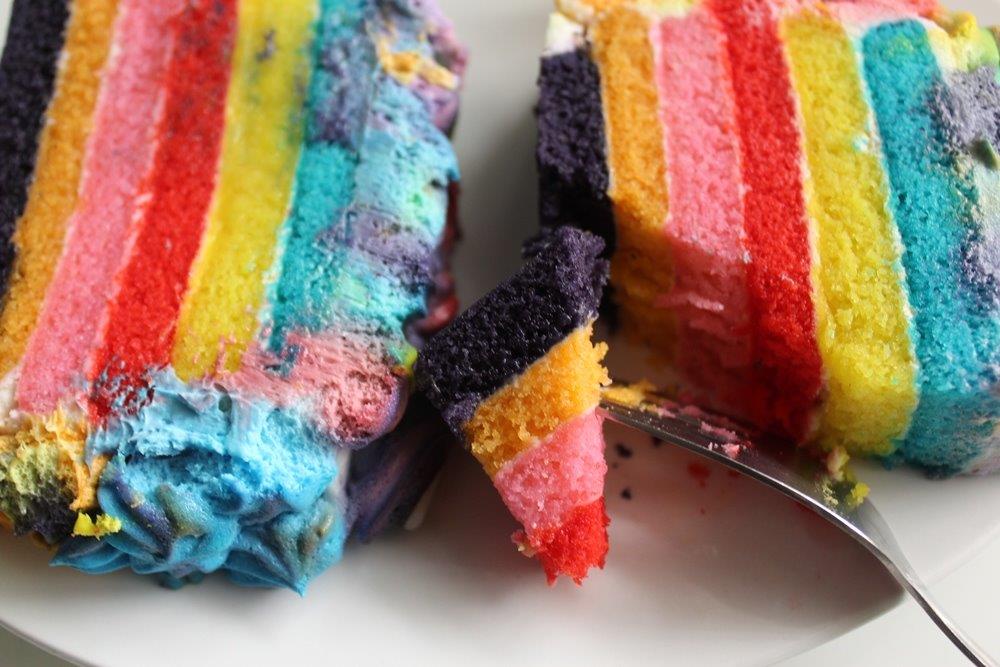
This rainbow cake just makes me feel so happy. I absolutely LOVED slicing into it to see all those gorgeous colorful layers! The best part is, this rainbow cake isn’t just for looks, it tastes absolutely amazing. You won’t have a crumb leftover.
The sweetest mini celebration cake! layers of colorful, moist cake with vanilla flavour and a vibrant whipped cream frosting. Simple and suitable for small crowds, this little layer cake is delicious and fun for all ages!
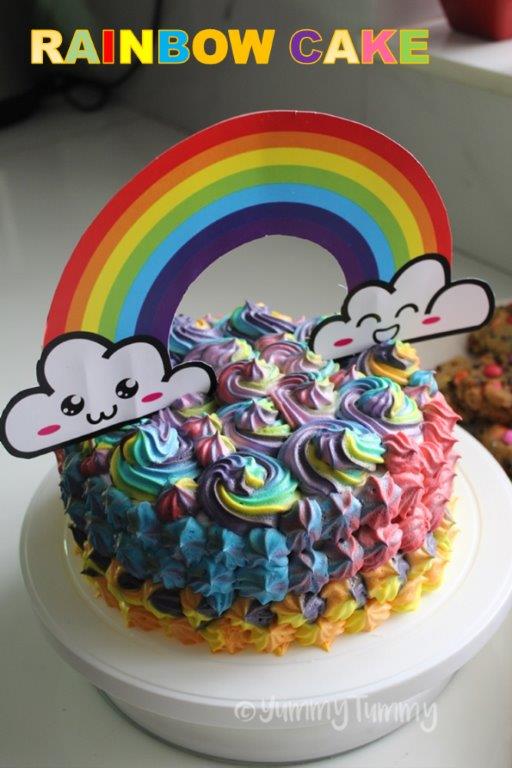
I made this cake for my daughter maha’s 7th birthday. She wanted a rainbow theme so i incorporated rainbow and her favourite unicorn in one little cake. The cake looked super cool and colourful and the frosting is just awesome.
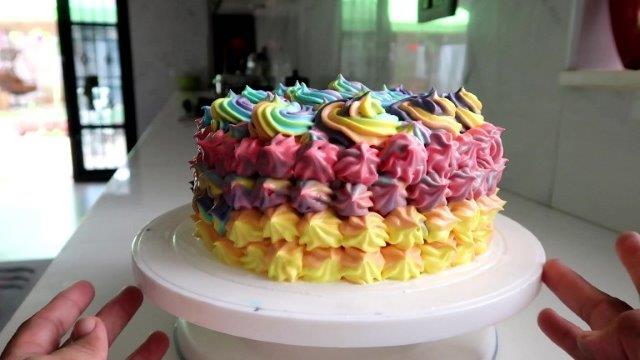
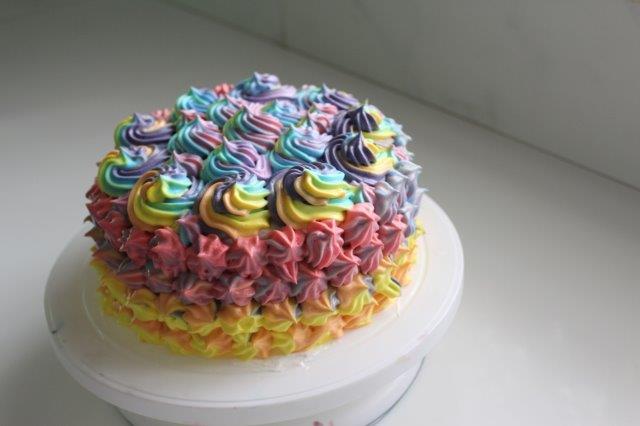
I coloured whipped cream with different food colours. Then i took a huge piping bag and added dollops of the cream into the bag. When i started to pipe around the cake, each layers got different colours and pattern. It created a lovely unicorn colour.
I have shared a different version of rainbow cake in this blog before. It has buttercream frosting in them.
I made this rainbow cake for my girl and she
thought I was the coolest mom EVERRRRR!
 Need to make a showstopping Rainbow Cake? Get my recipe for this Easy 6-Layer Rainbow Cake – Step by Step tutorial showing everything you need to do to make an awesome homemade Rainbow Cake 🌈🌈🌈
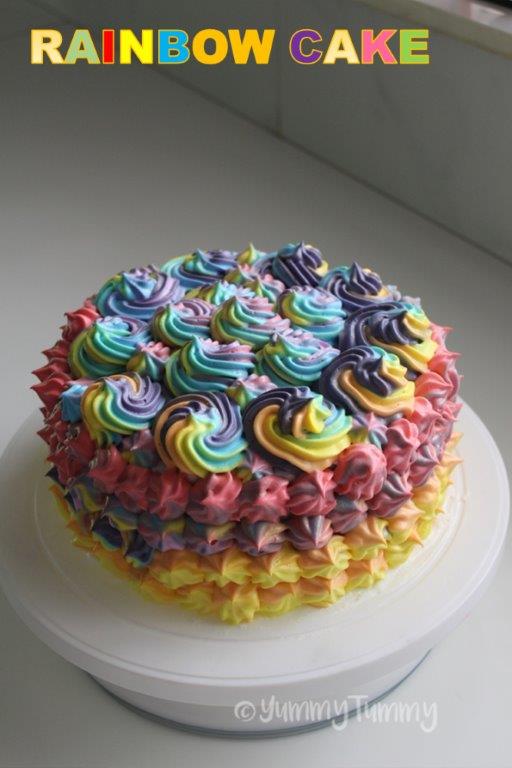
Rainbow Cake is THE perfect cake for any celebration. Fun, pretty, delicious and AWESOME, Rainbow Cake never fails to make everyone smile!
How do you make a rainbow cake?
Rainbow cakes are so easy to make. It can be baked in 6 easy steps.
- Make a vanilla cake batter.
- Divide into several bowls
- Add food colours.
- Pour into cake pan
- s
- bake.
- decorate.
How do you color cake batter?
Add 3 to 5 drops of food colors to the cake mix and stir it in. Check the coloring for the desired shade and add more food coloring, if needed. The cake will bake to a lighter color than the batter.
Which Flavour of cake is best?
Plain vanilla cake batter is best for rainbow cake. But you can make a plain cake batter. Divide it into several bowls, add each flavoured extract and food colours to each bowls and make different layers of flavour in a single cake.
Which Frosting is best for Rainbow Cake?
Whipped cream frosting is best for rainbow cake, since the cake has several layers in them. Whipped cream makes the cake less sweet and little lighter. Buttercream can make the cake too sweet and rich.
Can we bake Rainbow Cakes in advance?
You can bake the cakes two to three days in advance. Wrap each cake in plastic wrap and store in fridge.
How long can we store this Rainbow Cake? Rainbow Cake Shelf Life? Fresh Cream Cakes Shelf Life?
Fresh cream cakes can be stored in an air tight container in fridge for 4 to 5 days.
HOW MANY PEOPLE DOES THIS RAINBOW CAKE SERVE?
Of course, it depends how big their cake bellies are (mine can fit in A LOT!) but this Rainbow Cake will serve 8 to 10 people comfortably.
If you want each layers to have different flavours. Here are some ideas.
Colours and Flavours which can be used in Rainbow Cake.
- Pink – Rose Extract
- Red – Strawberry Extract
- Blue – Peppermint Extract
- Green – Pistachios Extract
- Purple – Grapes Extract
- Yellow – Pineapple Extract
- Orange – Orange Extract
“Even though this idea is so much fun. I don’t recommend it. Because the cake may get over powering with all those flavours in them. But it is definitely a WILD IDEA.”
RAINBOW CAKE SECRETS:
Essential tips about making this cake that will make YOUR life so much easier. Don’t skip this section!
- Use good quality gel food colours for vibrant colour.
- Use 8 inch cake pans. This batter is enough to make 6 to 7 layer cake.
- If you want the layers to be thin, add less batter in each cake pan and bake.
- Use leftover cake batter to make rainbow cupcakes.
- You can bake the cakes in advance, one to two days before. Wrap each layer in plastic wrap and store in fridge.
Important Things To Note Before You Start
1. Bring all your ingredients to room temperature or even a little warm (eggs, buttermilk, butter, etc) to ensure your batter does not break or curdle.
2. Use a scale to weigh your ingredients (including liquids) unless otherwise instructed (Tablespoons, teaspoons, pinch etc). Metric measurements are available in the recipe card. Scaled ingredients are much more accurate than using cups and help ensure the success of your recipe.
3. Practice Mise en Place (everything in it’s place). Measure out your ingredients ahead of time and have them ready before you start mixing to reduce the chances of accidentally leaving something out.
4. Chill your cakes before frosting and filling. You can cover a frosted and chilled cake in fondant if you wish. This cake is also great for stacking. I always keep my cakes chilled in the refrigerator before delivery for easy transporting.
5.All purpose flour is a plain flour with no rising agents. It has a protein level of 10%-12%
TRENDING VIDEO:
 If you have any questions not covered in this post and if you need help, leave me a comment or mail me @aarthi198689@gmail.com and I’ll help as soon as I can.
Follow me on Instagram, Facebook, Pinterest ,Youtube and Twitter for more Yummy Tummy inspiration.
IF YOU MAKE THIS RECIPE OR ANYTHING FROM YUMMY TUMMY, MAKE SURE TO POST IT AND TAG ME SO I CAN SEE ALL OF YOUR CREATIONS!! #YUMMYTUMMYAARTHI AND @YUMMYTUMMYAARTHI ON INSTAGRAM!
- All Purpose Flour / Maida – 3 cups / 360 grams
- Sugar - 3 cups / 600 grams Powdered (I used granulated sugar which i powdered)
- Eggs - 4
- Oil - 1 cup / 240 ml (I used refined oil)
- Milk - 1 cup / 240 ml
- Vanilla Essence - 1 tblspn
- Baking Powder - 2 tsp
- Salt - ½ tsp
- Food Colours as needed
- Whipping Cream powder - 500 grams
- Ice Cold Water - 1 to 1.5 cups
- Food Colours as needed
- Sugar - ¼ cup
- Water - ¼ cup
- Preheat oven to 180 degree C.
- Line three 8 inch round cake pan with parchment paper and set aside.
- Take flour, salt, baking powder in a bowl. Use a whisk to mix. Set aside.
- Take sugar and eggs in a bowl. Use a electric beater to whip it for 1 min or so till combined.
- Add vanilla and mix well.
- Add in oil and mix well.
- Add in half of the flour mix, half of the milk and mix.
- Add remaining flour and remaining milk and mix well.
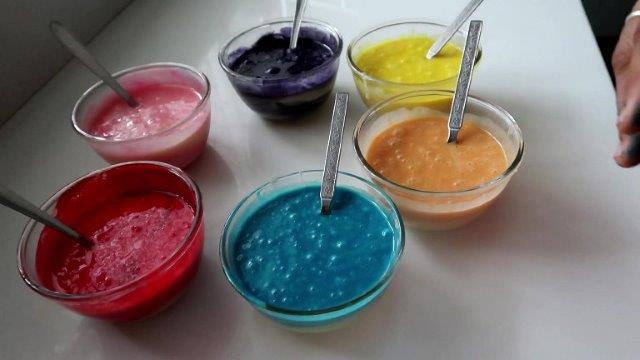
- Now divide the batter between 7 bowls.
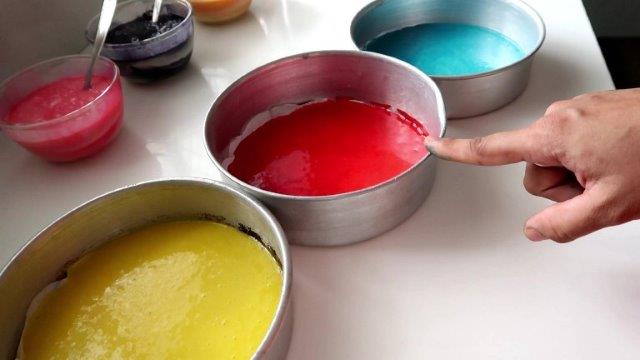
- Add food colour into each bowl and mix gently.
- Now pour the batter into the cake pan. I baked three cakes at a time.
- Place the cake pan in a preheated oven and bake the cake for 7 to 10 mins.
- Don't over bake the cakes. Bake until the cakes are just baked.
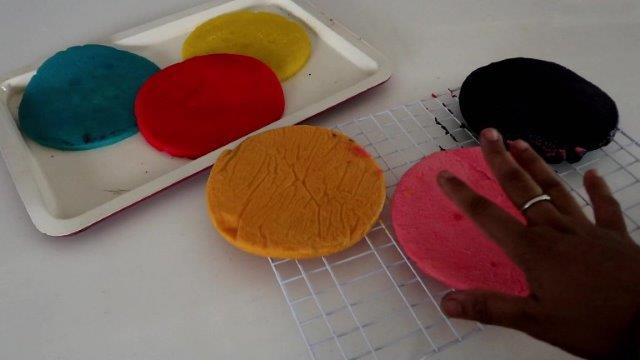
- Remove and cool for 5 mins. Un mould and peel off the parchment paper. Set aside in a cooling rack to cool.
- Now bake all the cakes like this and set aside to cool completely.
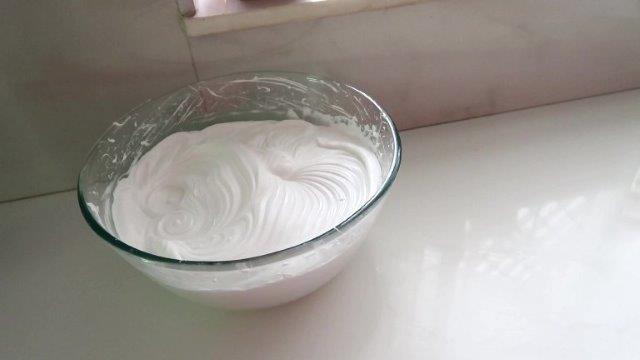
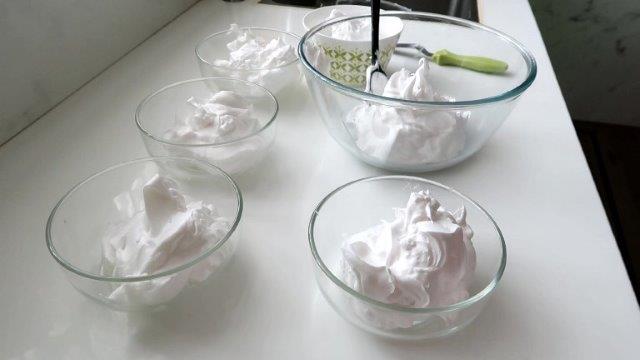
- Meanwhile whip the cream. Take cream powder and water in a large cold bowl. Whip it till stiff peaks form.
- Mix sugar and water and stir till sugar is melted.
- Now assemble the cakes. Take one layer of cake in a cake stand. Apply syrup.
- Spread cream on top. Stack each cake and repeat.
- Cover the entire cake with cream and put this in fridge for few hours till set.
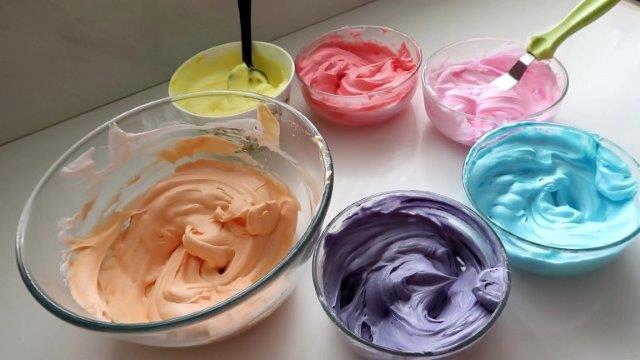
- Divide the remaining cream between small bowls and mix food colours. Set aside.
- Take the cream in a piping bag, i used star tip.
- Now decorate the entire cake with the cream as you wish.
- Let the cake set for at least 5 to 6 hours.
- Slice and serve.
2)Never over bake the cakes. The cakes are thin so it requires very low time to bake.
3)Every oven varies. So the baking temperature varies accordingly.
4)I used whipping cream powder, you can use frozen non dairy whipping cream as well.
5)If you are using whipping cream, add some icing sugar and vanilla and whip till stiff.
6)Use best quality natural food colours.
7)Always keep the cream cold. so it is easy and pipeable.
8)If the cream gets liquid after adding food colour, whip it again for few minutes and then use.
9)Use gel food colour for best result.
10)You can decorate the cake as your wish.
11)Soak the cake in syrup to keep the cake moist and soft.
Pictorial:
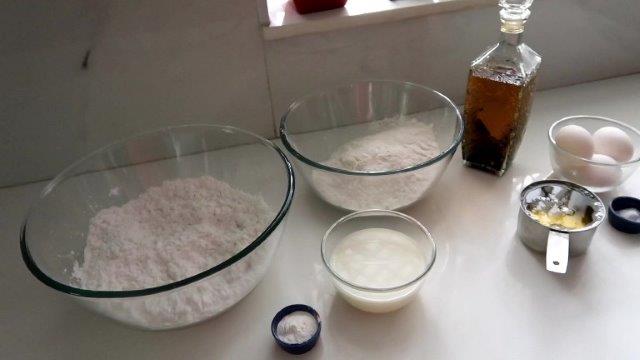
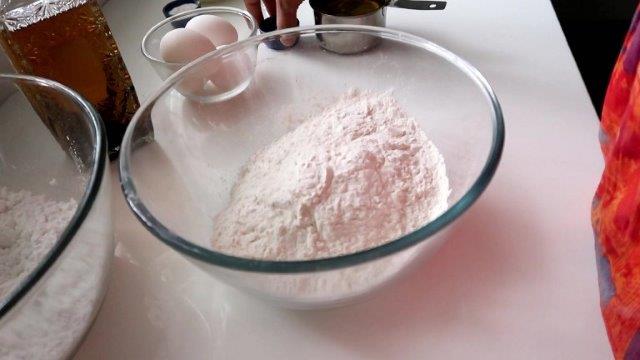
1)Collect all your ingredients
2)Take flour in a bowl.
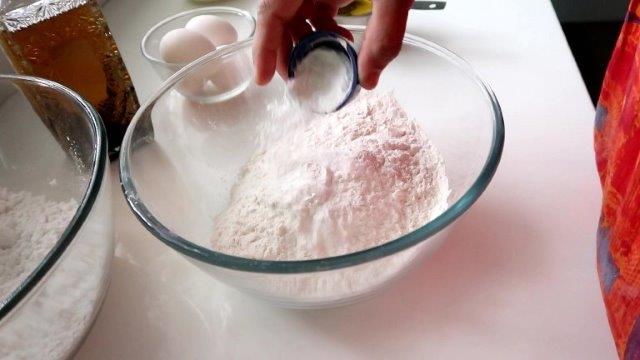
3)Add in salt
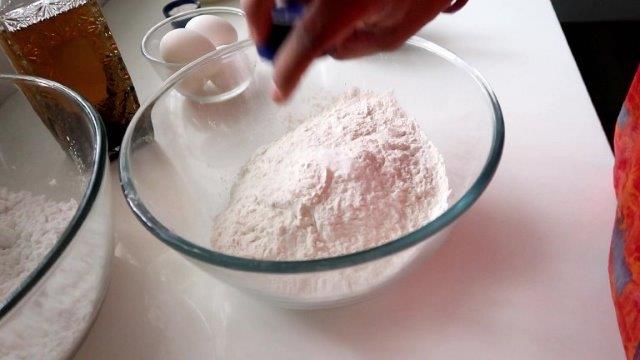
3)Add in baking powder
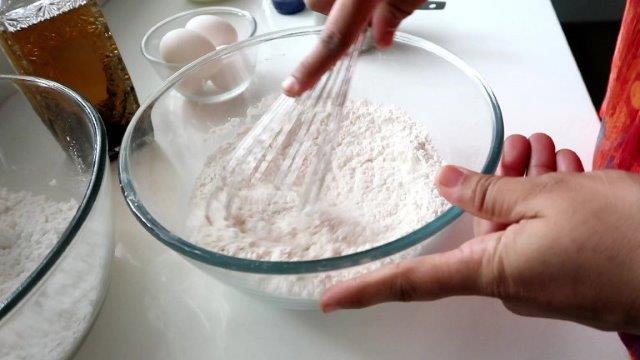
4)Mix well and set aside.
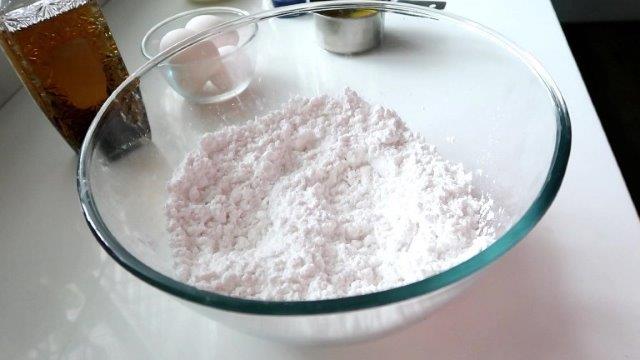
5)Take powdered sugar in a bowl
6)Add in eggs

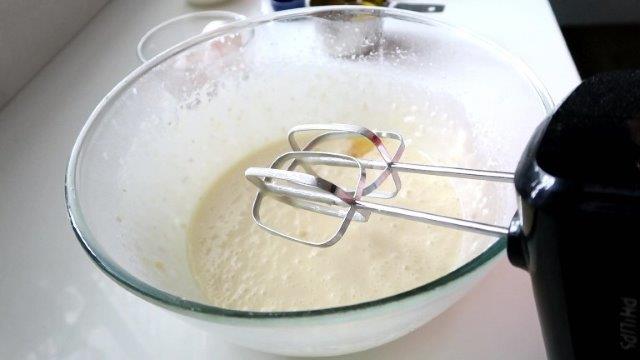
7)Use a beater to whip this till combined
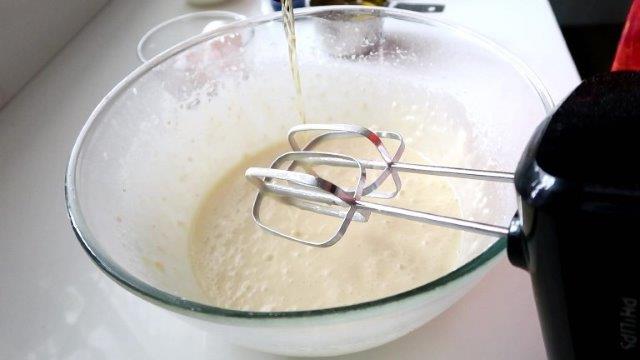
8)Add in vanilla extract
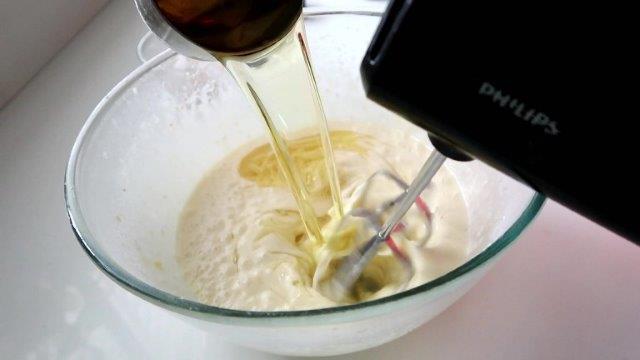
9)Add in oil
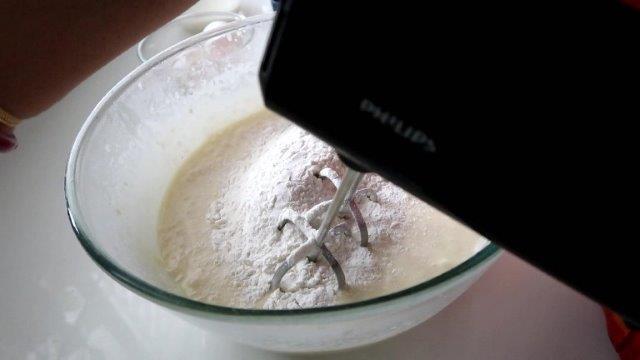
11)Add in half of the flour in
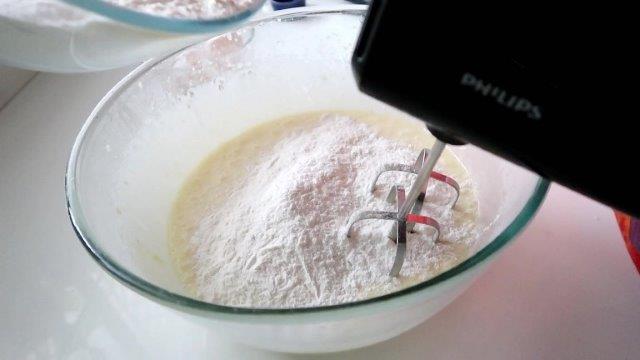
12)Add in milk and keep mixing.
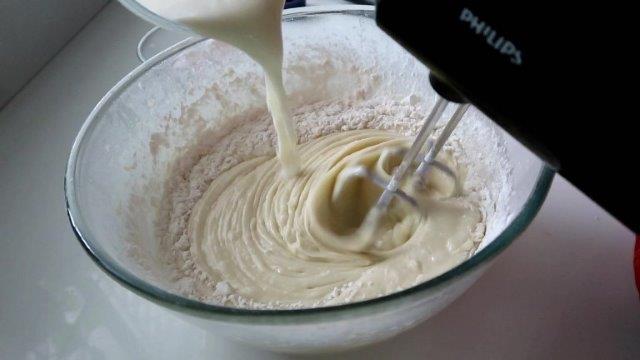
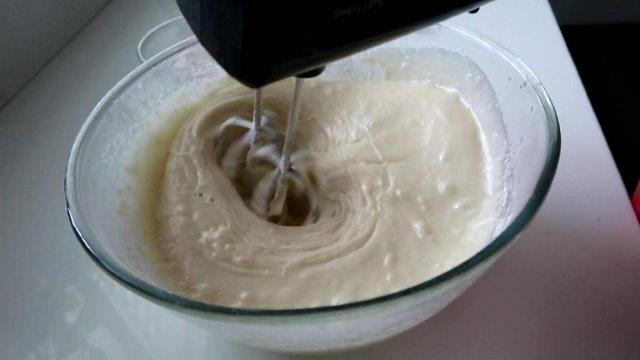
13)Alternate between flour and milk and keep mixing.
14)Don’t over mix the batter.
15)Divide the batter between bowls.
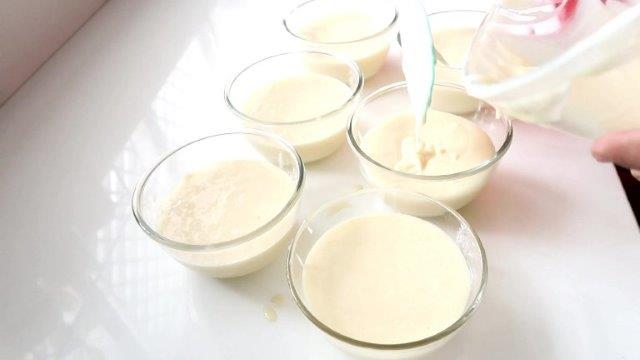
16)Add food colours.
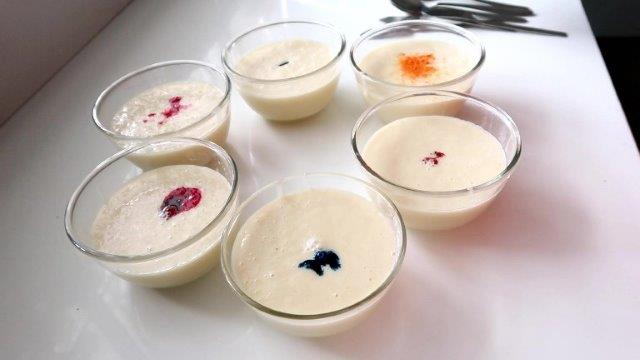
17)Mix gently.
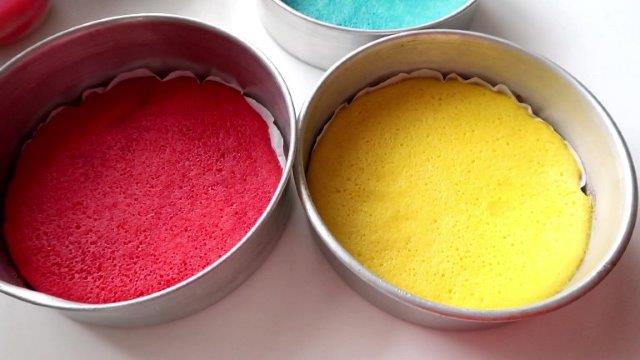
18)Line three baking pan with parchment paper.
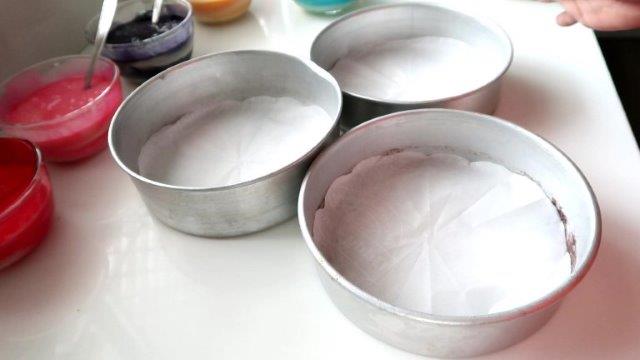
19)Pour batter in.
20)Bake until the cake is just baked. Don’t over bake.
21)Cool the cakes.
22)Whip some cream till thick and stiff.
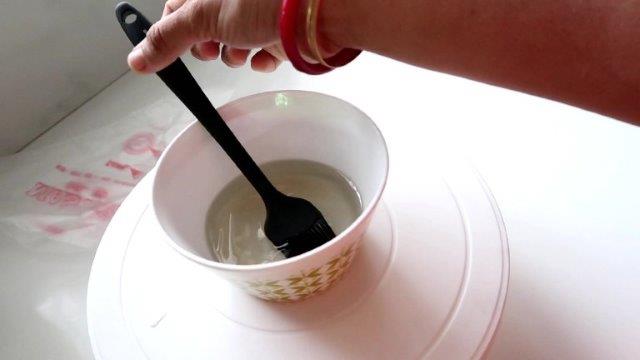
23)Prepare sugar syrup by mixing sugar and water
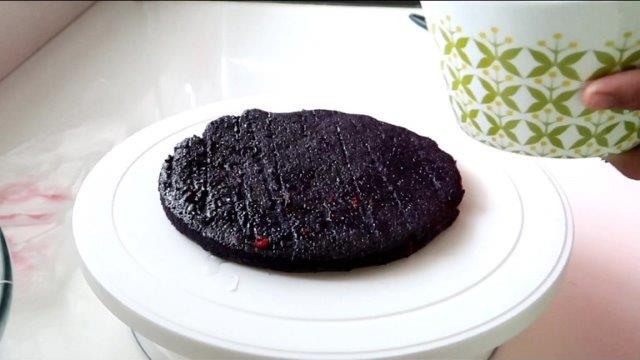
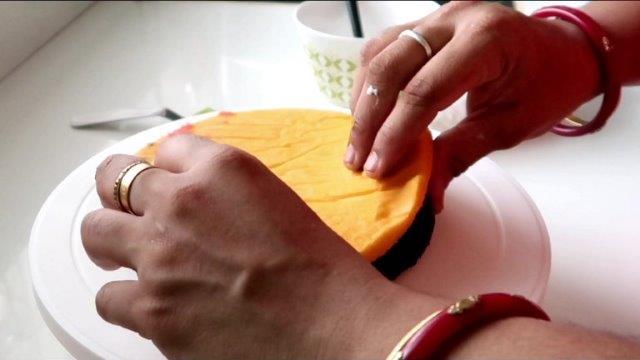
24)Take a layer of cake. Place on a cake stand.
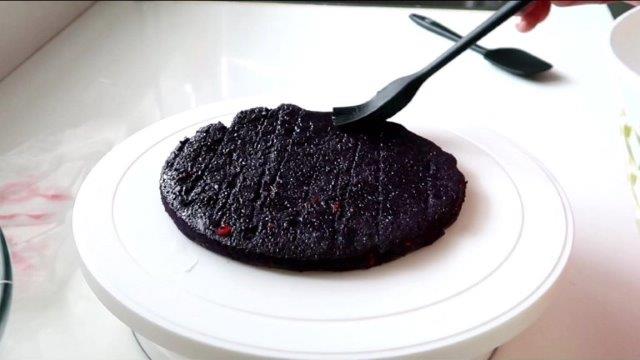
25)Brush syrup over the cake.
26)Pipe cream on it.
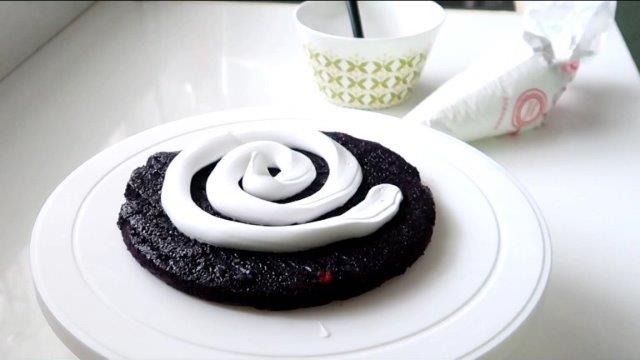
27)Spread and place another layer of cake.
28)Repeat this process.
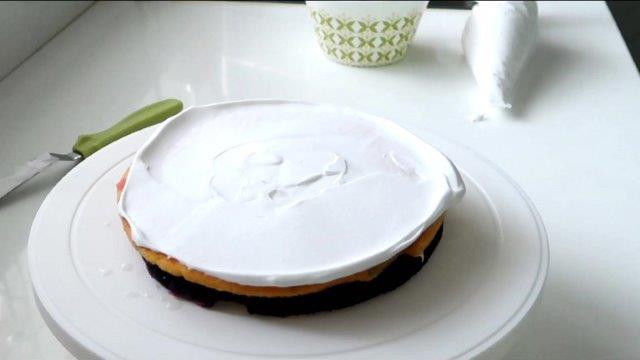
29)Cover the entire cake with cream.
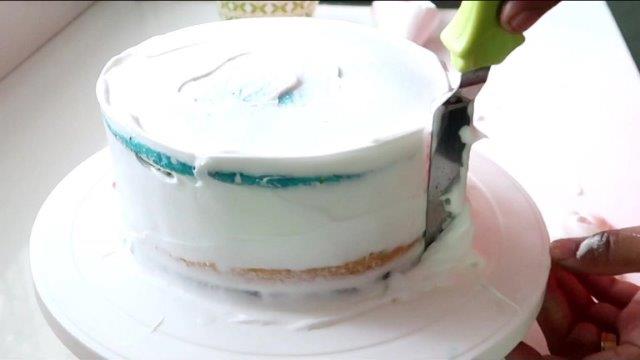
30)Divide the cream in different bowls
31)Add food colours and mix well.
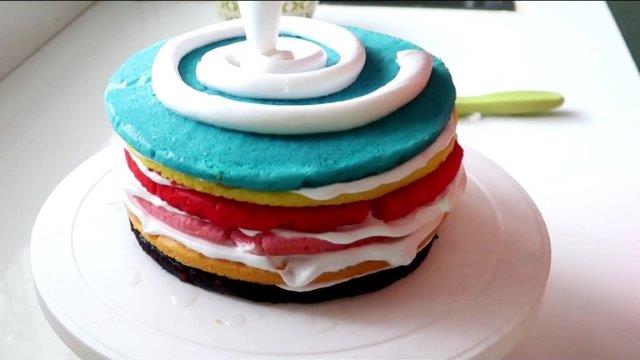
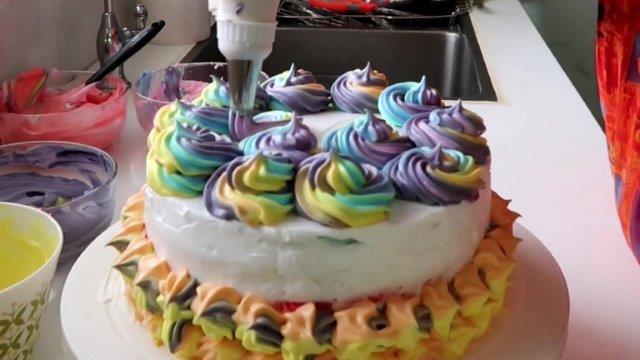
32)I spooned all the cream into a large single piping bag to create rainbow pattern when piped.

33)Just keep piping.

34)Like this.
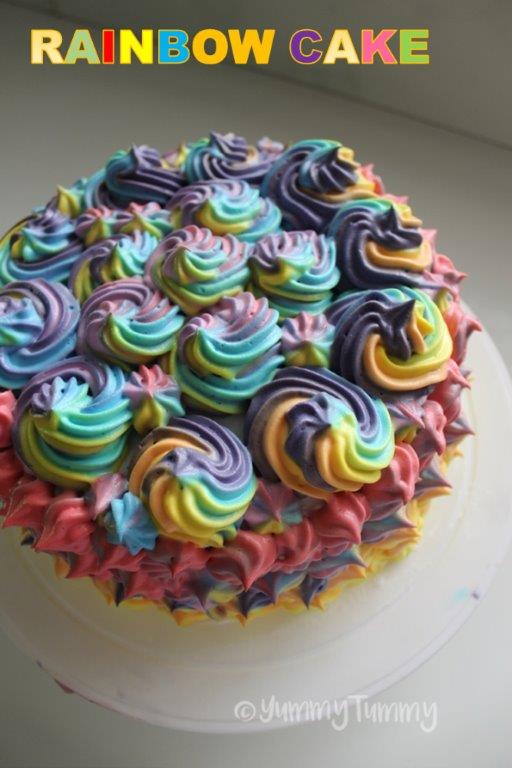
35)This will create lovely pattern.
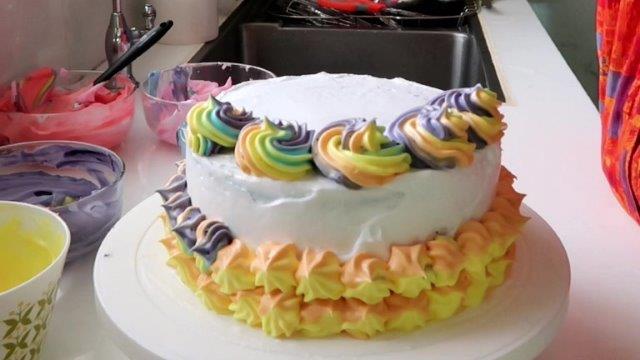
36)This is how the cake looks once piped.
37)Leave the cake to set in fridge for 4 to 5 hours.
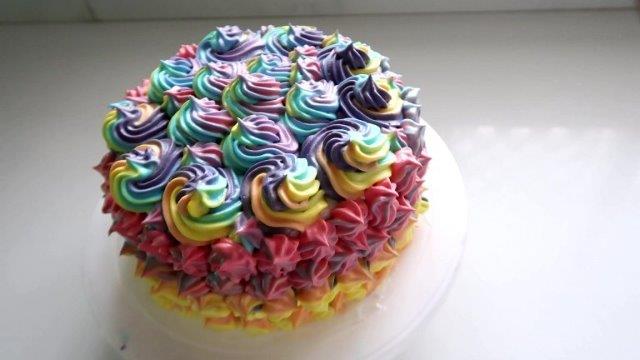
38)I just loved the look of the cream when it is piped. It looked like a unicorn themed cake.
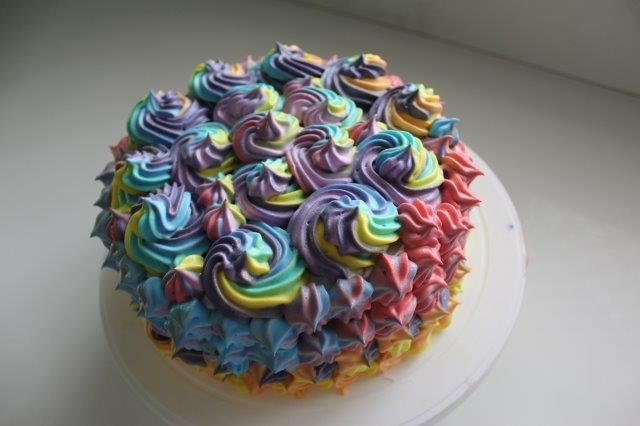
39)Our unicorn themed rainbow cake is done.
40)I placed a rainbow cut out on top.
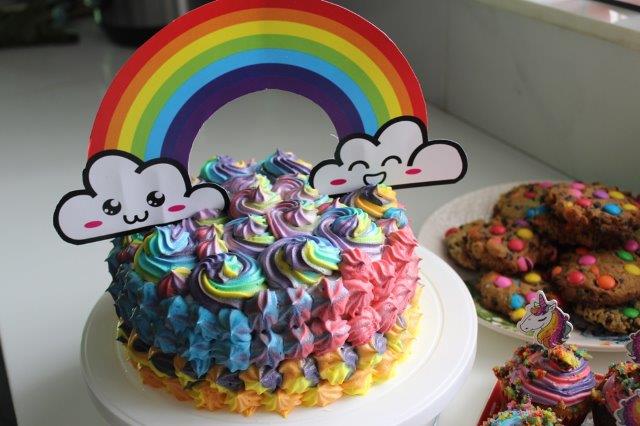
41)Slice and enjoy the colourful vibrant cake.

The post Rainbow Unicorn Cake appeared first on Yummy Tummy.
from Yummy Tummy https://ift.tt/3aRmb5v
via KITCHEN MASALA


No comments:
Post a Comment