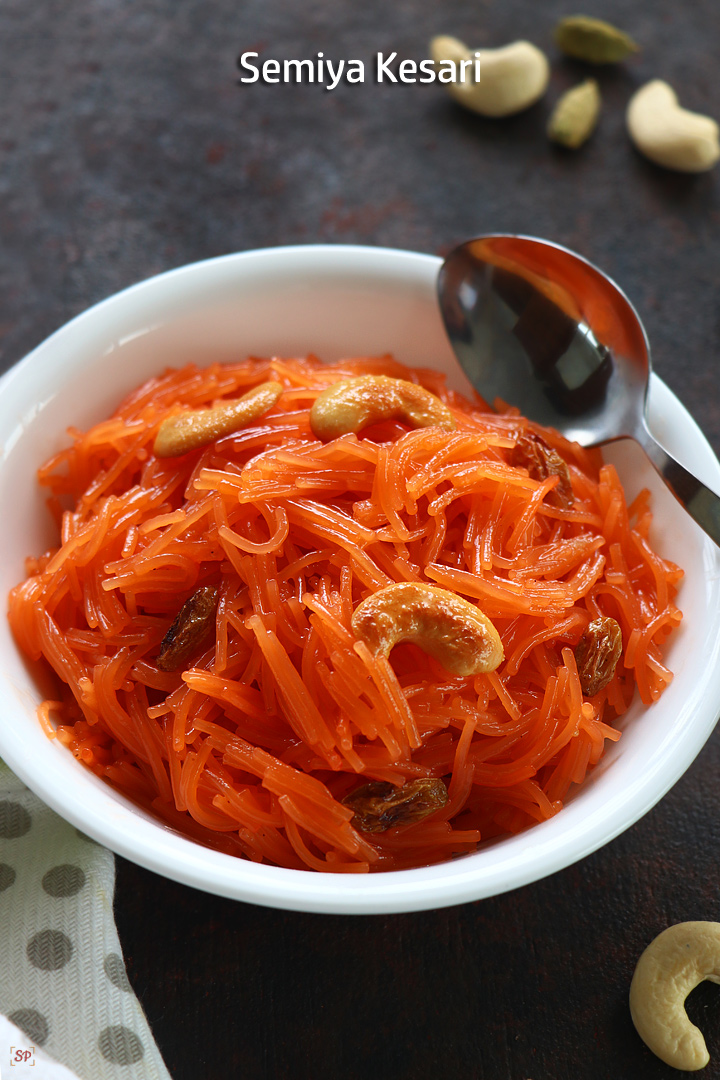
Semiya Kesari is a delicious sweet made by cooking semiya with sugar, flavours & nuts. Semiya Kesari is simple & quick to make in minutes to make the day or family special. Semiya Kesari Recipe is explained in this post with step by step pictures and video.
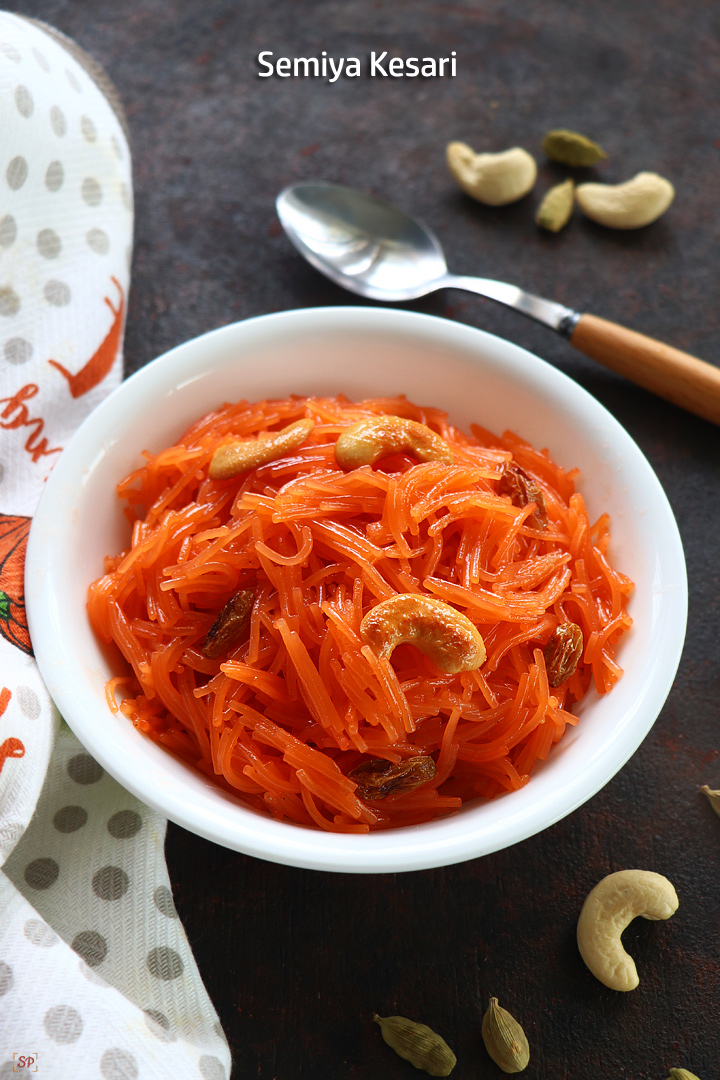
Semiya Kesari is my preferred choice of sweet when there are sudden visitors to home. Semiya Kesari combo with a savoury & coffee makes a hearty, filling evening meal during small functions, get-togethers at home. Semiya Kesari is also called as Vermicelli Kesari.
About Semiya Kesari
Semiya Kesari is a colourful, delightful cooked assortment of semiya, sugar, flavours & nuts. Vermicelli is a type of pasta originated from Italy and it is called as Semiya in South India. Semiya Kesari Recipe is an effortless alternate to the regular kesari or halwa.
Semiya Kesari can be relished for breakfast along with tiffin or as a snack during tea time. Semiya Kesari is a nice option of sweet for cooking beginners & during our busy routine.
More Kesari Recipes
Semiya Kesari – The Instant Sweet
Semiya Kesari is an instant sweet that can be cooked in no time – just roasting & simmering. Moreover vermicelli does not take time to get cooked & uses less ghee compared to the regular kesari. I have a stock of packet of vermicelli any time to make cooking quickly in busy schedule or during sudden visitors – be it sweet like Semiya Kesari / Semiya Kheer or meal like Semiya Khichdi, Semiya Biryani or Semiya Upma.
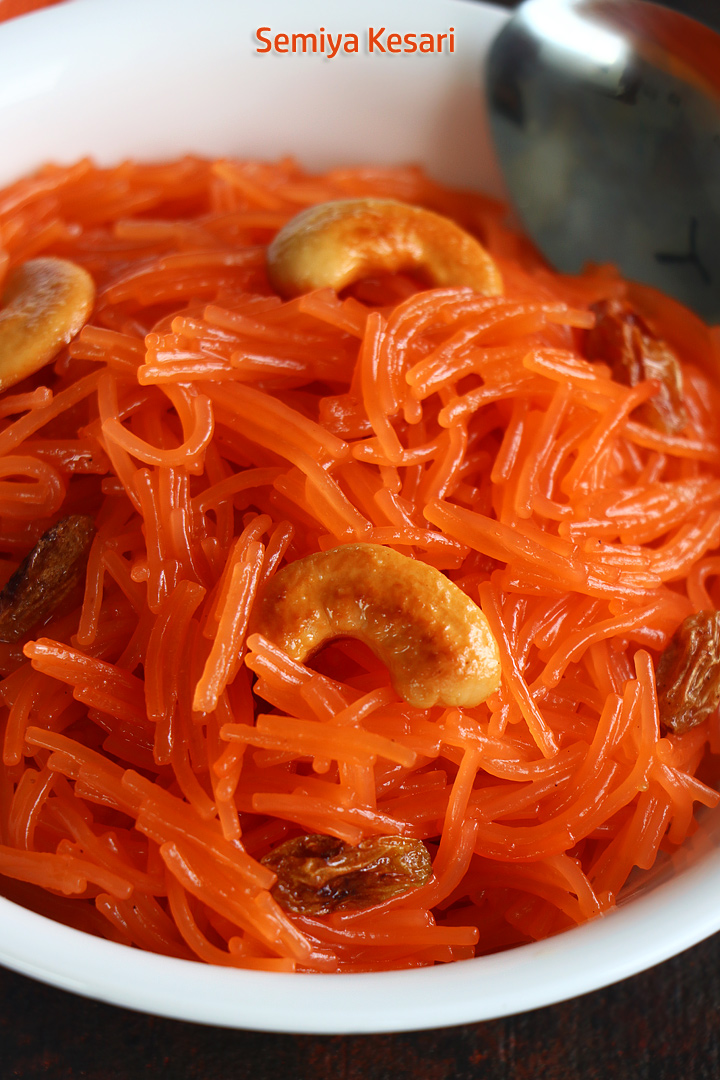
Semiya Kesari Ingredients
- Semiya / Vermicelli : I have used store bought unroasted vermicelli variety for making Semiya Kesari. Vermicelli is made with maida or rava (hard wheat / semolina) as ingredients and in long & broken versions. Choose the one you prefer or the available variety. In any case, roast the semiya till golden brown before making kesari. If using roasted variety then add it directly in water.
- Sugar: I have used the regular sugar for making Semiya Payasam. You can alternate sugar with jaggery powder, jaggery syrup, Demerara sugar, cane sugar and make sure to increase the quantity accordingly.
- Ghee : Use fresh ghee for making Semiya Kesari. I used homemade ghee.
- Food color / flavour & nuts : I have used Sunset Orange food color for making Semiya Kesari and alternatively use lemon yellow, blue, pink or any color of your choice. If you do not wish to use food color then add saffron for flavour and color. I have used cashews roasted in ghee in this recipe and you can add almonds, pistachios based on your choice.
If you have any more questions about this Semiya Kesari Recipe do mail me at sharmispassions@gmail.com. In addition, follow me on Instagram, Facebook, Pinterest, Youtube and Twitter .
Tried this Semiya Kesari Recipe ? Do let me know how you liked it. Also tag us on Instagram @sharmispassions and hash tag it on #sharmispassions.

Semiya Kesari
Ingredients
- 1 cup semiya / fine vermicelli
- 2 cups water
- 1/2 cup sugar
- 2 tbsp ghee
- 15 nos cashew nuts
- 12 nos raisins
- 1/4 tsp cardamom powder
- 3 to 4 strands saffron optional
- few drops orange food color
Instructions
-
Heat 1 tbsp ghee – add around 15 nos cashews.
-
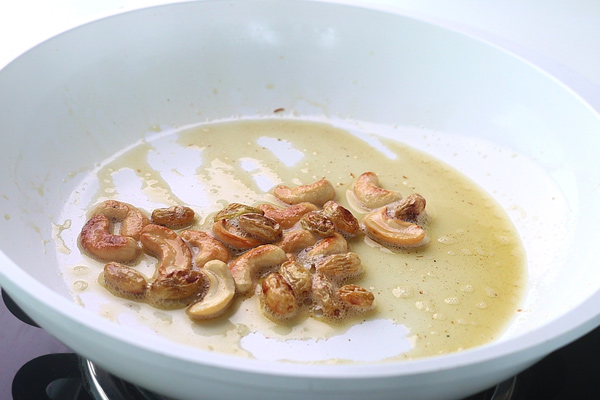
Fry until golden, then add around 12 nos raisins.
-
Fry until raisins bubbles up and turns golden brown. Remove and set aside.
-
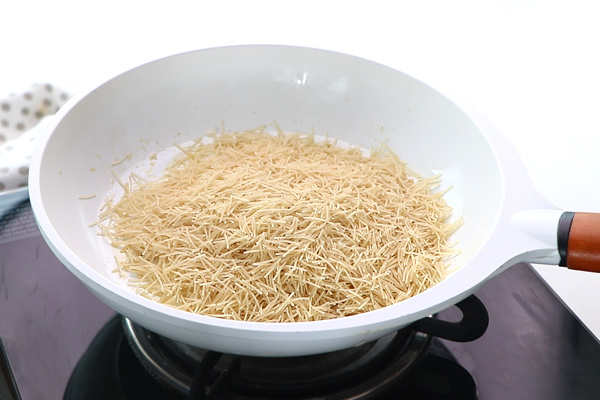
To the same pan add 1 cup vermicelli / semiya.
-
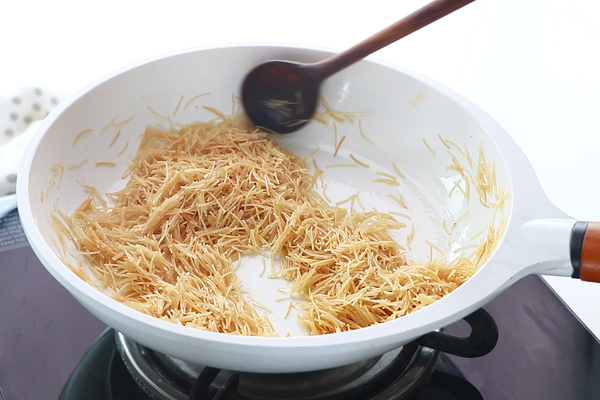
Roast until golden brown, remove and set aside.
-
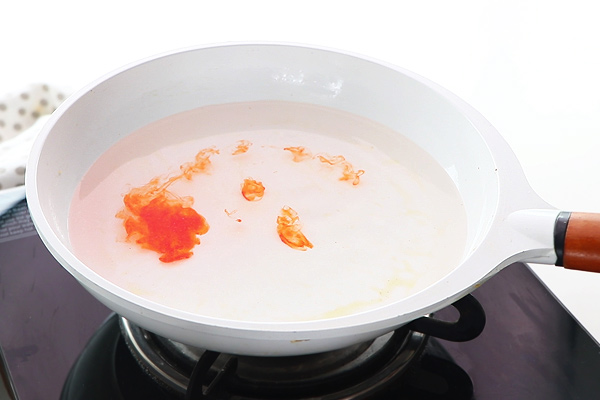
Now 2 cups of water along with few drops of orange food color. The ratio I always use is 1:2 that is for 1 cup vermicelli it is 2 cups of water.
-
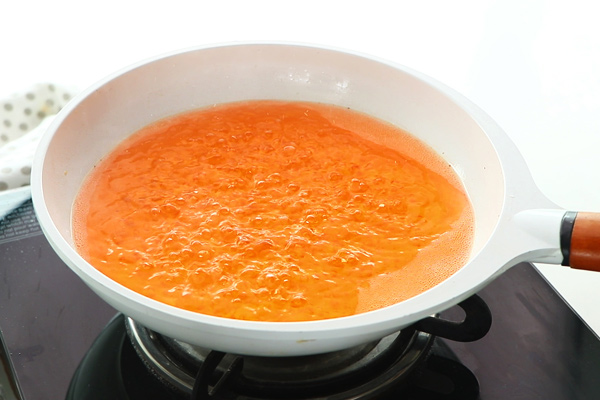
Let water boil well. Cook in medium flame.
-
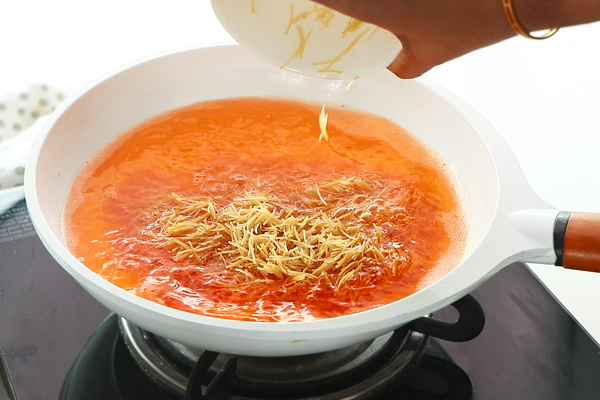
Now add roasted vermicelli to boiling water.
-
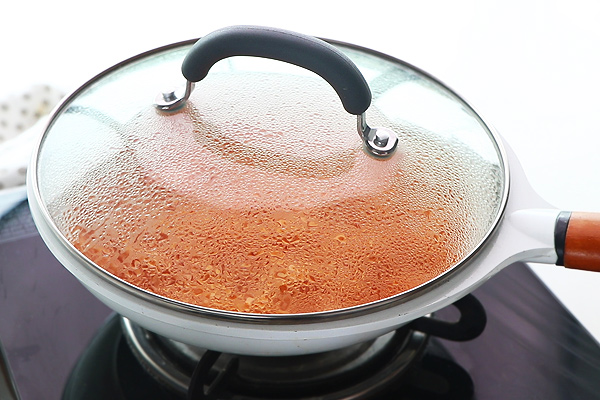
Give a quick mix and cook covered in medium flame for 5-7 mins.
-
Open to check if vermicelli is cooked.
-
Press to check : it should be soft while pressing but not mushy. This is the correct stage. If vermicelli is still hard sprinkle little more water and cook covered for 2 more mins. Do not overcook.
-
Add 1/2 cup sugar only after vermicelli is cooked. If sugar is added without cooking vermicelli then kesari will turn rubbery.
-
Mix well turns goey and runny at this stage.
-
Cook for 2 more mins in medium flame.
-
Cook until it becomes slightly thick but flowing. This is the perfect consistency.
-
Add 1/4 tsp cardamom powder along with fried cashews, raisins and remaining 1 tbsp ghee.
-
Give a quick mix and switch off. It may still be sticky and goey at this stage but after it cools down will become perfect. So switch off while it is still slightly goey itself.
Video
Notes
- I used fine vermicelli so needed only 1 and 1/2 cups of water. Water quantity may vary depending on the variety of vermicelli.
- Do not add sugar before the vemicelli gets cooked else the kesari will turn rubbery.
- Roasting vermicelli gives a nice aroma and also makes it non sticky and will avoid mushiness while getting cooked.
- Remember I measured the vermicelli only loosely packed so measure and adjust the ingredients according to your vermicelli measures.
- You can also add your favorite essence too but I love the plain cardamom flavour the best.
- If you like cardamom flavour more, just skip saffron and add a generous pinch of cardamom powder.
- Semiya kesari doesn’t require much ghee like the other kesari recipes.
- This keeps well for 2 days if refrigerated after a day. And while serving just heat it up and drizzle little ghee and serve.
Semiya Kesari Recipe Step by Step
1.Heat 1 tbsp ghee – add around 15 nos cashews.
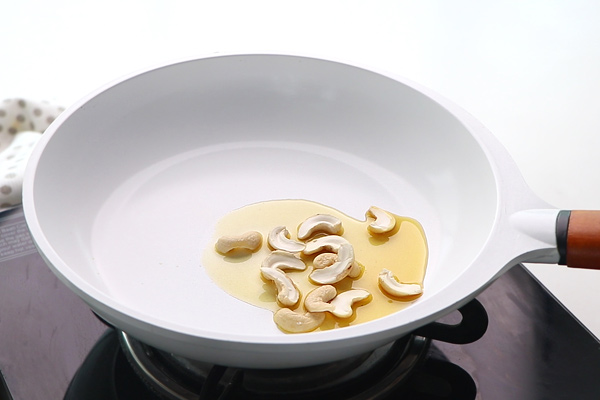
2.Fry until golden, then add around 12 nos raisins.
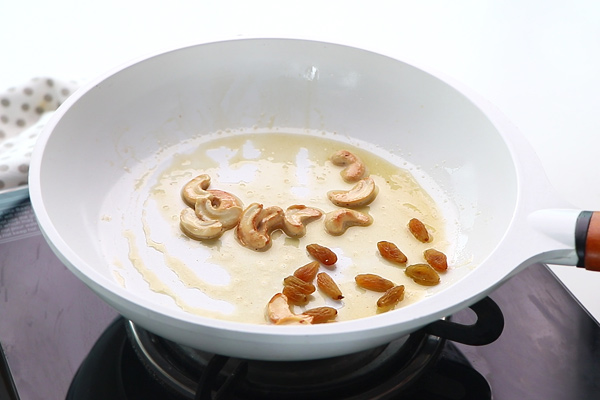
3.Fry until raisins bubbles up and turns golden brown. Remove and set aside.
4.To the same pan add 1 cup vermicelli / semiya.
5.Roast until golden brown, remove and set aside.
6.Now 2 cups of water along with few drops of orange food color. The ratio I always use is 1:2 that is for 1 cup vermicelli it is 2 cups of water. If adding saffron add few strands saffron now to water to boil.
7.Let water boil well. Cook in medium flame.
8.Now add roasted vermicelli to boiling water.
9.Give a quick mix and cook covered in medium flame for 5-7 mins.
10.Open to check if vermicelli is cooked.
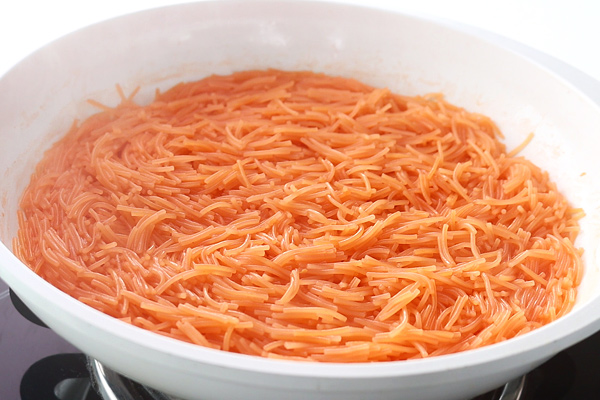
11.Press to check : it should be soft while pressing but not mushy. This is the correct stage. If vermicelli is still hard sprinkle little more water and cook covered for 2 more mins. Do not overcook.
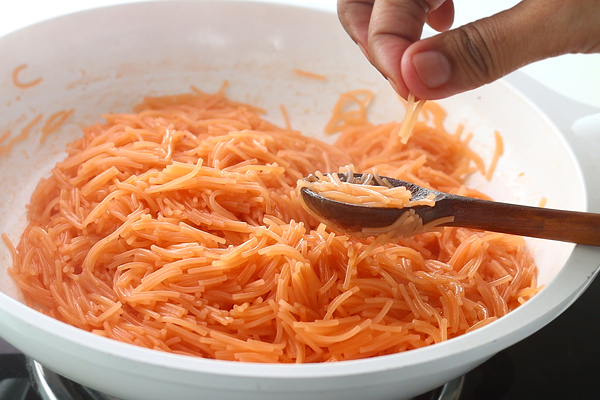
12.Add 1/2 cup sugar only after vermicelli is cooked. If sugar is added without cooking vermicelli then kesari will turn rubbery.
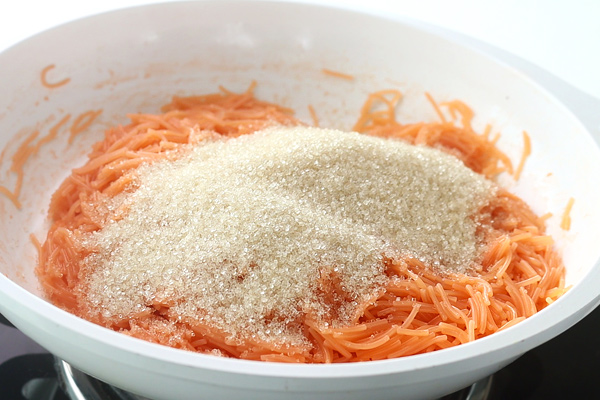
13.Mix well turns goey and runny at this stage.
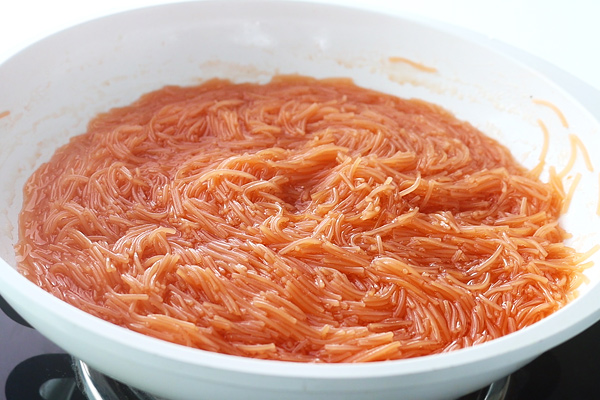
14.Cook for 2 more mins in medium flame.
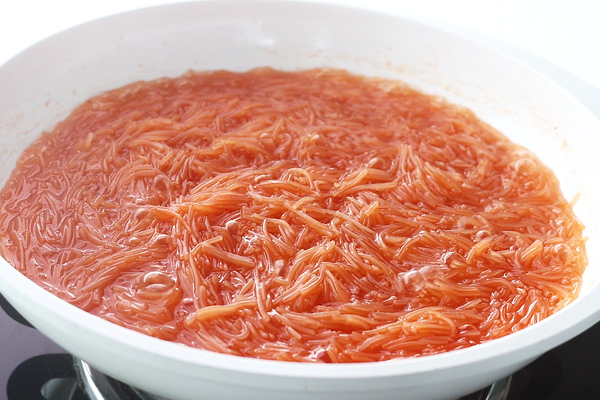
15.Cook until it becomes slightly thick but flowing. This is the perfect consistency.
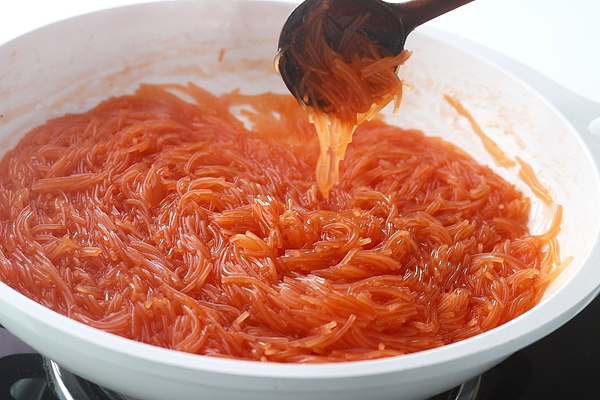
16.Add 1/4 tsp cardamom powder along with fried cashews, raisins and remaining 1 tbsp ghee.
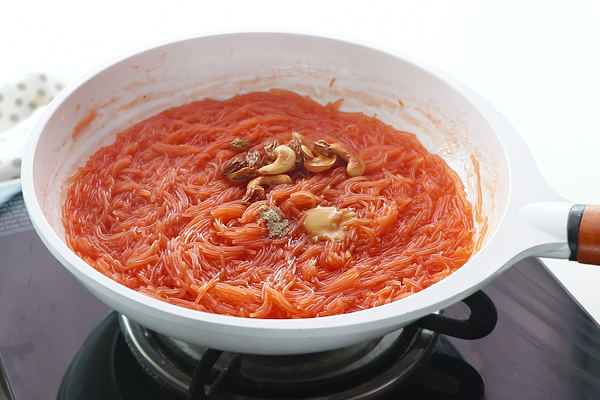
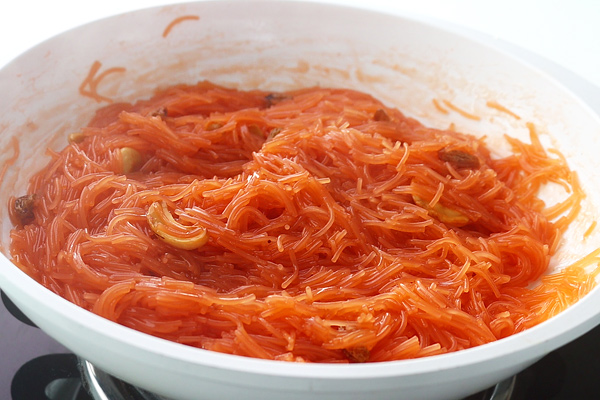
17.Give a quick mix and switch off. It may still be sticky and goey at this stage but after it cools down will become perfect. So switch off while it is still slightly goey itself.
Expert Tips
- I used fine vermicelli / semiyas needed. I used 2 cups of water. Cooking time may vary depending on the variety of vermicelli.
- Do not add sugar before the vemicelli gets cooked else the Kesari will turn rubbery.
- Roasting vermicelli gives a nice aroma and also makes it non sticky and will avoid mushiness while getting cooked.
- I usually add 1/2 cup sugar but if you prefer slightly oversweet then add 3/4 cup sugar.
- You can also add your favourite essence too but I love the plain cardamom flavour the best.
- Semiya Kesari doesn’t require much ghee like the other Kesari recipes.
Variations
Semiya Kesari has to be tried with the following variations based on your preferences
- Add saffron to boiling water so that it gives light yellow color with saffron flavour.
- Fruits like pineapple, mango can be boiled and added before adding sugar for a flavourful kesari
- Flavours like Blueberry, cardamom, vanilla, pineapple, orange, lemon, etc in the form of food colors can be added
- You can add nuts like almond, walnut, cashew, pista, after powdering them coarsely or cutting into small pieces
- You can flavour with coco powder for a chocolaty Semiya Kesari.
Serving & Storing Suggestions
Semiya Kesari is a blissful combo with savoury & tea / coffee. Semiya Kesari keeps well for 2 days if refrigerated after a day. Just heat it up after refrigeration with a microwave or stove top, drizzle little ghee and serve!
FAQs
1.What is Semiya Kesari?
Semiya Kesari is a delicious sweet made by cooking semiya / vermicelli with sugar, flavours & nuts.
2.How do you make Semiya Kesari?
- Roast vermicelli in ghee.
- Boil water & cook vermicelli until soft.
- Add ghee and once kesari leaves the sides of the pan – switch off and garnish with flavours & nuts.
3.Why is Semiya Kesari rubbery?
If sugar is added before the semiya is cooked, the kesari turns rubbery.
4.Which Vermicelli to use for SemiyaKesari?
Unroasted long vermicelli is preferred for making Semiya Kesari. However, you can make with roasted & broken vermicelli / semiya as well. In any case, roast the semiya before making kesari.
5.Why is my Semiya Kesari sticky?
Semiya Kesari turns sticky if too much of water is added, if semiya is cooked for long and if sugar is added halfway before semiya is cooked.
The post Semiya Kesari Recipe | Vermicelli Kesari appeared first on Sharmis Passions.
from Sharmis Passions https://ift.tt/xWGUKBh
via KITCHEN MASALA
No comments:
Post a Comment