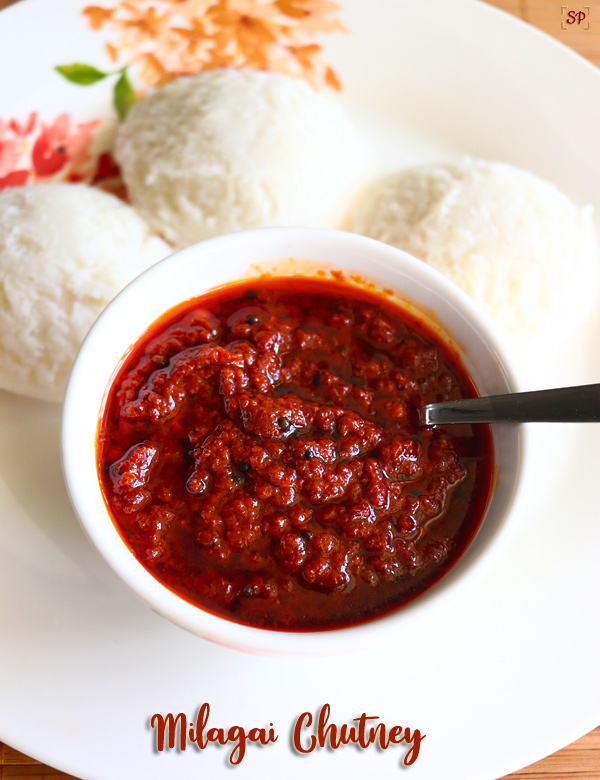
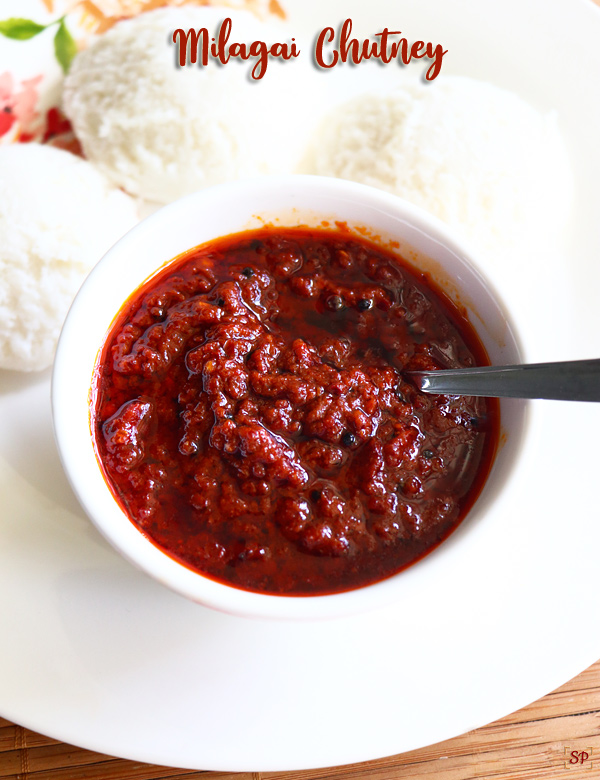
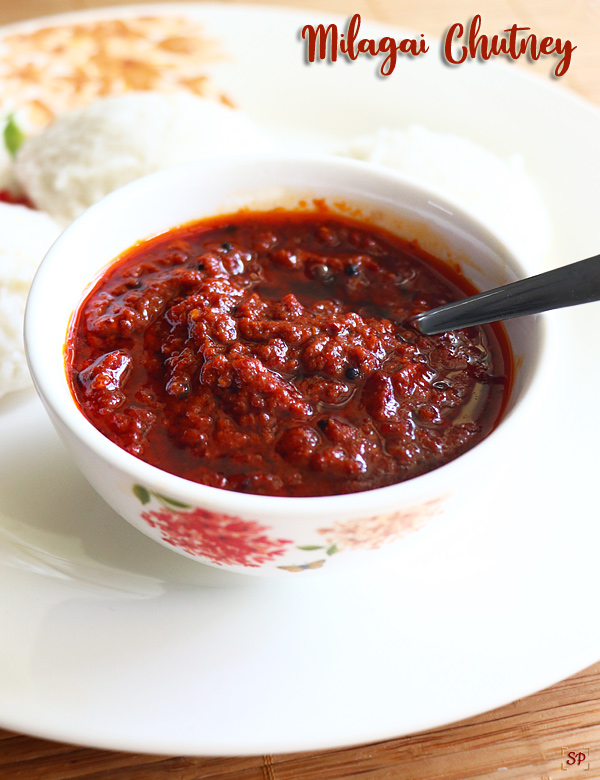
Poondu milagai chutney recipe garlic flavoured chilli chutney a great spicy sidedish for idli,dosa etc
Poondu milagai chutney recipe with step by step pictures and video. This is one of the must try recipes if you are lover of spicy sidedish varieties.
I am always reluctant to try spicy dishes but this one tempted me so much when I saw the picture in a cookbook so tried it out immediately. Oh my, it was super spicy for our taste buds but tamarind, gingelly oil balances it a bit.
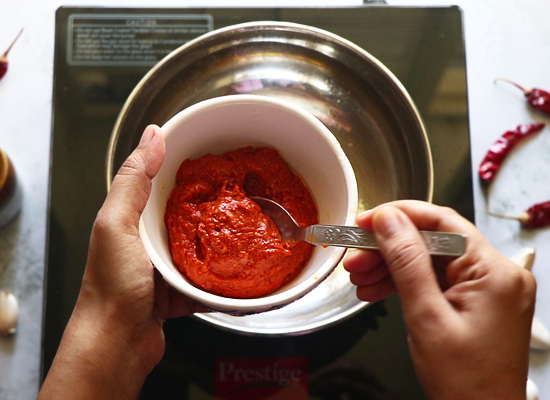
Milagai chutney as the name suggest it has more measure of vara milagai(red chillies), I wanted to reduce the spice level so added half od kashmiri red chillies. In addition, kashmiri red chillies gives a bright red color.
About this recipe:
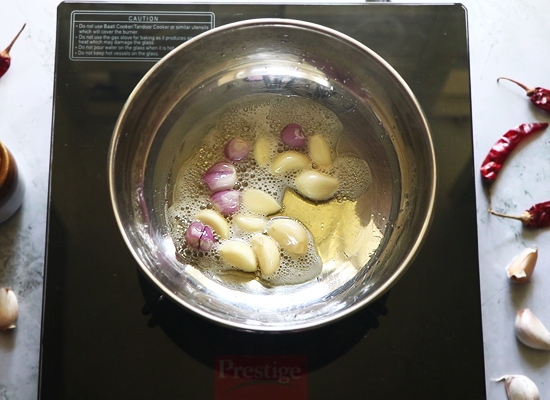
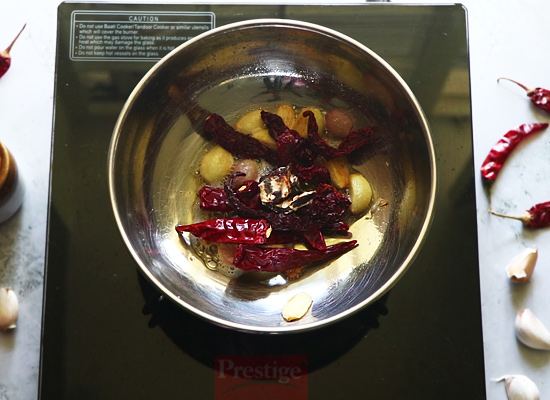
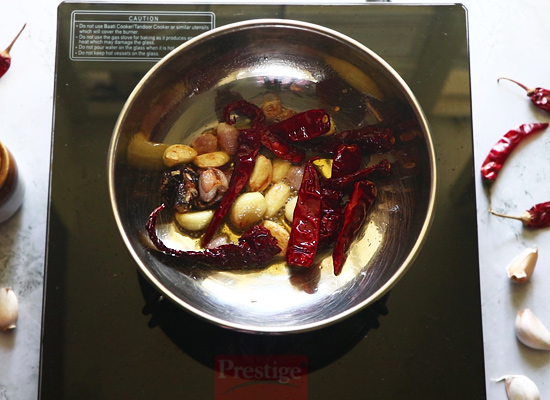
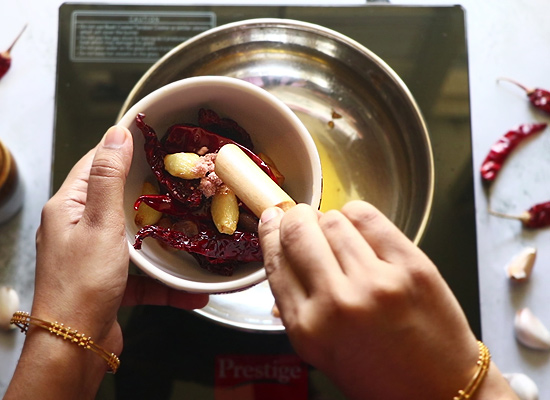
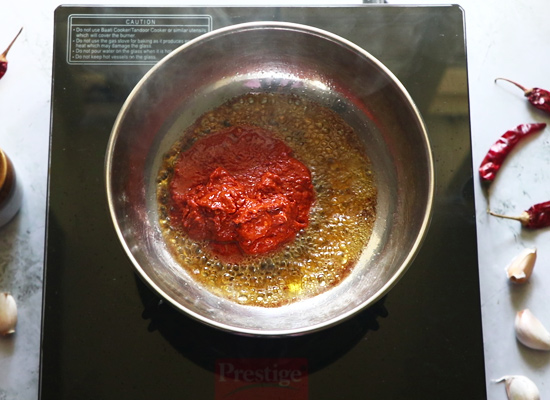
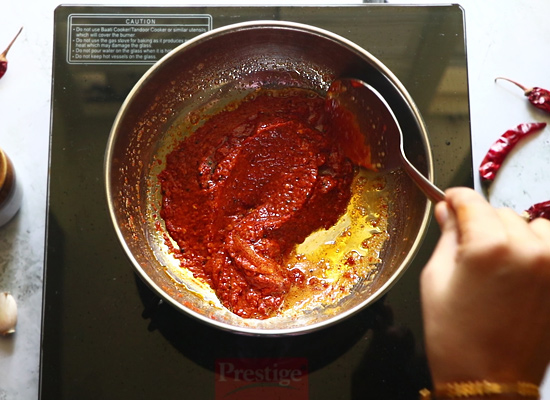
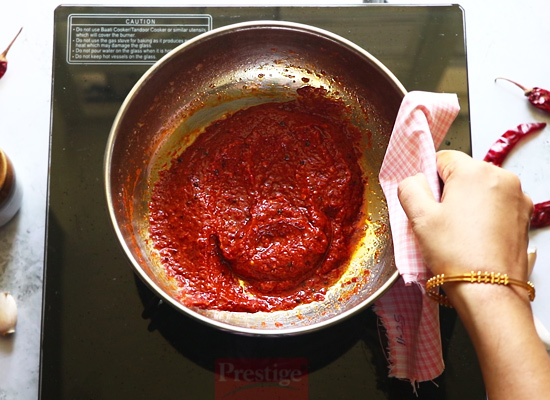
Generally we make milagai chutney by grinding raw and tempering this method is a bit different. We first saute the ingredients in gingelly oil then later cool down and grind it. Finally a simple mustard tadka is done.
Storing Suggestions:
Store milagai chutney in a clean dry container so that the shelf life extends.
Keeps well in room temperature itself for 5 days minimum.
You can store in fridge and it keeps well for about a week.
Serving Suggestion:
It is a super spicy sidedish apt for idli, dosa, oothapam etc.
It actually goes well as a spread for sandwiches or even frankies too.
If you have any more questions about this milagai chutney do mail me at sharmispassions@gmail.com
Follow me on Instagram, Facebook, Pinterest ,Youtube and Twitter .
Tried this recipe? Do let me know how you liked it.Tag us on Instagram @sharmispassions and hash tag it on #sharmispassions.
“Individual little raisin cakes which makes a great edible gift ideas for this christmas. Christmas Fruit Cakes is a must try recipe and specially this boiled raisin cake is so easy and budget friendly. Packed with fill of raisins and spices, this raisin cakes will make this festive season wonderful. “
Raisin cakes are a soft, moist cakes filled with juicy raisins and the aroma of cinnamon, ginger, cloves. Each bite is very festive.
The British Fruit Cake is traditionally served during the Christmas season. It is full of dried fruits and nuts, laced with alcohol over several weeks, and often covered with marzipan and royal icing. The problem is that it’s both expensive to make and it needs time to age. Luckily, there is a much simpler version of this cake for the last minute baker, and I call it an Easy Fruit Cake or Mini Raisin Cakes. You may know it as a Boiled Fruit Cake, a War Cake, and/or a Bachelor’s Cake. I love that the batter is so easy to make and you don’t need to pull out your stand mixer. And most importantly, I love its flavor and that it can be eaten almost right away. This is one cake that is so good that it begs to be made all year, not just during the Christmas season.
I have shared so many fruit cake over the years, this raisin cake is a new addition. But still I think this cake is wonderful.
Boiling Fruits: usually fruit cakes are made by soaking the fruits for at least a month in rum or any alcohol. but this recipe calls for boiling the raisins in water, sugar and butter along with a splash of rum. boiling the mixture makes the fruits soft and juicy which makes the cakes moist.
The Spice Mixture: fruit cakes means spices. you need certain spices to be added in the cake to make the cake stand out. I like a mixture of cinnamon, cloves, cardamom. I even like to add a touch of pumpkin pie spice which has a mixture of whole lot of spices.
Dry Ingredients: mix together the flour with baking soda and spices. mixing the dry ingredients in a separate bowl will allow us not to over mix the batter.
Fruit Cake Batter: once the boiled fruit mix is cooled, fold in the dry ingredients. this step is crucial, never over mix the batter. just fold enough. over mixing will make the cake tough and dense
Baking: baking the fruit cake to the precise time is important. don’t over bake the fruit cake else it will turn dry. if you are seeing the fruit cake getting too much colour on the top then cover the cake with a piece of foil to prevent them from burning.
Final Touch for Fruit Cake: once baked you could serve it right away or you could brush the top of the cake with some more rum, wrap it tight in foil and store in fridge for later.
Tips for making Best Ever Fruit Cake Recipe
Use seedless raisins, else the cake will have hard seeds scattered all over it.
Addition of rum is optional, you could skip that.
Instead of rum, you could use vanilla extract too.
Don’t over mix the batter, else it will turn dense.
You could use chopped nuts if you prefer
Never leave the spices, it adds nice flavor to the cakes.
HOW TO REGULAR SIZED RAISIN CAKE
Instead of baking these cakes in individual little cakes. You could bake this in a large cake pan.
use a 8 inch round cakes pan, line it with parchment paper. grease the sides with oil or butter.
pour the batter into the cake pan.
bake in a 180 degree C | 350 degree F preheated oven for 45 to 55 mins.
if the cakes gets too dark, tent it with aluminium foil.
remove the cakes from oven, cool it down.
you could serve it immediately or wrap it tightly in plastic wrap and foil and store for later.
HOW TO BAKE RAISIN CAKES IN A PRESSURE COOKER
Preheat a pressure cooker or any pot for 5 mins.
Place a little separator at the bottom of the pot.
Place the cake pan over it. cover with lid and cook on very low heat until baked.
If you are using pressure cooker for baking, don’t use whistle and the rubber gasket. Else it may melt.
Alternatively you could add some salt or sand in the bottom of the pot or pressure and place the cake pan over it and bake.
SERVING SUGGESTIONS
You could serve this cakes warm or at room temperature. This fruit cake can be used to make Christmas bon bons or Rum balls.
BAKE AHEAD, STORAGE & FREEZING
Mini Raisin cakes can be stored at room temperature for 3 to 4 days. Cakes can be stored in fridge for a week. You can freeze them for upto a month. Thaw the cakes in fridge overnight before serving.
Individual little raisin cakes which makes a great edible gift ideas for this christmas. Packed with fill of raisins and spices, this raisin cakes will make this festive season wonderful.
CourseDessert
CuisineAmerican
KeywordChristmas Fruit Cakes, Mini Fruit Cakes, Raisin Cakes
Prep Time10minutes
Cook Time20minutes
Total Time30minutes
Servings10cakes
Calories180kcal
Equipment
Sauce Pan
oven
Spatula
Ingredients
1largeegg
½cupbrown sugar
3tbspsoft butterUnsalted
1½cupsseedless raisins
¾cupall purpose flour
½tspbaking Soda
⅛tspsalt
½cupwater
1tspground cinnamon
1tspground ginger
1tsppumpkin pie spiceoptional
¼tspground clove
¼tspground cardamom
2tbspRumoptional
Instructions
Preheat oven to 180 Degree C | 350 Degree F.
Take individual bake and serve muffin cups and arrange it in a baking tray. Alternatively you could use muffin trays. In that case line it with cupcake liners.
Take brown sugar, water, raisins, butter, rum in a sauce pan. Mix well.
Place the sauce pan on heat and cook till it comes to a boil. Once it starts to boil, reduce the flame and cook for 3 mins.
Take the sauce pan from the heat and set aside to cool for 15 mins.
Mean while mix together, flour, spice powders, baking soda, salt in a bowl.
Once the raisin mixture cools a little, add the flour mixture into the raisin butter and fold gently, Don't over mix.
Now use a ice cream scoop to divide the batter between the muffin cases.
Pop this into the oven and bake for 20 to 25 mins until the cakes are baked.
Remove the tray from the oven and leave to cool for 10 mins
Serve.
HOW TO BAKE RAISIN CAKES WITHOUT OVEN
Preheat a pressure cooker or any pot for 5 mins.
Place a little separator at the bottom of the pot.
Place the cake pan over it. cover with lid and cook on very low heat until baked.
If you are using pressure cooker for baking, don't use whistle and the rubber gasket. Else it may melt.
Alternatively you could add some salt or sand in the bottom of the pot or pressure and place the cake pan over it and bake.
Video
Notes
Use seedless raisins, else the cake will have hard seeds scattered all over it.
Addition of rum is optional, you could skip that.
Instead of rum, you could use vanilla extract too.
Don't over mix the batter, else it will turn dense.
You could use chopped nuts if you prefer
Never leave the spices, it adds nice flavor to the cakes.
HOW TO REGULAR SIZED RAISIN CAKE
Instead of baking these cakes in individual little cakes. You could bake this in a large cake pan.
use a 8 inch round cakes pan, line it with parchment paper. grease the sides with oil or butter.
pour the batter into the cake pan.
bake in a 180 degree C | 350 degree F preheated oven for 45 to 55 mins.
if the cakes gets too dark, tent it with aluminium foil.
remove the cakes from oven, cool it down.
you could serve it immediately or wrap it tightly in plastic wrap and foil and store for later.
SERVING SUGGESTIONS
You could serve this cakes warm or at room temperature. This fruit cake can be used to make Christmas bon bons or Rum balls.
BAKE AHEAD, STORAGE & FREEZING
Mini Raisin cakes can be stored at room temperature for 3 to 4 days. Cakes can be stored in fridge for a week. You can freeze them for upto a month. Thaw the cakes in fridge overnight before serving.
1)Assemble all your ingredients. Make sure all your ingredients are at room temperature. First step Preheat oven to 180 Degree C | 350 Degree F.
2)Take individual bake and serve muffin cups and arrange it in a baking tray. Alternatively you could use muffin trays. In that case line it with cupcake liners.
3)Take water in a sauce pan or pot.
4)Add in brown sugar
5)Add in seedless raisins.
6)Add in butter
7)Add in rum. This is optional, but it adds nice flavor to the cake.
8)Place the sauce pan on heat and cook till it comes to a boil. Once it starts to boil, reduce the flame and cook for 3 mins.
9)Take the sauce pan from the heat and set aside to cool for 15 mins.
10)Meanwhile lets mix the dry ingredients. Take all purpose flour in a bowl.
11)Add in baking soda
12)Add cinnamon powder
13)Add in ginger powder
14)Add a pinch of salt
16)Mix well and set aside. This is your dry ingredients.
17)Once the raisin mixture cools a little, add the flour mixture into the raisin butter and fold gently, Don’t over mix.
18) Now use a ice cream scoop to divide the batter between the muffin cases.
19) Pop this into the oven and bake for 20 to 25 mins until the cakes are baked.
20) Remove the tray from the oven and leave to cool for 10 mins
21) Enjoy
If you have any questions not covered in this post and if you need help, leave me a comment or mail me @aarthi198689@gmail.com and I’ll help as soon as I can.
IF YOU MAKE THIS RECIPE OR ANYTHING FROM YUMMY TUMMY, MAKE SURE TO POST IT AND TAG ME SO I CAN SEE ALL OF YOUR CREATIONS!!#YUMMYTUMMYAARTHI AND @YUMMYTUMMYAARTHI ON INSTAGRAM!
“No Churn Dulce De Leche Ice Cream is a combination of 2 ingredients which is mixed together till creamy. This is a no churn ice cream also you don’t need a ice cream machine for making this creamy concotion”
Dulce De Leche Ice Cream is a caramel flavored ice cream which is easy to make and taste absolutely divine. Homemade Dulce de leche is mixed with vanilla and whipped cream to create this amazing goodness.
Couple years back when we were travelling. I got to taste Haagen dazs dulce de leche ice cream. I was totally inspired from that. That was my inspiration for this recipe.
It is pretty easy to make dulce de leche at home. The most basic recipe calls for slowly simmering milk and sugar, stirring almost constantly. Once the mixture thickens and turns the color of caramel it is done. At this point, one must be careful not to burn it. It can take hours to make. But there are so many easy recipes to make at home.
The key ingredient, besides cream, is sweetened milk. It’s a Latin American treat that translates as ‘sweet milk’. That is, sweetened milk that’s been gently heated until it literally turns into a thick caramel. Finding this in india is little hard. But you could easily make it at home. All you need to make this is a can of sweetened condensed milk.
HOW TO MAKE HOMEMADE DULCE DE LECHE ICE CREAM
Whipped Cream: Always use chilled whipping cream to begin with. I would suggest you to freeze your bowls and beater attachment in the freezer for at least 2 hours. pour cold whipping cream in the frozen bowl and whip it using a electric beater till creamy and thick. Keep whipped cream in the fridge till needed.
Dulce De Leche: If you are using store bought then you could use that. if not make your own using my recipe. MY RECIPE FOR HOMEMADE DULCE DE LECHE
Flavorings: Now you could add flavor to the ice cream. I used vanilla extract. Naturally this ice cream has a caramel flavor to it. Addition of vanilla extract is optional but totally worth it.
Mixing it all Up: Mix all three ingredients together till smooth and creamy.
Freezing: Transfer this to a air tight container and freeze overnight. You need to freeze this overnight or at least 8 to 10 hours
STORAGE SUGGESTIONS
Dulce De Leche Ice Cream can be stored in a freezer safe container in the freezer for upto 2 months.
SERVING SUGGESTIONS
Scoop Ice Cream into a bowl and drizzle with some salted caramel sauce or chocolate sauce and sprinkle chopped nuts or chocolate chips for added taste.
If you have any questions not covered in this post and if you need help, leave me a comment or mail me @aarthi198689@gmail.com and I’ll help as soon as I can.
IF YOU MAKE THIS RECIPE OR ANYTHING FROM YUMMY TUMMY, MAKE SURE TO POST IT AND TAG ME SO I CAN SEE ALL OF YOUR CREATIONS!!#YUMMYTUMMYAARTHI AND @YUMMYTUMMYAARTHI ON INSTAGRAM!
Add chocolate chips or caramel chips in this for extra bite.
Instead of whipping cream, use non dairy whipped topping instead of whipped cream.
Addition of any chopped nuts can be used like cashews, walnuts, almonds. In that case finely chop the nuts and mix into the ice cream.
STORAGE SUGGESTIONS
Dulce De Leche Ice Cream can be stored in a freezer safe container in the freezer for upto 2 months.
SERVING SUGGESTIONS
Scoop Ice Cream into a bowl and drizzle with some salted caramel sauce or chocolate sauce and sprinkle chopped nuts or chocolate chips for added taste.