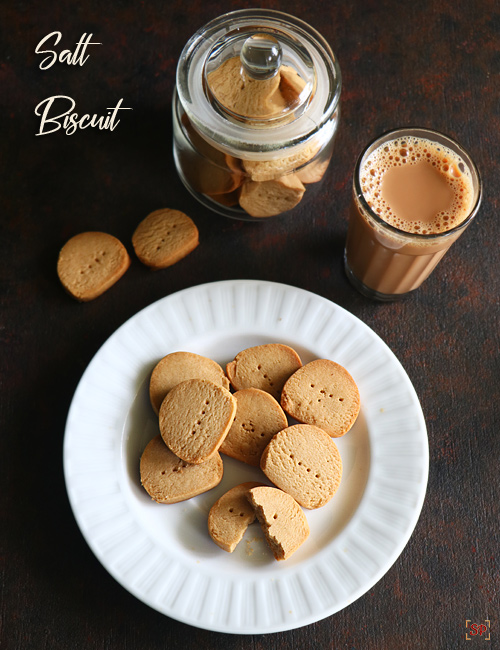
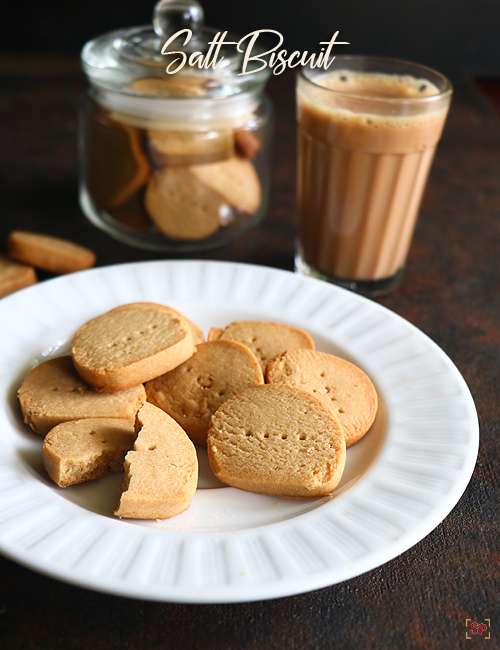
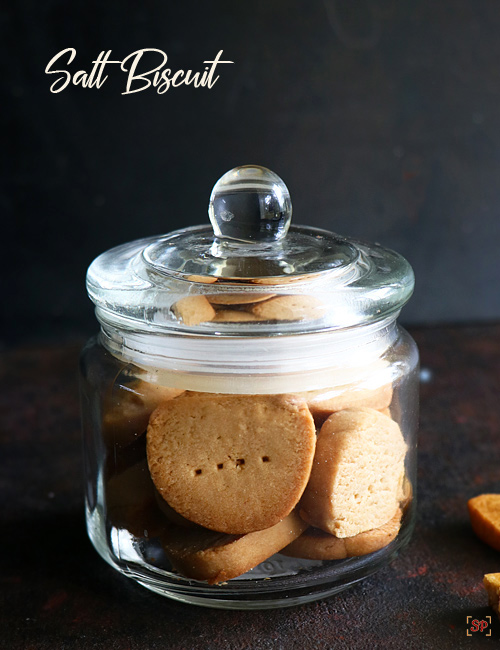
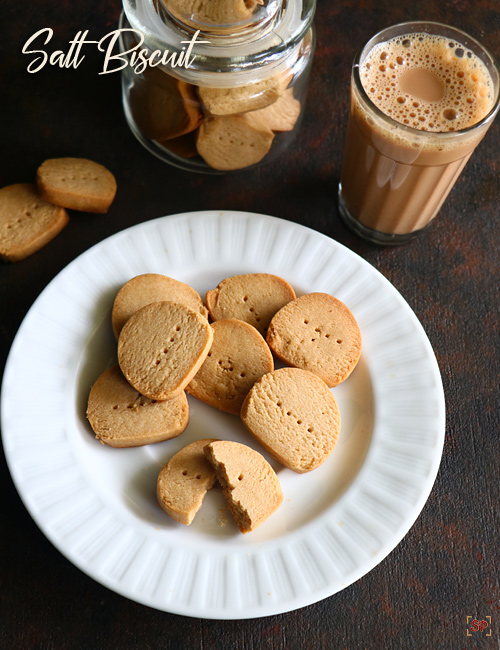
Butter Biscuit is a delicious, bakery style biscuit made using flour, butter, salt and sugar. Butter Biscuit is a great accompaniment for tea and could be made at home easily with just 4 ingredients. Butter Biscuit Recipe with & without oven presented here with step by step pictures and video.
Butter Biscuits are commonly found in petty shops, bunk stalls and bakeries. I have tasted it few times in my college canteen too. Here I have attempted to make bakery style butter biscuit with the commonly available ingredients at home.
About Butter Biscuit
Butter Biscuit and Tea are match made in bakeries that is craved by many of us to enjoy it at home. Butter Biscuit varies in texture and taste at different regions – soft, crispier, medium hard, salt, sweet, etc. The variation in texture is because of the proportion of the butter added & the taste with the proportion of the salt & sweet.
More cookies & biscuits
Butter Biscuit – Tea Shop to home
Butter Biscuit as we all know is a common snack at tea shops. I wanted to try these biscuits as gugu is very fond of it. Once when he accompanied his appa to a tea shop, that’s when he tasted these biscuits and he kept reminding me often to try these. He was all praise for the butter biscuit and explained in his own language that it is a melt in mouth biscuit that he love to eat often. I became inquisitive to make it a home, finally I found this recipe and tried it. I was very happy to see him enjoying these and mittu loved it too as she loves all types homemade biscuits and cookies. I used wheat flour but still the biscuits tasted so good. So I recommend to try and enjoy.
Butter Biscuit Betterment
I did couple of iterations to match the taste the Butter Biscuit that Gugu had at tea shop and the biscuit that was made with full maida / all purpose flour was the perfect match! However since I do not prefer adding maida often, I am presenting this recipe with wheat flour which is closest in taste to bakery biscuits and very easy to make. I was very happy to see Gugu enjoying the wheat flour butter biscuits.
Butter Biscuit – With & Without Oven
I had originally made this recipe by baking with oven. There were quiet a number of requests from readers asking for version of butter biscuits without oven! So I have presented the Butter Biscuit making in stove top version as well. Try the method you are most convenient of!
Ingredients
- Flour : I have used homemade wheat flour. You can use store bought flour or white flour as well. All Purpose Flour or maida is better tasty alternative but should not be consumed often.
- Butter : I have used homemade butter and you can use store bought butter also. When you are getting from store, make sure it is unsalted, else we have to adjust salt accordingly.
- Salt & Sugar: Use equal amount of salt and sugar for a sweet & salt taste. If you wish to make it salt, add a pinch of sugar to the prescribed salt quantity and vice versa if you prefer sweet butter biscuit. You can taste the flour dough before making to adjust salt & sugar matching your preference.
If you have any more questions about this Butter Biscuit Recipe do mail me at sharmispassions@gmail.com. In addition, follow me on Instagram, Facebook, Pinterest ,Youtube and Twitter .
Tried this Butter Biscuit Recipe ? Do let me know how you liked it. Also tag us on Instagram @sharmispassions and hash tag it on #sharmispassions.

Butter Biscuit | Tea Shop Butter Biscuits
Ingredients
- 1 cup wheat flour You can use maida too
- 1/4 cup powdered sugar
- 1/2 cup butter
- 1/4 tsp salt
Instructions
-
Oven version : To a mixing bowl – add butter,sugar beat well until creamy.Now to a sieve add flour and salt.Sieve well.
-
Now mix well with your finger tips to bring together(Do not knead).Soft dough ready.Shape as a cylinder, cling wrap it.
-
Refrigerate it atleast for an hour.After an hour open, slice into 1/4 inch thickness.Preheat oven at 180 deg C for 10 mins.Arrange in baking tray.Prick with fork in the center to avoid puffing.
-
Bake in preheated oven at 180 deg C for 10-12 mins.Keep an eye, when it starts to brown at edges its done.Let it cool then store.
-
Stove top version: To a pot add salt and spread it around 1/2 inch thickness.Place a stand on it.Close with lid and preheat in low medium flame for 10 mins.Then open and place the plate with biscuits.I used a normal steel plate with butter paper lined.
-
Close with lid and cook for around 12-15 mins in low medium flame until the edges turn golden.Remove carefully and allow it to cool.
Notes
- The baking time may vary depending on the thickness and size of the biscuits so adjust accordingly.
- You can even roll the dough, use cookie cutters and cut them.
- I have used wheat flour here, you can replace with maida too.
- Do not reduce butter then the texture may differ.
Butter Biscuit Recipe with Oven
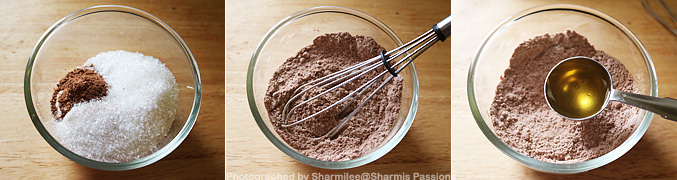
1.To a mixing bowl – add butter at room temperature and sugar
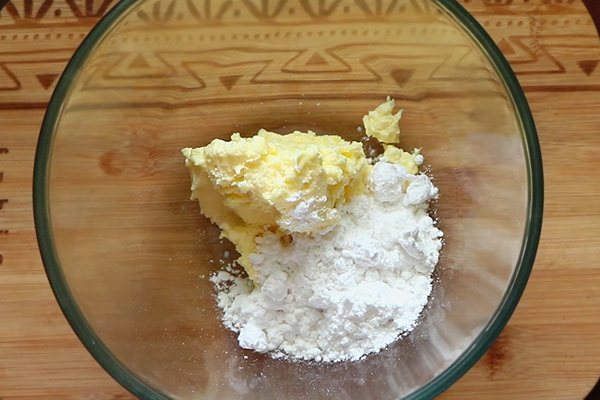
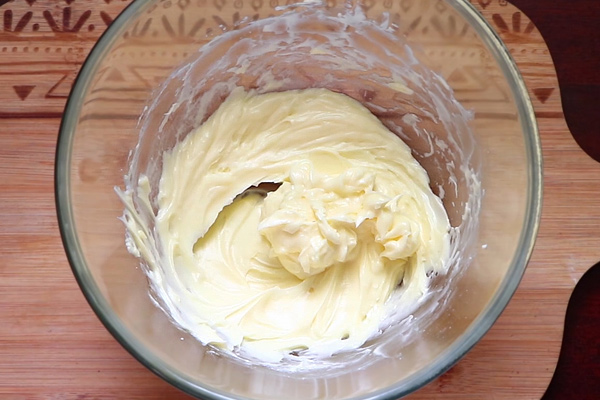
2.Beat well using a whisk until creamy.
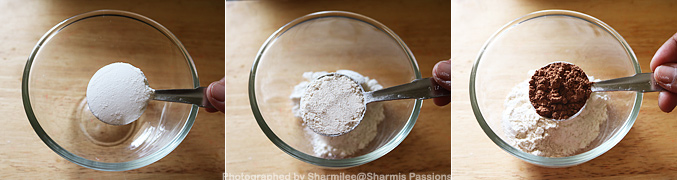
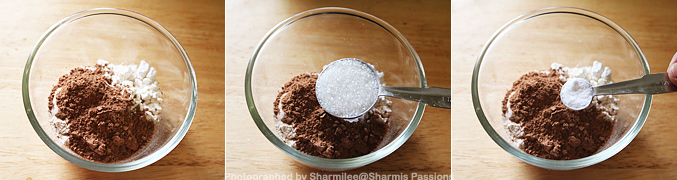
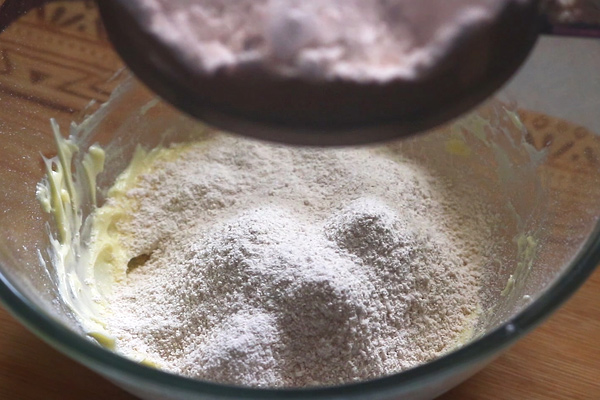
3.Now to a sieve add flour and salt.
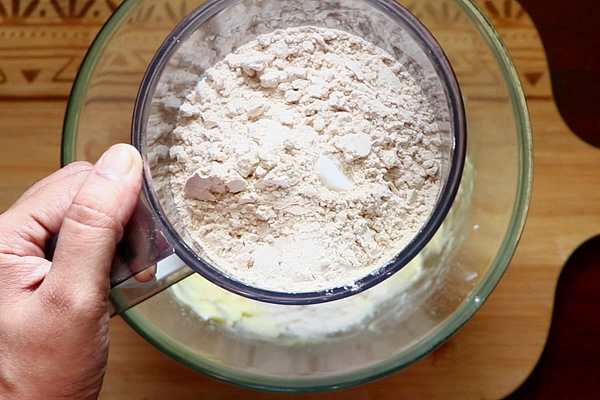
4.Sieve well.
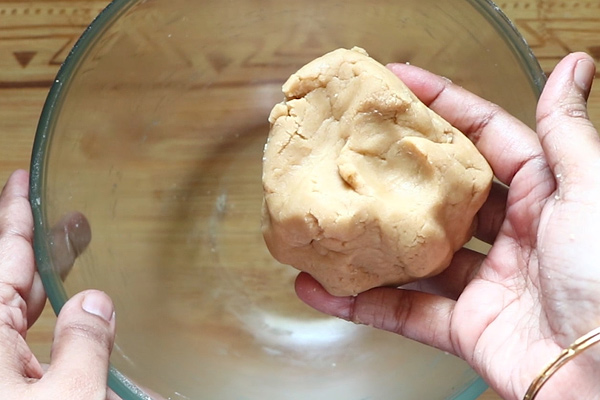
5.Now mix well with your finger tips to bring together(Do not knead).Soft dough ready.
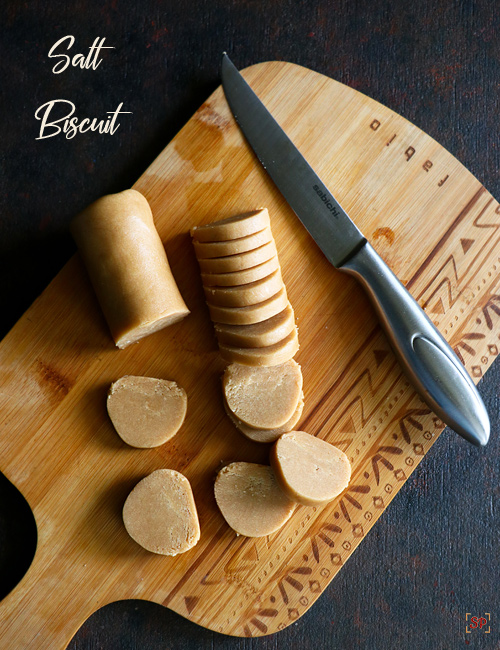
6.Shape as a log as shown below.
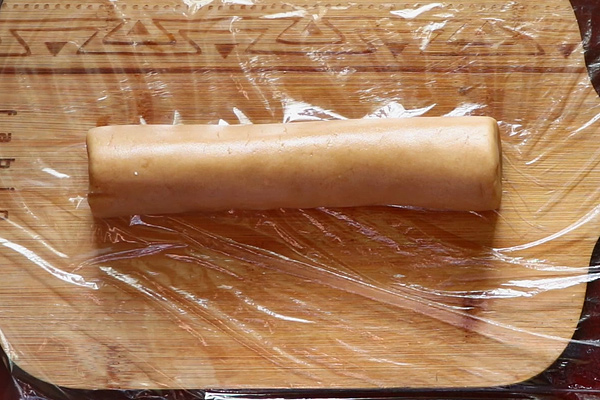
7.Cling wrap it.
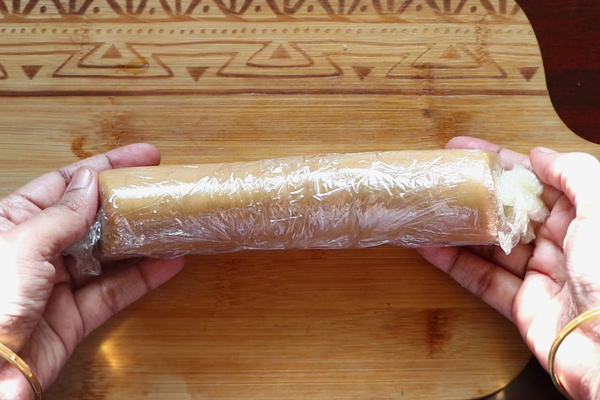
8.Refrigerate it atleast for an hour. After an hour open, slice into 1/4 inch thickness.
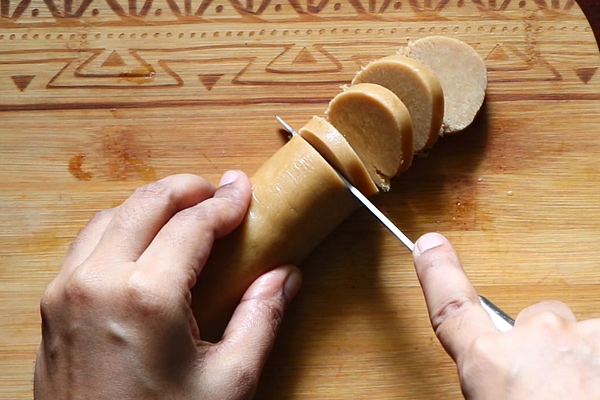
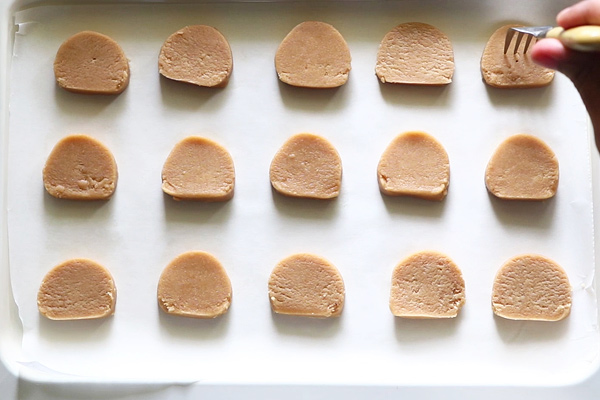
9.Preheat oven at 180 deg C for 10 mins.Arrange in baking tray.Prick with fork in the center to avoid puffing.
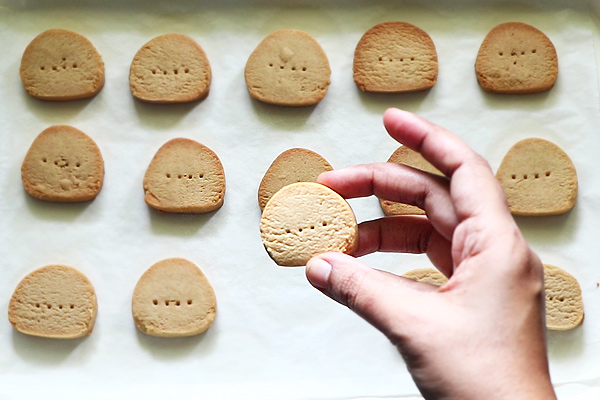
10.Bake in preheated oven at 180 deg C for 10-12 mins.Keep an eye, when it starts to brown at edges its done.Let it cool then store.
Stove Top Version
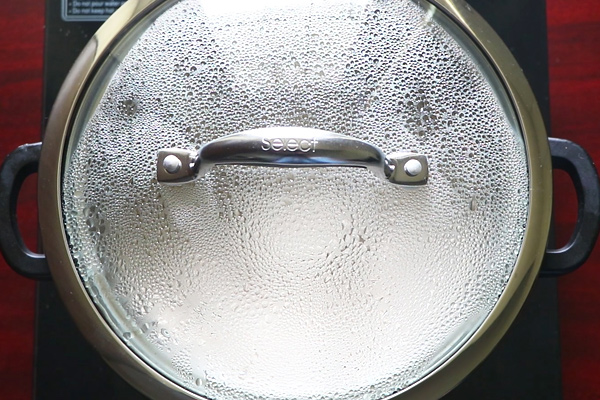
11.To a pot add salt and spread it around 1/2 inch thickness.Place a stand on it.Close with lid.
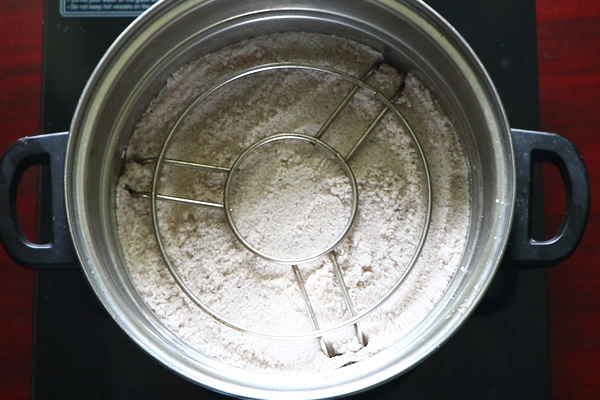
12.Close with lid.Preheat in low medium flame for 10 mins.
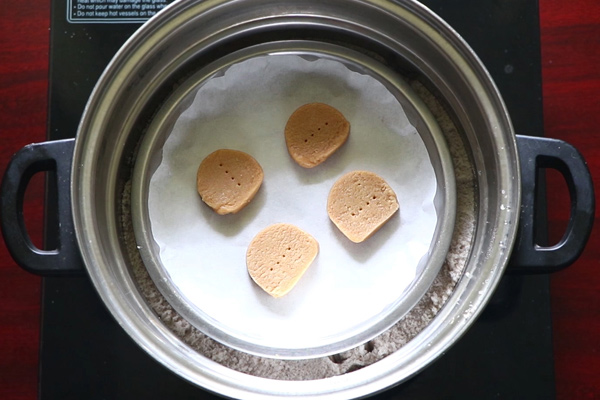
13.Then open and place the plate with biscuits.I used a normal steel plate with butter paper lined.
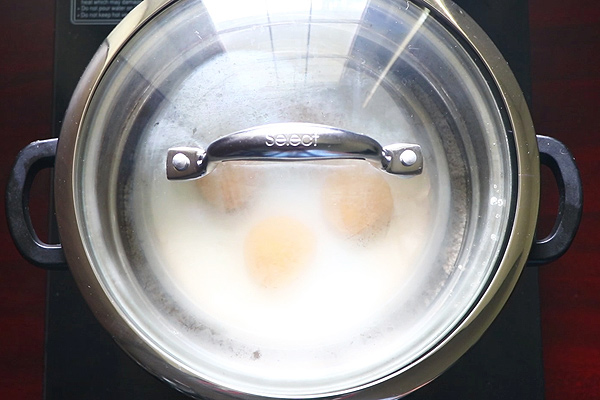
14.Close with lid and cook for around 12-15 mins in low medium flame.
15.Cook until the edges turn golden.Remove carefully and allow it to cool.
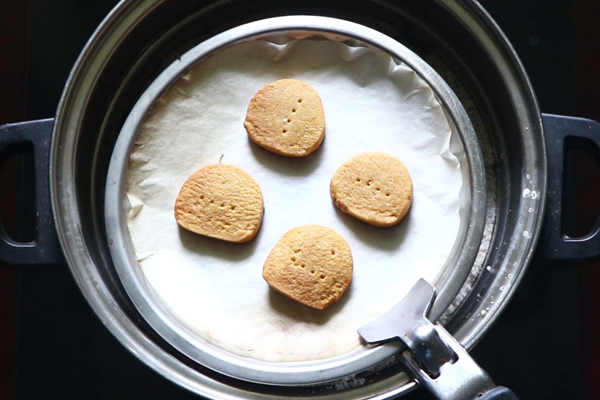
Butter Biscuits ready!

Expert Tips
- The baking time may vary depending on the thickness and size of the biscuits so adjust accordingly. If it is uncooked, you can bake further for 5-10 minutes. If it is brown around 20 minutes, you can take the tray from oven to see if it is cooked and switch off accordingly.
- You can even roll the dough, use cookie cutters and cut them.
- You can make the dough, refrigerate it well ahead of time. Slice and bake biscuits as and when needed.
- Do not reduce butter then the texture may differ.
Serving & Storage Suggestions
Store the biscuits in an airtight container. Butter Biscuit keep well for about 2 weeks (although it never was available beyond 2 days.) and refrigeration is not needed.
Serve the Butter Biscuit with tea or coffee during snack time! And it can be consumed as a snack whenever you wish to!
Variations
- You can replace white sugar with brown sugar too.
- You can replace wheat flour with maida / all purpose flour.
- This is the easy way – slice and bake kind of biscuits. But if you prefer, you can use cookie cutters to produce heart shaped biscuits, doll shaped and shapes as per your liking.
FAQs
1.What is Butter Biscuit
Butter Biscuit is a delicious, bakery style cookie made by baking wheat flour dough mixed with butter, sugar & salt.
2.How to make Butter Biscuit with oven?
- To a mixing bowl – add butter,sugar beat well until creamy.
- Sieve flour and salt and mix it well to a soft dough.
- Shape it up as a cylinder and cling wrap it.Refrigerate it atleast for an hour.
- Slice the dough into 1/4 inch thickness.
- Bake in preheated oven at 180 deg C for 10-12 mins.Keep an eye, when it starts to brown at edges its done.Let it cool then store.
3.How do you make Butter Biscuit without oven?
Stove top version: To a pot add salt and spread it around 1/2 inch thickness.Place a stand on it.Close with lid and preheat in low medium flame for 10 mins.Then open and place the plate with biscuits.I used a normal steel plate with butter paper lined.
Close with lid and cook for around 12-15 mins in low medium flame until the edges turn golden.Remove carefully and allow it to cool.
4.I love to have these biscuits in different shapes – How do I do it?
You can use the cookie cutter of your preference and cut into shapes that you like. Make sure it is not more than ¼ inch thick.
5.Can I add flavours to this biscuit?
Yes you can add jeera (cumin seeds) or a tbsp of coffee powder or a tsp of vanilla essence for flavouring.
Love these biscuits so much, buttery and so delicious.A very easy to make biscuits with just 4 ingredients. Do try and let me know how you liked these.
I’ve given option for both oven and without oven – You can choose it as per your preference.So no excuse for those who don’t won a oven ok?!
As I am always requested for oven free baking recipes so thought this is the right time to try it, so more such recipes to come in this space.So stay tuned!
The post Butter Biscuit | Tea Shop Butter Biscuits appeared first on Sharmis Passions.
from Sharmis Passions https://ift.tt/5qA7nO8
via KITCHEN MASALA