Baileys Chocolate Brownies Recipe - Baileys Irish Brownies Recipe with step wise pictures. Baileys Chocolate Brownies Recipe Delicious rich indulgent baileys brownies which is chewy and so chocolaty. The mild coffee flavour comes from the baileys adds a nice touch to the brownies. About Baileys Chocolate Brownies Recipe This is one of the delicious and...
Vanilla Extract Recipe Homemade Vanilla Extract Recipe - How to Make Vanilla Essence at Home Homemade vanilla extract is a lot more cheaper and finer than store bought. You will get very good aroma and flavour from using homemade vanilla. Since i have been baking quite a lot, i am running out of vanilla extract...
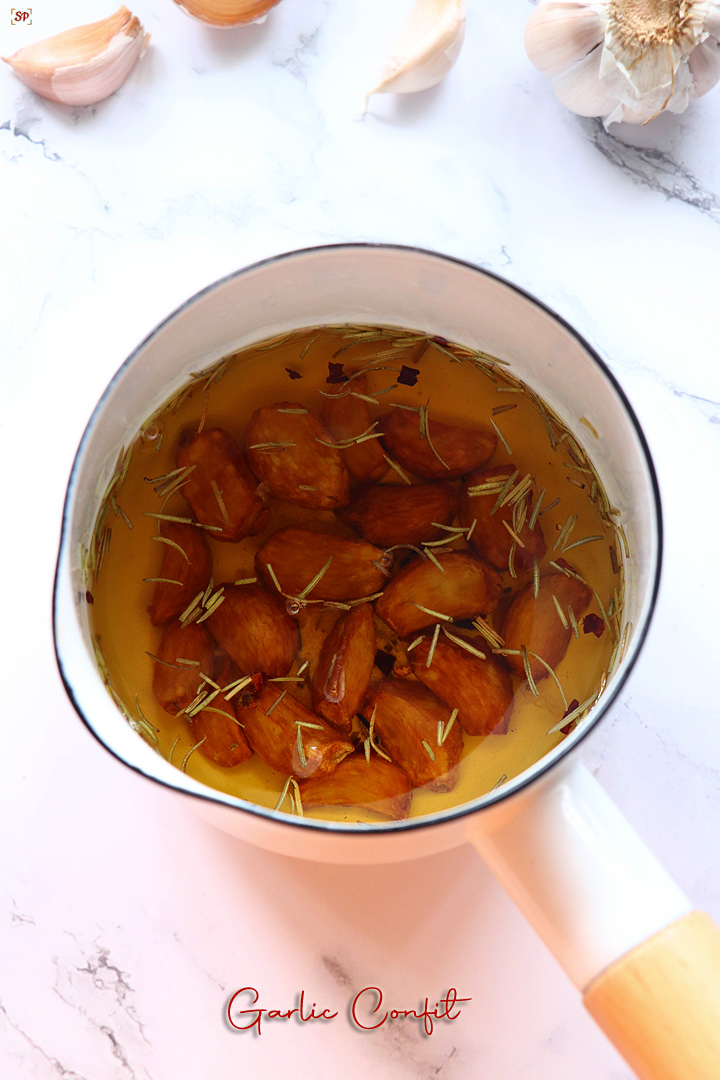
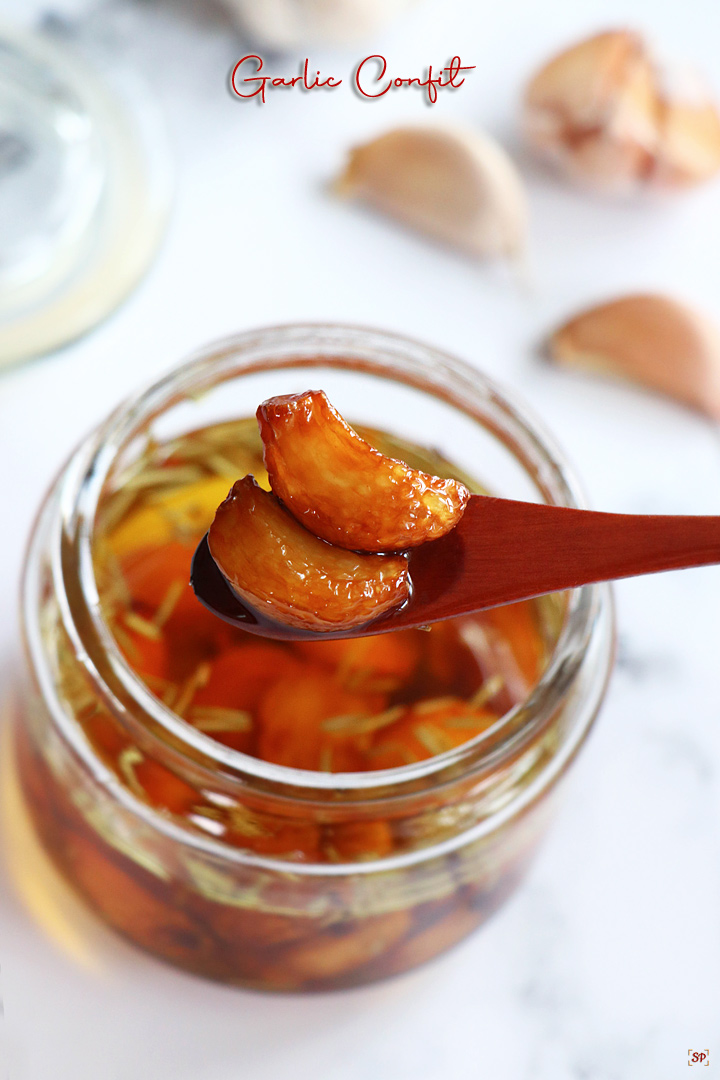
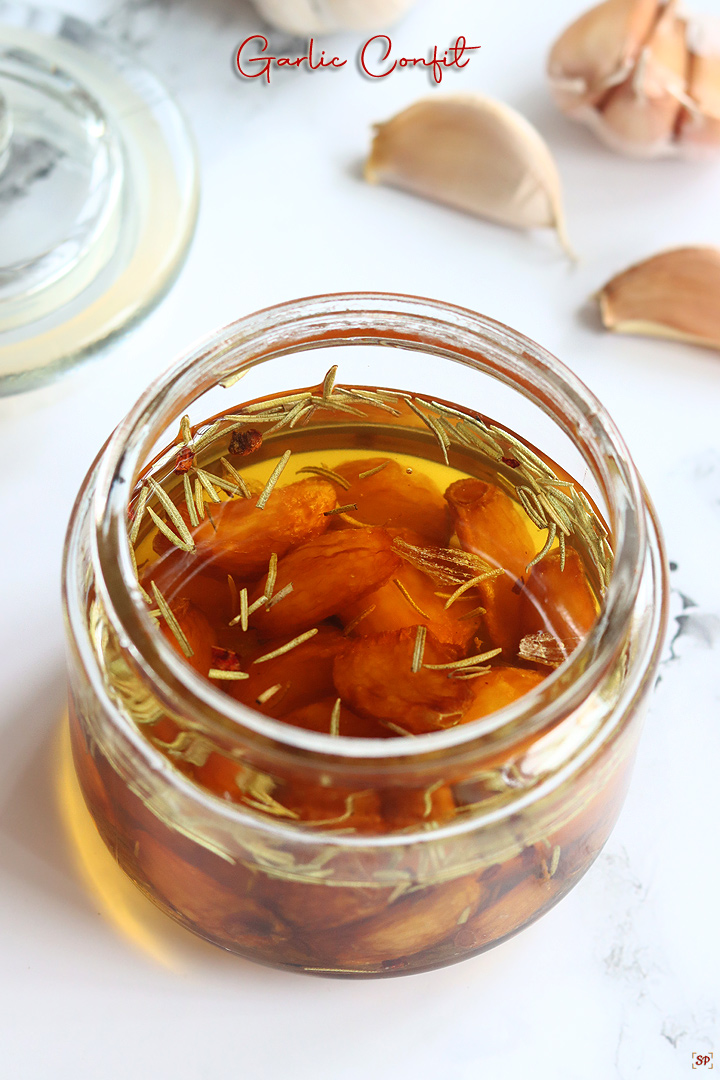
Garlic Confit is an flavourful spread for bread, soup, pasta and many more dishes. Garlic Confit is made by slow roasting of peeled garlic in oil with or without additional flavours. How to make Garlic Confit at home is explained in this post with step by step pictures and video.
Garlic Confit is a stage between pickle and chutney that must be definitely explored at our kitchen and add magic to our food! This Garlic Confit is easy to make and versatile and can make a great spread for bread, roti etc.
About Garlic Confit
Garlic Confit is the western world pickling – French word pronounced as confee – meaning to preserve. Confit is slow roasting vegetables or meat in fat ie oil.
Garlic Confit can be made with either stovetop or oven and longer the cooking, longer it will last & taste! You can use the confit as it is with garlic or just the garlic infused oil if you do not like eating the garlic cloves.
Garlic Confit lasts for 3-5 days based on the amount of oil & closed storage. Garlic Confit can be stored in a glass or ceramic container and placed on dining table so that it becomes handy to use.
Garlic Confit can be used as a spread, seasoning or a condiment for practically any tiffin, snack and soup to enhance the taste of the food! Some of the ideas for using Garlic Confit are:
Spread for plain / roasted bun/bread or as filling in sandwich
Alternative for Idli Powder to Idli / Dosa
Spread on Dosa / Uttappam
Add to pasta, noodles, semiya
To top it with burgers
Use on top of vegetable curry or main dishes
Add to Paruppu Podi / Dal for rice
Add to soup and sauce
Toss it with spaghetti for a quick and easy Aglio e Olio.
Blend with vinegar to make a salad dressing
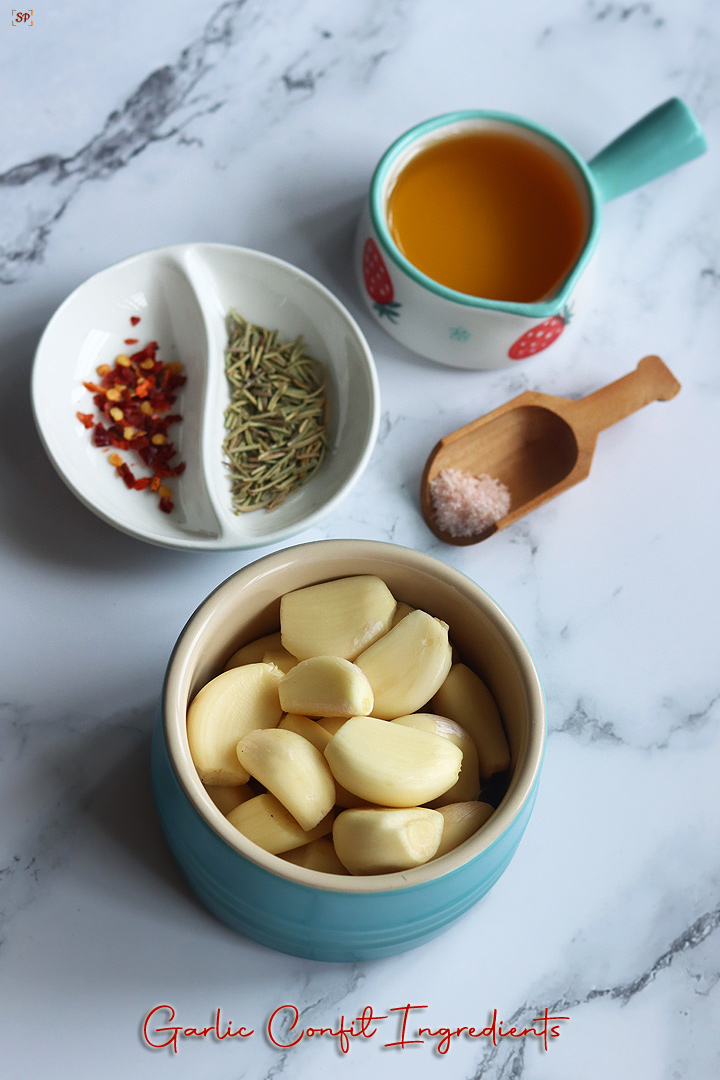
Ingredients
Garlic: Use the fat garlic variety for best results. Use peeled Garlic for Confit. Peeling is unexciting thing to do but can be made easy by separating the cloves and shaking the cloves vigorously in a closed container for about a minute.
Oil: Use extra virgin olive oil which is traditionally used. However refined oil which is commonly used at homes can also be used for Garlic Confit. Though gingelly, groundnut, mustard oil can be used, it may overpower the flavour of garlic. Olive oil goes best with garlic and hence can be used for best results.
Additional Flavours: Rosemary as herb or seasoning, basil, salt, oregano, red pepper flakes, bay leaf can be used as additional flavours if need be.
If you have any more questions about this Garlic Confit Recipe do mail me at sharmispassions@gmail.com. In addition, follow me on Instagram, Facebook, Pinterest ,Youtube and Twitter .
Tried this Garlic ConfitRecipe? Do let me know how you liked it. Also tag us on Instagram @sharmispassions and hash tag it on #sharmispassions.
Garlic Confit is an flavourful spread for bread, soup, pasta and many more dishes. Garlic Confit is made by slow roasting of peeled garlic in oil with or without additional flavours.
CourseBreakfast, dinner
CuisineFrench
Calories
AuthorSharmilee J
Ingredients
Around 20 garlic gloves
1/2cupolive oil
1/4tspred chilli flakes
1tsprosemary
salt to taste
Instructions
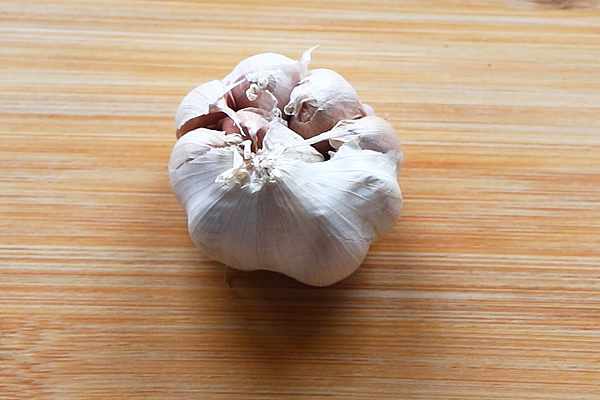
Take a garlic head.
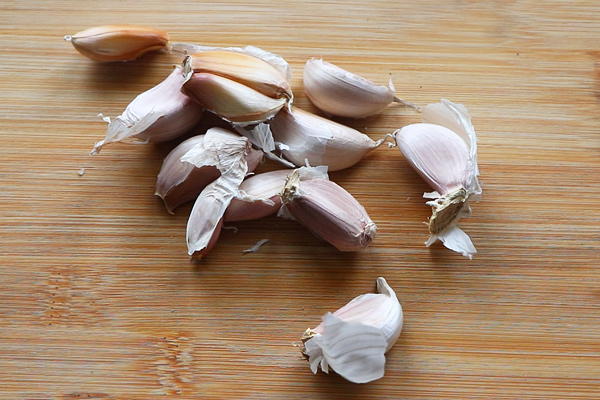
First seperate the garlic cloves.
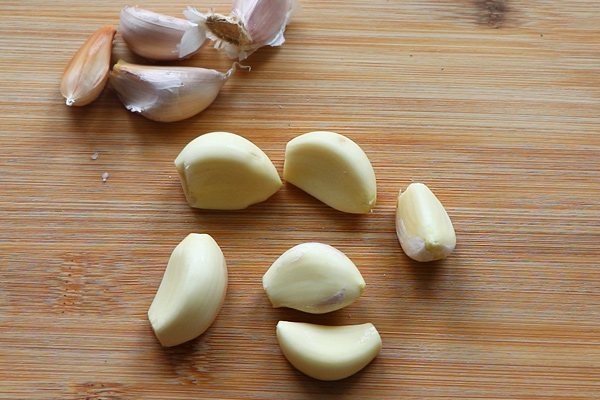
Using a knife remove the edge, discard then peel the skin. Repeat to finish.
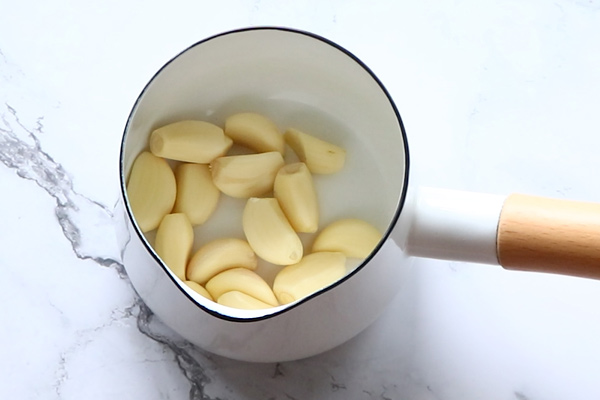
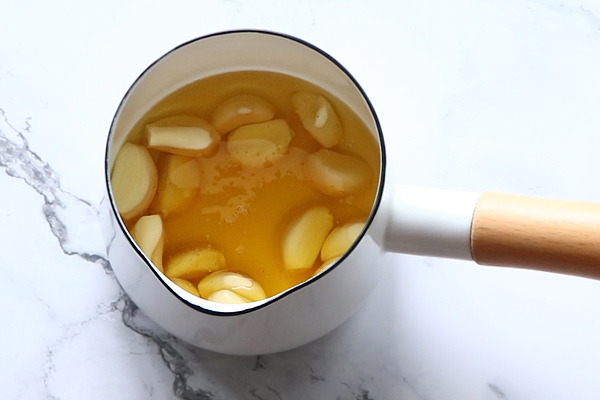
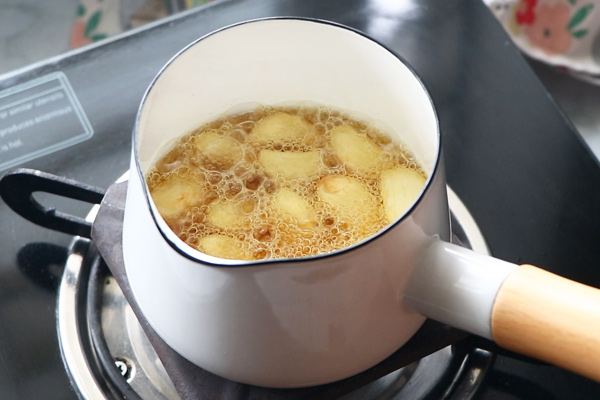
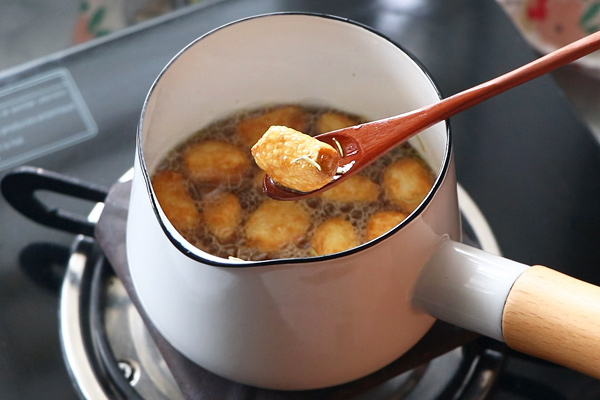
In a small sauce pan add around 20 garlic cloves.
Add 1/2 cup olive oil to it.
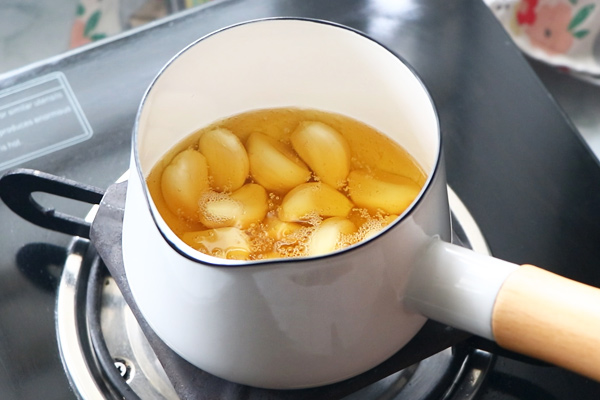
Simmer in low flame.
Let it cook in lowest flame for about 15 mins.
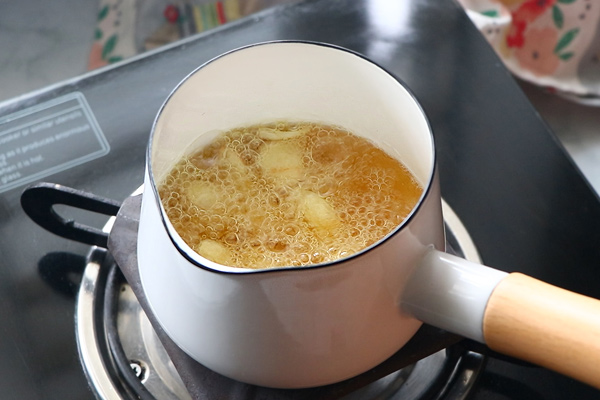
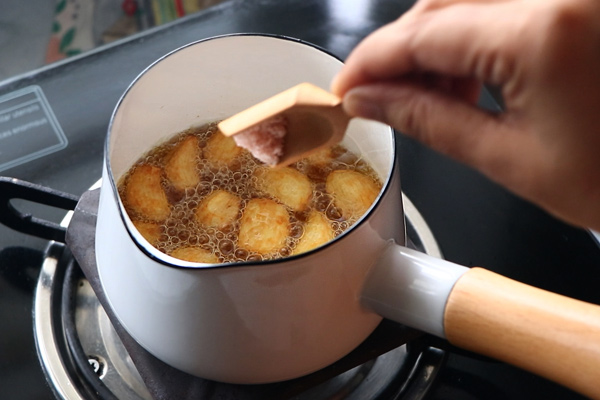
Keep stirring in between.
Slowly the color changes.
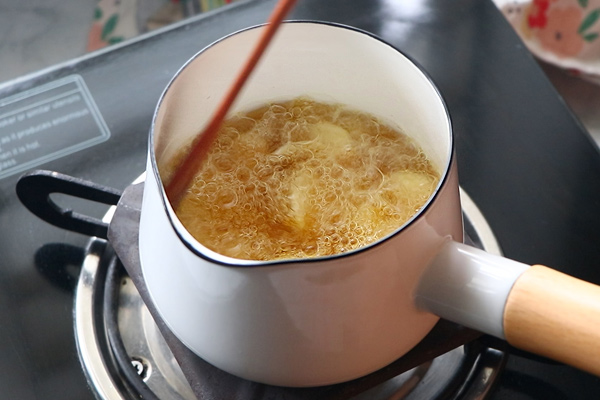
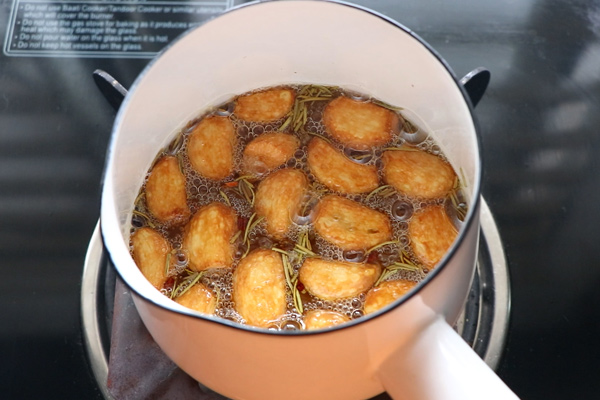
When it turns golden add salt to taste.
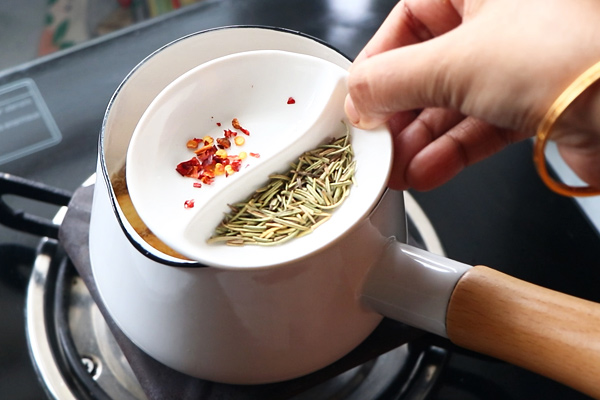
Then add 1/4 tsp dried chilli flakes and 1 tsp rosemary.
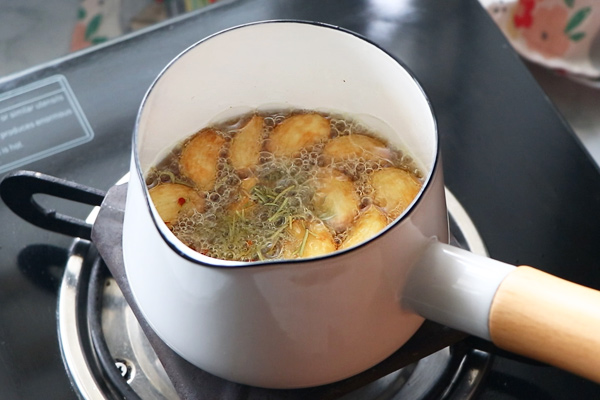
Now cook for another 10 mins.
You can see garlic cloves changing color to lite golden brown.
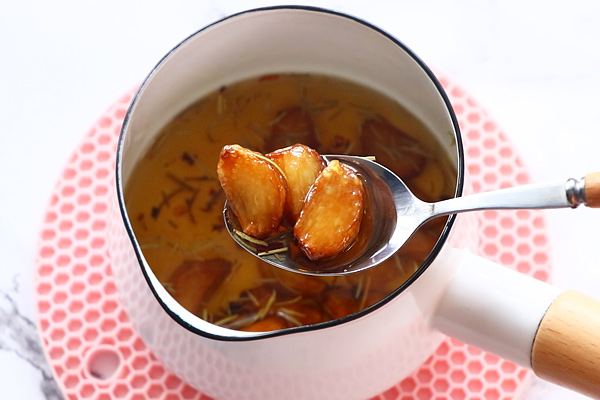
Switch off and cool down.
Garlic Confit is ready!
Cool down completely then store.
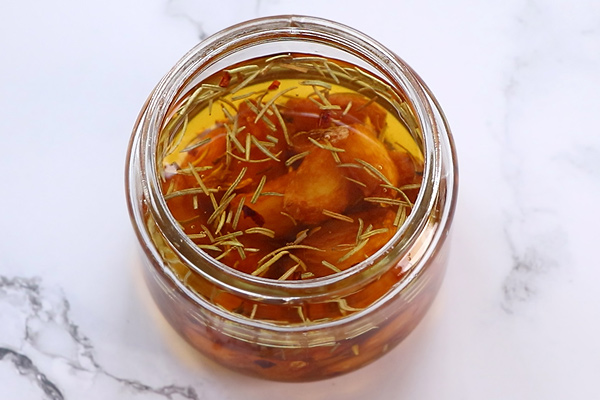
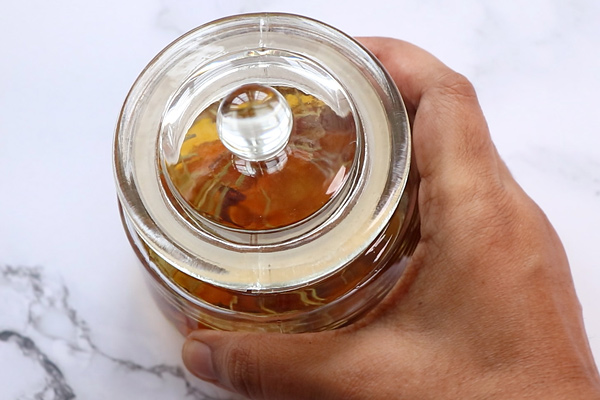
Transfer to a clean glass jar.
Keep covered in fridge.
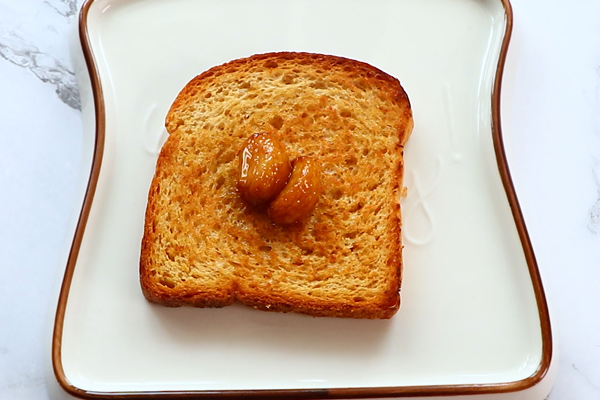
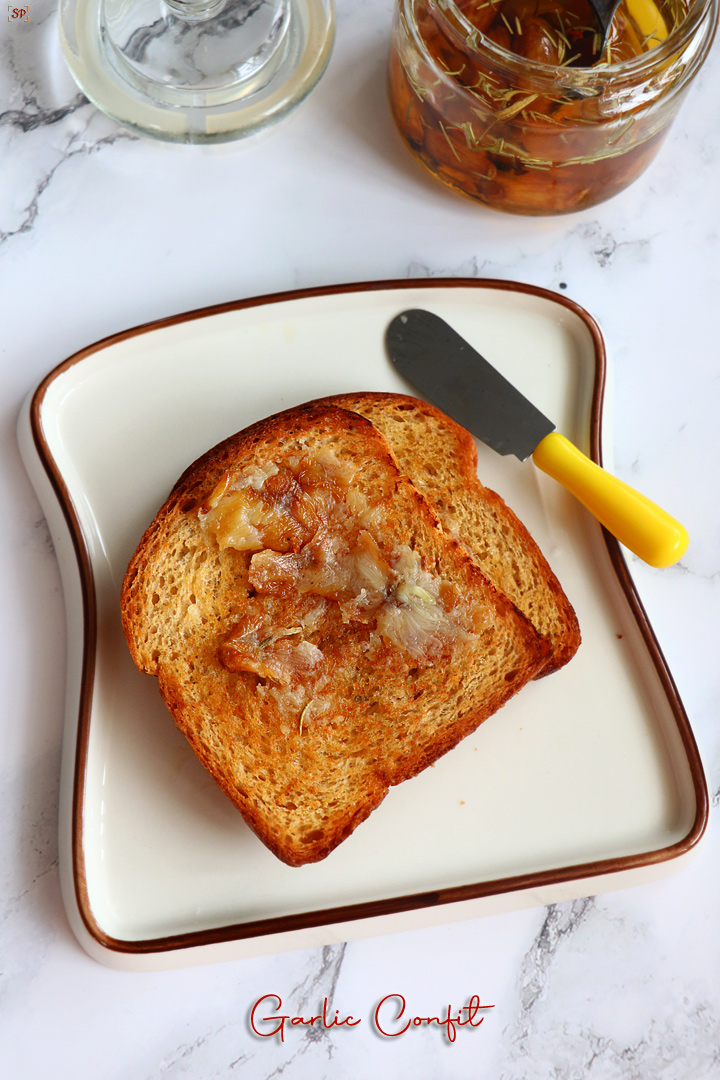
Toast a bread slice, add 2-3 cloves garlic from the confit.
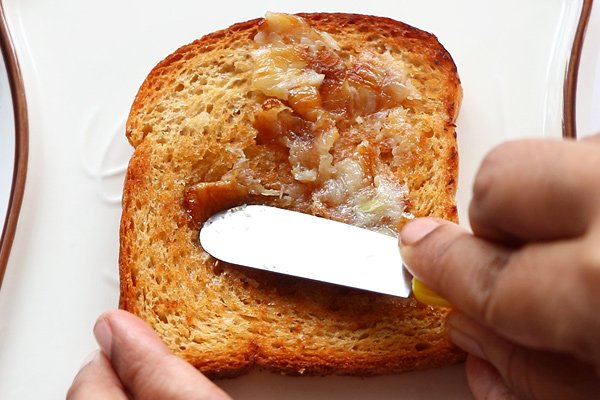
Spread the garlic confit over and enjoy!
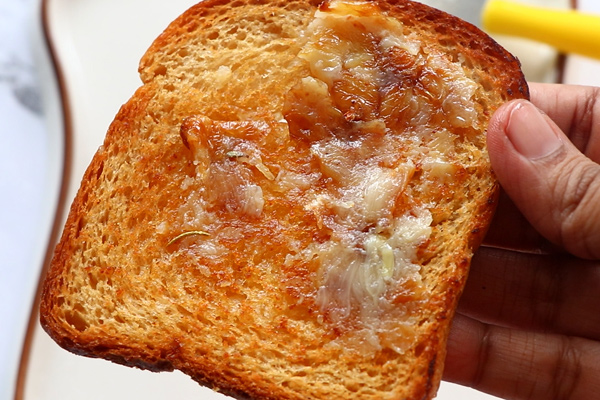
This tastes soo good!
Garlic Confit is ready!
Video
Notes
Slow roasting is the key, so big garlic cloves works best for confit recipes.
Keep flame to lowest and roast for more time. For oven also keep minimum temperature and roast for more time.
Adding herbs is purely optional but enhances the flavour.
Garlic Confit
1.Take a garlic head.
2.First seperate the garlic cloves.
3.Using a knife remove the edge, discard then peel the skin. Repeat to finish.
4.In a small sauce pan add around 20 garlic cloves.
13.You can see garlic cloves changing color to lite golden brown.
14.Switch off and cool down.
15.Garlic Confit is ready!
16.Cool down completely then store.
17.Transfer to a clean glass jar.
18.Keep covered in fridge.
19.Toast a bread slice, add 2-3 cloves garlic from the confit.
20.Spread the garlic confit over and enjoy!
21.This tastes soo good!
Garlic Confit is ready!
Expert Tips
Slow roasting is the key, so big garlic cloves works best for confit recipes.
Keep flame to lowest and roast for more time. For oven also keep minimum temperature and roast for more time.
Adding herbs is purely optional but enhances the flavour.
Variations
Variations to Garlic Confit can be with the different types of oil that we use for making Garlic Confit and additional flavours per our taste. Some of the variations to Garlic Confit are
Adding few sprigs of fresh thyme or rosemary with garlic
Adding few ginger along with garlic
For spicy Garlic Confit add 1-2 dried red chillies with garlic
At the time of serving we can top it with basil, oregano, red pepper flakes & other seasonings
Baby Potatoes, small onion / shallots, tomatoes can be confited too!
Garlic Confit with oven
Garlic Confit can also be made in oven to avoid standing for long or forgetting to switch off when made with stovetop. Steps to make Garlic Confit with oven:
Preheat the oven to 125°C / 250°F.
Place the peeled garlic cloves & additional flavours (optional) in a baking dish. Add enough oil to cover the cloves.
Bake it oven for 1 ½ hours to 2 hours at 100°C / 200°F until the garlic confit is very tender but not too browned.
Cool it down before storing / serving.
Storage
Garlic Confit lasts for 3-5 days based on the amount of oil & closed storage. Garlic Confit can be refrigerated for use up to 10 days and can be freezed for use up to 2 months.
FAQs
1.What is Garlic Confit?
Garlic Confit is an flavourful spread for bread, soup, pasta and many more dishes. Garlic Confit is made by slow roasting of peeled garlic in oil with or without additional flavours.
2.What is the shelf life of Garlic Confit?
Garlic Confit lasts for 3-5 days based on the amount of oil & usage in closed container. Garlic Confit can be refrigerated for use up to 10 days and can be freezed for use up to 2 months.
3.Can I make Garlic Confit with oven?
Yes very much – Bake garlic covered with oil in a preheated oven for 1 ½ hours to 2 hours at 100°C / 200°F until the garlic confit is very tender but not browned.
4.Can I use a stainless steel container to store?
Use only glass or ceramic container similar to storing Indian pickle.
5.How do I use Garlic Confit?
Garlic Confit can be used as a spread, seasoning or a condiment for practically any tiffin, snack and soup to enhance the taste of the food! See How to use section for detailed uses of Garlic Confit.
6.How much oil is needed for 1 head of garlic?
It purely depends on the pan you are using as we need oil for garlic to soak and simmerse in the oil fully with oil 1/2 inch above the garlic. For a head you can use around 1/2 cup olive oil.
Special Plain Pulao Recipe - Basmati Pulao Recipe with step wise pictures. Plain Pulao Recipe This is a very simple pulao, but it is very special and taste so flavourful and aromatic. You can pair this with any of your favorite curries or kurma. About Basmati Pulao Recipe This is a very simple pulao, but...
Ultimate Christmas Pudding Recipe - Christmas Special Recipes with step wise pictures. Christmas Pudding Recipe Delicious christmas pudding which is super easy to put together. But it taste so delicious, moist and full of flavour. About Christmas Pudding Recipe This is one of the classic pudding recipe. It is so good, when i say it...
Pink sauce recipe with step-by-step pictures. This is a recipe that went viral all over social media. It is a pink coloured sauce made with dragon fruit powder, garlic, spices. There are so many versions of this recipe all over the Internet this is my take on it. Pink Sauce Recipe Pink sauce is the...
Methi muthiya is a Gujarati dish with fenugreek leaves, mixed flours, in addition to spices as main ingredients in the recipe. It can be steamed as well as deep fried.
It can be made during the winter, when fresh methi leaves are in season, as a tea-time snack.
Other ingredients for flavor - Sesame seeds, asafoetida, ginger paste.
See recipe card for full list and quantities.
Instructions
Let's see how to make methi muthiya with step by step images.
1. Measure firstly and wash the fenugreek leaves well. Chop it roughly and then take it in a mixing bowl.
2. After that, mix with ¼ teaspoon salt and keep aside for 10 minutes.
3. Once done, you will see the leaves has left out water. (Refer note 1)
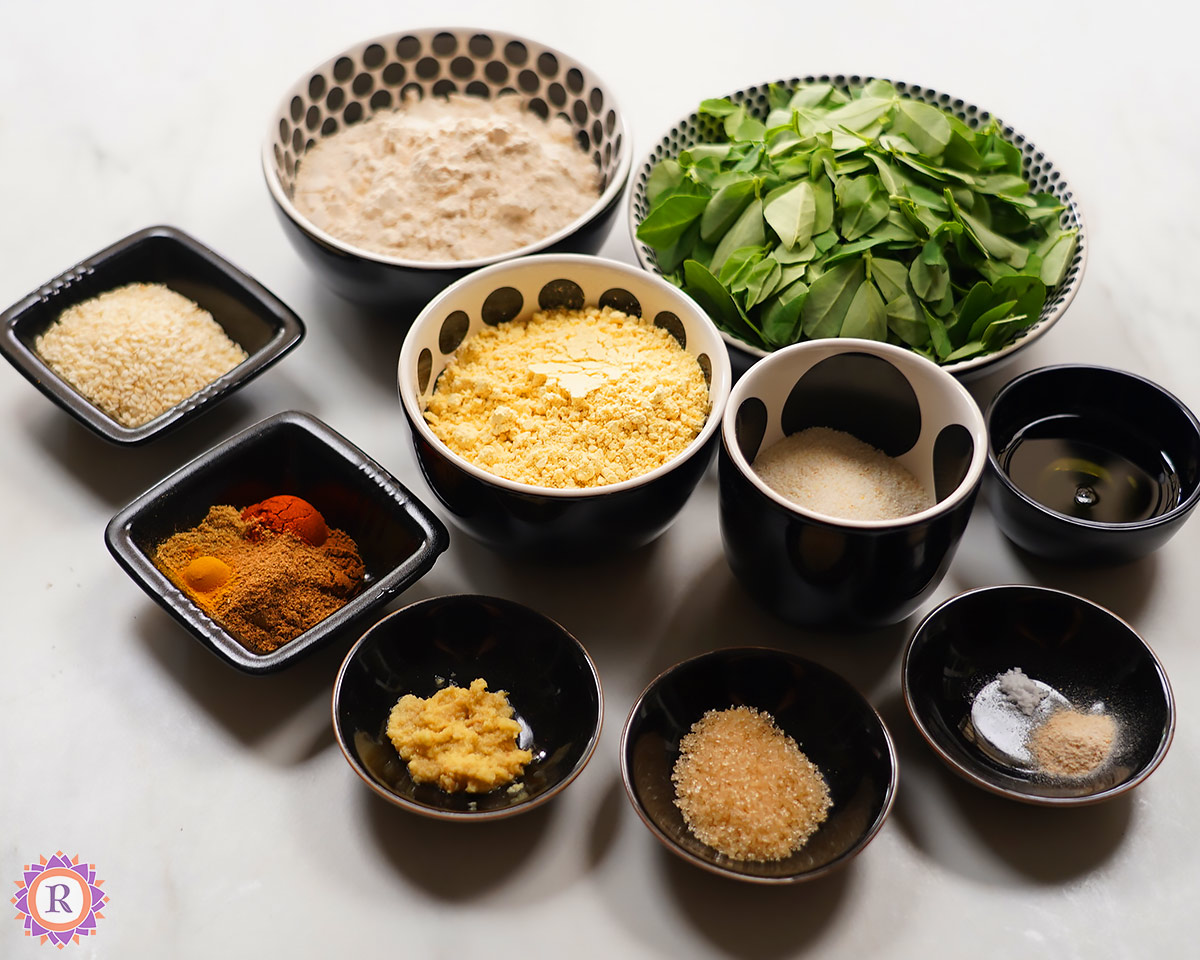
4. To it, add wheat flour, besan and semolina to it along with spices, asafoetida, sesame seeds, oil, sugar, ginger paste, cooking soda as well as required salt.
5. Mix well firstly, do not add water now.
6. Then add water as needed and knead to a non-sticky dough.
7. Keep aside covered for 10 minutes, not more than 15 minutes.
8. After that, knead to make it smooth. I divided into two portions.
Make deep fried methi muthiya
1. Take a gooseberry sized portion of the dough firstly.
2. Then press inside your firsts to get an oblong shape. (Refer note 2)
3. Repeat furthermore to finish all the dough portion, same way.
4. Heat oil in a pan enough to deep fry the methi muthiya, but take care not too hot. Then, slide into the oil and cook in medium heat or low heat.
5. Once bubble ceases stir to turn the methi muthiya for even cooking from all sides.
6. Fry furthermore until golden in color. Finally, drain from oil over a paper towel.
Methi muthiya steamed
1. Take the other part of dough and divide into two portions firstly (grease your hands). Then shape into oblong logs. After that, place in a greased steamer plate.
2. Meanwhile boil water in a steamer/ vessel. Then, place the steamer plate inside.
3. Steam covered for 15 minutes or until it is cooked through inside. Check by inserting a knife or skewer inside to see if it comes out clean, indicating it's done.
4. Cool it furthermore and slice them into thick roundels, carefully.
7. Then, heat a pan with oil and splutter mustard. After that, add asafoetida, sesame seeds and curry leaves.
8. Furthermore, give it a fry and place the sliced methi muthiya.
9. Roast in medium or low flame until the crust is golden and crisp. Carefully flip and toast until the otherwise also gets golden in color. Methi muthiya is ready!
Enjoy soft methi muthiya with a cup of hot tea. I had it with my favorite adrak wali chai 😍👌🏻.
Substitutions
Methi leaves - instead of fenugreek leaves, you can use any vegetables like doodhi, spinach greens.
Gluten free- You can skip wheat flour as well as sooji, use gluten free flours like millet flour, rice flour etc. Use coarse ground besan in that case for a good texture.
The recipe is naturally vegan. If you are allergic to sesame seeds, you can sure skip it.
Variations
Giving the visitor ideas on how they can change this recipe to better suit their dinner guests, or their cultural cuisine, is a great way to increase the chances they make the recipe
Spices - Instead of red chilli powder, you can also use green chilli paste. Also for flavour, you can use any of your favorite instead of fennel seeds powder. For example ajwain.
Garnish - For steamed version, I have used sesame seeds but you can skip it and simply use just mustard and curry leaves. You can also add some fresh grated coconut.
See this wonderful post by Srujan for more insights on what flour types to use in which proportion. Mine is adapted from Tarla dalal as well as her post.
Storage
You can store the steamed muthiyas after cooling down completely, upto 3 days. Freeze the steamed muthiyas for a month and to use it, defrost it in the fridge and then deep fry or shallow fry as needed.
I do not recommend storing the dough as such though.
Top tip
Measure the leaves packed firstly and always make sure to wash it well.
Actually, I made without draining the liquid that drains from methi leaves and but no bitter taste. Just make sure to balance the spice and add sugar. If it is not spicy, or salt is less, it may be bitter. Also do not chop too much, just rough chopping is enough.
Make sure to boil the water in steamer before you place inside.
Deep frying in low or medium flame ensures cooking from inside.
Do not worry about your fist impressions, while you fry, it puffs up and looks smooth.
What is methi muthiya meaning?
Methi means fenugreek leaves and muthi in Gujarati means fist. Since we shape it with our firsts, it is called methi muthiya.
Something like pidi kozhukattai which always comes to my mind 😃.
FAQ
What to eat with Muthiya?
You can serve muthiya with spicy green chutney or even sweet chutney depending on your preference.
Methi muthiya is a Gujarati dish with fenugreek leaves, mixed flours, in addition to spices as main ingredients in the recipe. It can be steamed as well as deep fried.
½teaspoonRed chilli powderSpicy variety or 1 teaspoon green chilli paste
¼teaspoonroasted cumin powderBhuna jeera powder
¼teaspoonFennel seeds powderoptional
⅛teaspoonTurmeric
⅛teaspoonAsafoetida
1pinchCooking soda
Salt - As needed
Oil to deep fry
To temper for steamed muthiya
1tbspOil
¼teaspoonMustard
1teaspoonSesame seeds
1pinchAsafoetida
Curry leavesfew
Prevent your screen from going dark
Instructions
Measure firstly and wash the fenugreek leaves well. Chop it roughly and then take it in a mixing bowl.
After that, mix with ¼ teaspoon salt and keep aside for 10 minutes.
Once done, you will see the leaves has left out water. (Refer note 1)
To it, add wheat flour, besan and semolina to it along with spices, asafoetida, sesame seeds, oil, sugar, ginger paste, cooking soda as well as required salt.
Mix well firstly, do not add water now.
Then add water as needed and knead to a non-sticky dough.
Keep aside covered for 10 minutes, not more than 15 minutes.
After that, knead to make it smooth. I divided into two portions.
Make deep fried methi muthiya
Take a gooseberry sized portion of the dough firstly.
Then press inside your firsts to get an oblong shape. (Refer note 2)
Repeat furthermore to finish all the dough portion, same way.
Heat oil in a pan enough to deep fry the methi muthiya, but take care not too hot. Then, slide into the oil and cook in medium heat or low heat.
Once bubble ceases stir to turn the methi muthiya for even cooking from all sides.
Fry furthermore until golden in color. Finally, drain from oil over a paper towel.
Methi muthiya steamed
Take the other part of dough and divide into two portions firstly (grease your hands).
Then press inside your firsts to get a large oblong shape.
After that, place them in a greased steamer plate.
Meanwhile boil water in a steamer/ vessel. Then, place the steamer plate inside.
Steam covered for 15 minutes or until it is cooked through inside. Check by inserting a knife or skewer inside to see if it comes out clean, indicating it's done.
Cool it furthermore and slice them into thick roundels, carefully.
Temper
Then, heat a pan with oil and splutter mustard. After that, add asafoetida, sesame seeds and curry leaves.
Furthermore, give it a fry and place the sliced methi muthiya.
Roast in medium or low flame until the crust is golden and crisp.
Carefully flip and toast until the otherwise also gets golden in color. Methi muthiya is ready!
Video
Notes
Note 1: I did not drain the water that is from the leaves, yet no bitter taste. Just make sure to balance with spice and adding sugar helps too.Note 2: Just roughly shape them no need to roll smooth, let the fist impressions be there. While frying it will get smooth looks.
Make sure to fry in low flame or medium flame to ensure the inside is cooked.
Wait until the steamed dumplings are cooled before slicing. Otherwise it will break. Use sharpest knife.
If you have not chopped the leaves properly, it will break while slicing.