Wednesday, March 4, 2020

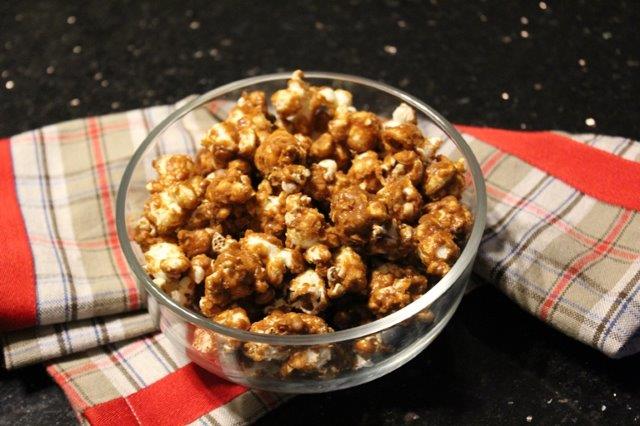
Gourmet Caramel Popcorn Recipe

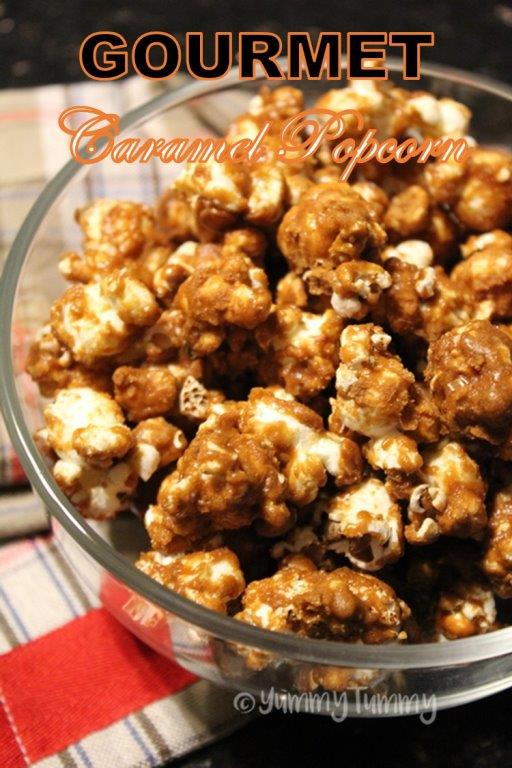
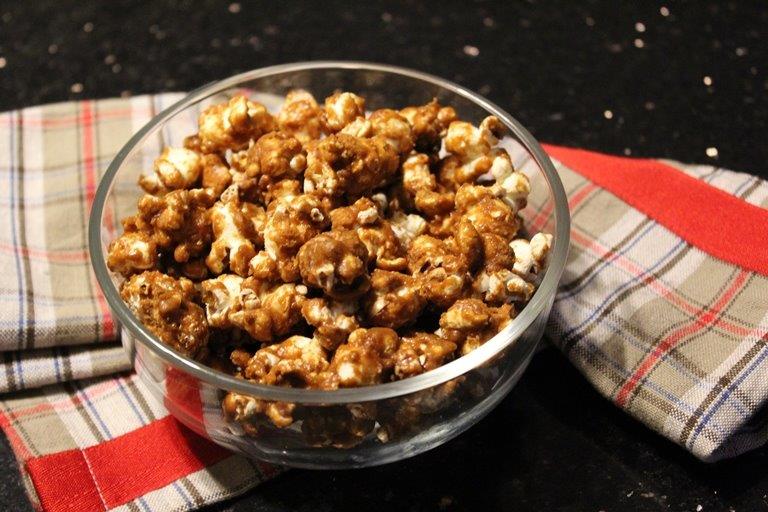
Caramel Popcorn

Gourmet Caramel Popcorn Recipe with Step by Step Pictures.

I make popcorn at home very often. i never buy the packaged microwave or pressure cooker kind. I always make them from scratch. And it is so easy to make them from scratch, plus it is more cheaper and a little corn will go a long way, plus you can make it whatever flavour you like. See so many advantages. So go get yourselves a packet.

It was few weeks before i tried 4700 BC gourmet popcorn. I loved it so much i wanted to recreate it. I have already made a caramel popcorn recipe which doesn’t need baking. This one is made little differently and it needs baking which makes the popcorn crispier and it stays crispy for a long time.
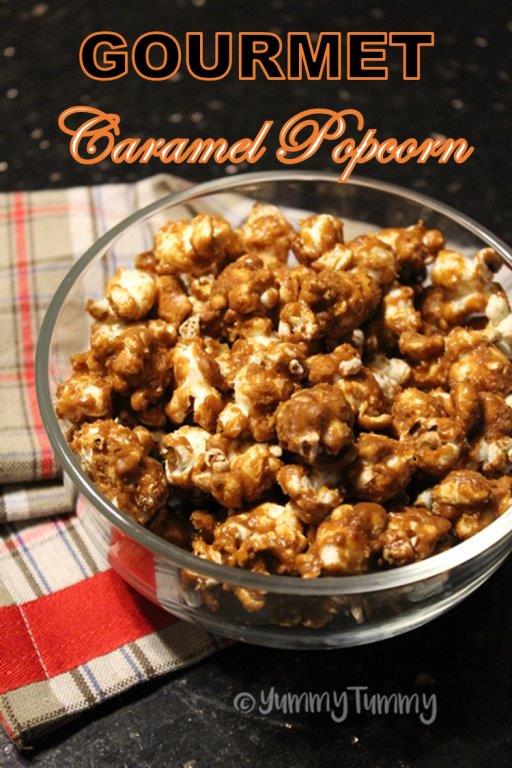
The key to get the perfect texture is with the addition of salt and vanilla. The baking soda added in the caramel sauce makes it more thick and fluffy. This makes the caramel coating around the popcorn more crustier.

Caramel Popcorn

Similar Recipes,
Caramel Popcorn

Caramel Popcorn

Hope you will give this a try and let me know how it turns out for you.

Caramel Popcorn

Gourmet Caramel Popcorn Recipe
 
Prep time
Cook time
Total time
 
Gourmet caramel popcorn recipe is easy to make and taste so crunchy and sweet. Store this in a air tight container and enjoy.
Author:
Recipe type: Appetizer
Cuisine: Indian
Ingredients
  • Popcorn - 1 cup
  • Oil - 3 tblsp
  • Butter - ¼ cup
  • Brown Sugar - 1 cup
  • Water - 2 tblsp
  • Vanilla Essence - 1 tsp
  • Salt - 1 tsp or to taste
  • Baking Soda - ½ tsp
Instructions
  1. Heat oil in a pot. Add in 3 popcorn kernels and cover it. Cook till it pops.
  2. Now add remaining corn kernels and cover and heat til it pops. Set aside.
  3. Heat butter in a pan, add in brown sugar and mix well.
  4. Add in water and cook till it comes to a bubble.
  5. Add in vanilla, salt, baking soda. Mix well till bubble and foamy.
  6. Pour sugar mix over the popcorn and mix well.
  7. Spread this in parchment paper lined pan.
  8. Pop this in a 120 degree c preheated oven for 30 mins.
  9. Mix it often and keep baking.
  10. Once it is done, remove it and cool. It will get crispy as it cools.
  11. Store in a air tight container.
  12. Serve.

Pictorial:

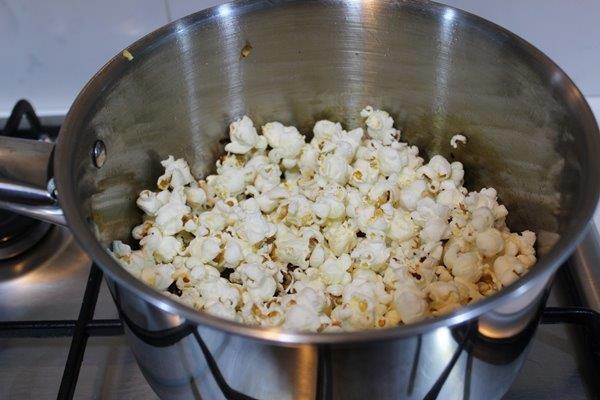
1)Make some popcorn. Check this link for recipe.
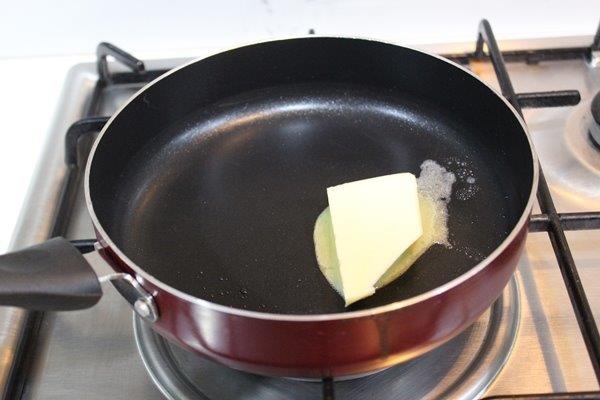
2)Now make caramel sauce. Melt some butter in a pan
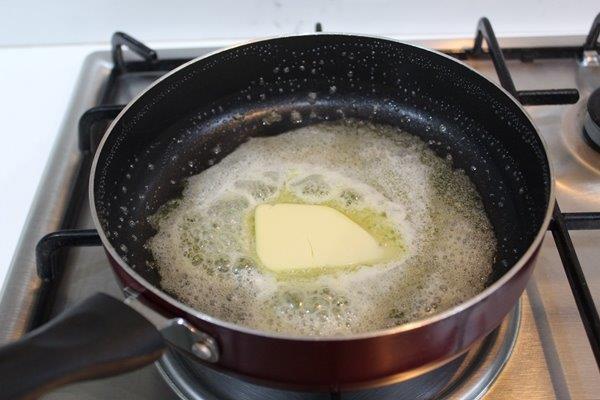
3)Melt it gently
4)Add in brown sugar
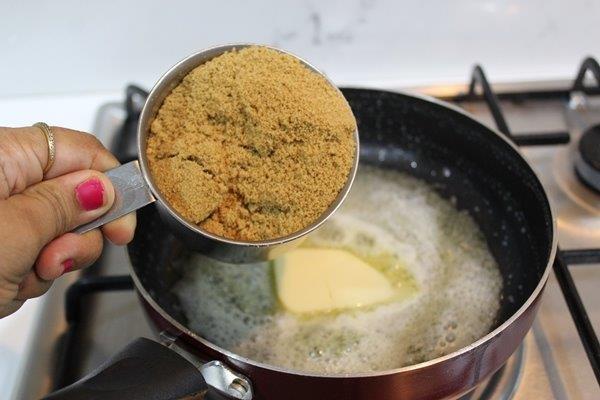
5)Mix well
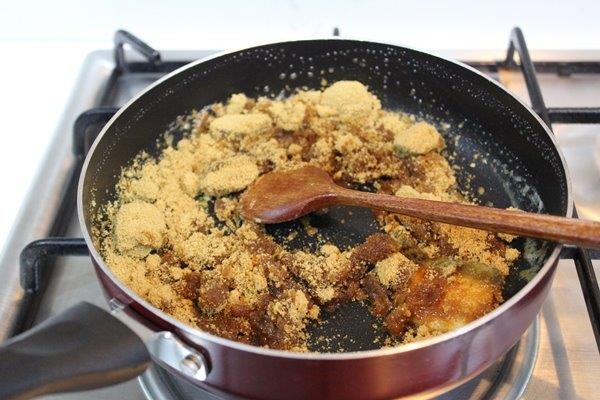
6)Add in water
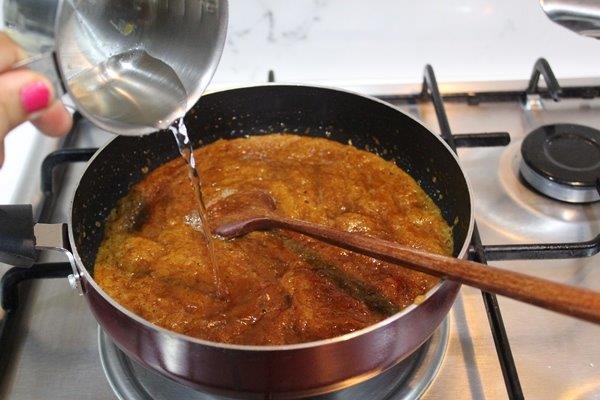
7)Cook till it comes to a bubble
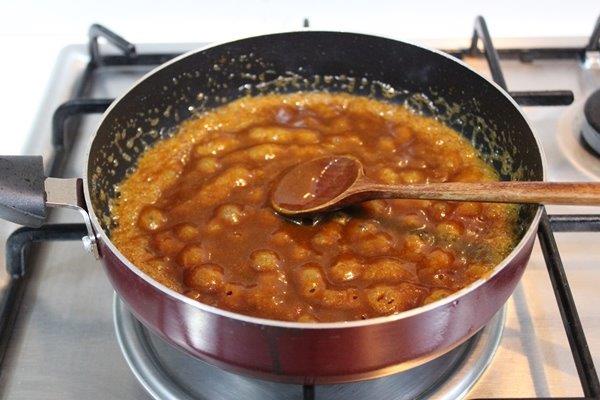
8)mix well
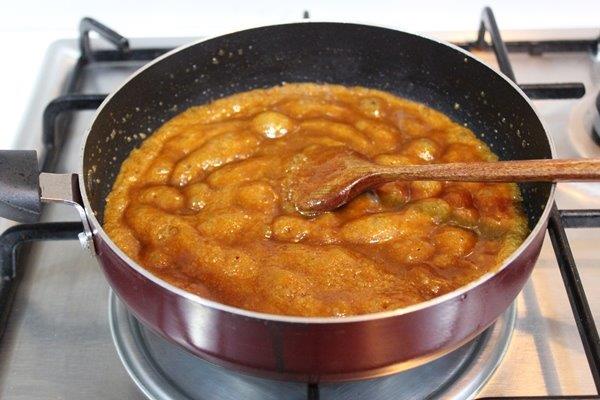
9)Add in vanilla
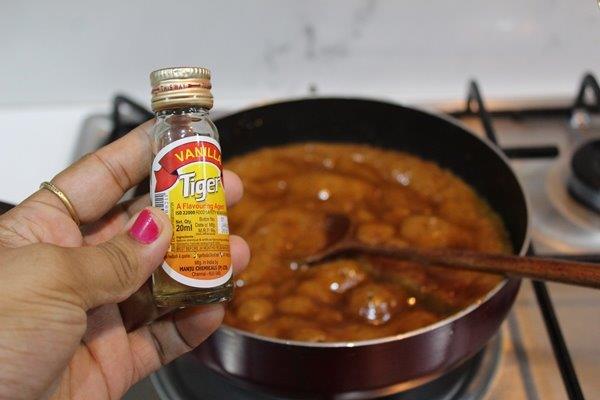
10)Add in salt
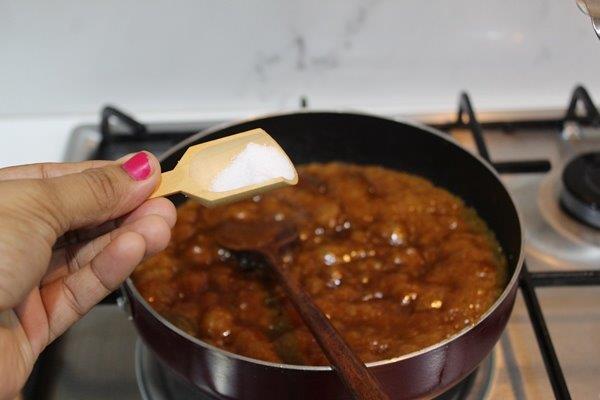
11)Add in baking soda
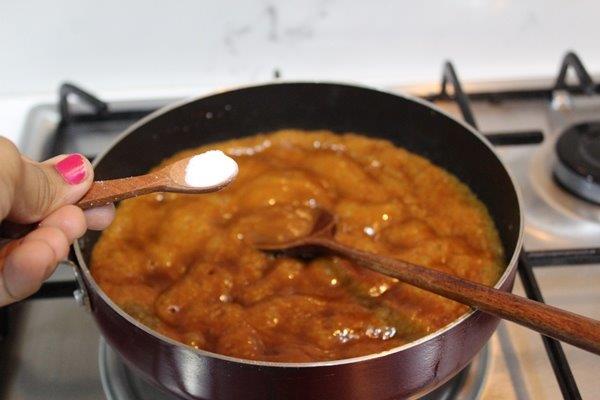
12)Mix well. It will get foamy.
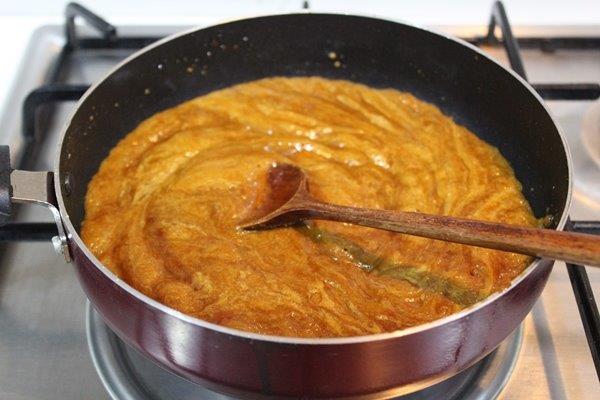
13)Pour caramel sauce over the popcorn
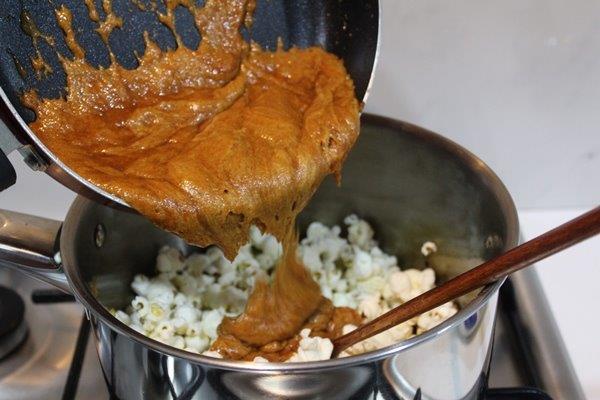
14)Mix well
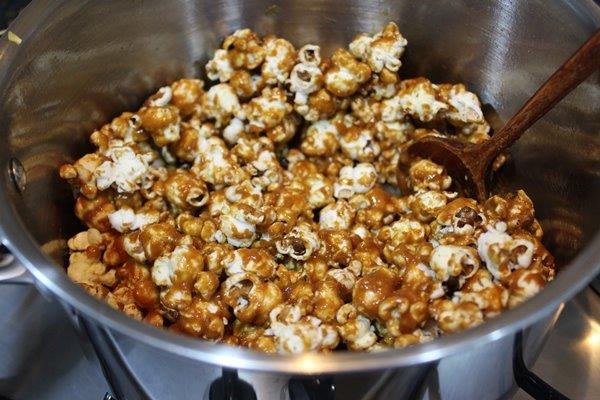
15)Take a pan lined with parchment paper.
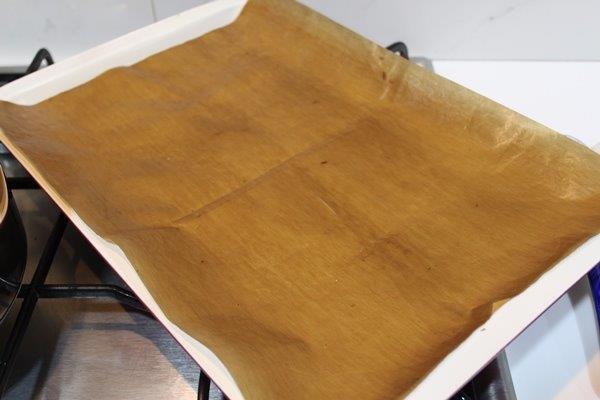
16)Spread popcorn over it and spread it evenly
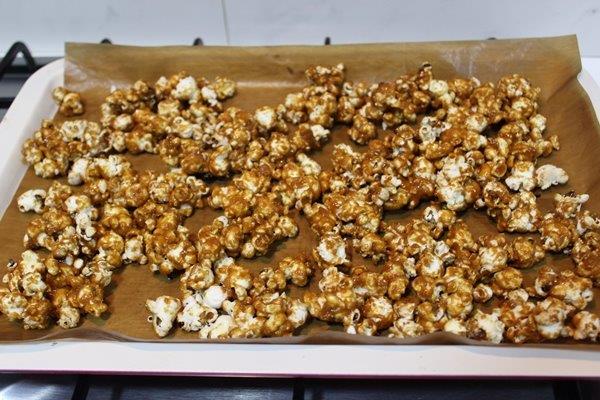
17)Pop it into the oven and bake
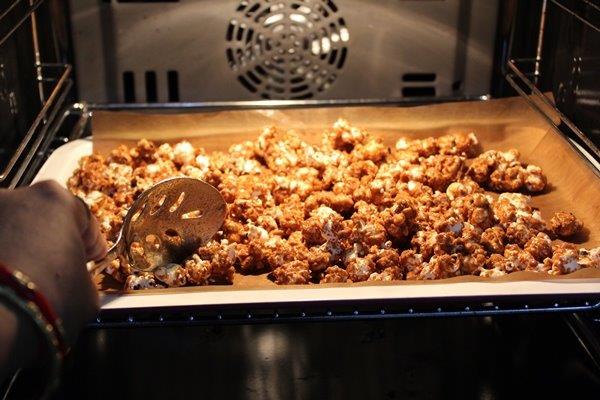
18)Mix well often
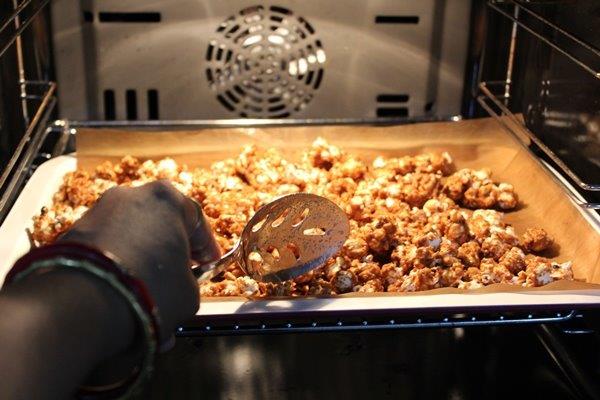
19)Take it out and let it cool.
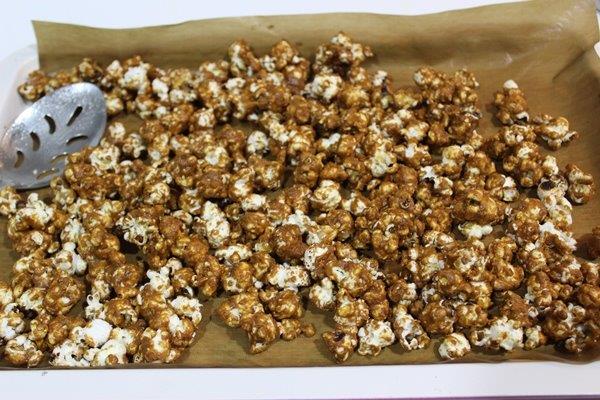
20)Serve.
The post Gourmet Caramel Popcorn Recipe appeared first on Yummy Tummy.


from Yummy Tummy https://ift.tt/2xbHVtb
via KITCHEN MASALA

Leftover dal paratha recipe, dal paratha

leftover-dal-paratha

Leftover dal paratha is a great dinner idea using leftover dal from the afternoon. Step by step pictures and quick video recipe.

I have heard about stuffed dal paratha but leftover dal paratha is new to me until last year. It’s so simple yet delicious and quick to prepare. Mostly we make dal once in a week and it usually get over as Aj loves dal. He have it twice a day. But when he doesn’t want rice for dinner, I make this dal paratha these days. It’s quite filling and goes well with simply curd and pickle. If there is cauliflower curry or ladies finger curry, I love to have with it too. This time it was chana masala with roti(matic) for boys and for me dal paratha.

dal-paratha

Since we add all spices in dal, its upto you what you add in the paratha. You can even add onions. But I love to keep it simple just by adding some masala powders. If you want more spicy, you can add very finely chopped green chilli and lots of chopped coriander too. My dal is thick, so simply top it with flour and make dough for the paratha. I am big fan of parathas and totally in love with this as of now. Do try it out if you have not yet.

leftover-dal-paratha
Print Pin
0 from 0 votes

Leftover dal paratha recipe

Leftover dal paratha is a great dinner idea using leftover dal from the afternoon. Step by step pictures and quick video recipe.
Course Main Course
Cuisine Indian
Prep Time 15 minutes
Cook Time 15 minutes
Resting time 20 minutes
Servings 8 parathas

Equipments (Amazon Affiliate links)

  • Lodge cast iron tawa
Cup measurements

Ingredients

  • 1 & 1/4 cup Wheat flour/ atta adjust as needed
  • 1/2 cup Dal leftovers
  • 1 tsp red chilli powder
  • 1 tsp Amchoor powder
  • 1/2 tsp kitchen king masala powder
  • 1/4 tsp garam masala powder
  • 1/8 tsp turmeric
  • 1 tbsp ghee
  • Salt as needed
  • Water as needed

Instructions

  • Take atta, leftover dal, spice powders, salt, turmeric and ghee in a mixing bowl. Mix well.
  • If you need water add little to make a dough. If it is sticky sprinkle more flour and make a non sticky soft dough.
  • Rest 10 mins and divide into 7-8 equal sized balls. Reset 10 more mins.
  • To make paratha, take a ball, flatten evenly by giving it a press against counter top. Dust it generously with flour.
  • Spread to thick parathas. sprinkle flour for dusting if needed.
  • Heat pan/ tawa side by side and cook both sides with generous drizzle of oil or ghee until golden spots appear. Press gently while cooking to ensure even browning.

Video

Notes

  • The wheat flour quantity varies according to water content in dal.
  • You can increase dal quantity too if you want.
  • I like to poke the parathas here and there with spatula so that it gets cooked easily.
  • Cook in medium flame after flipping. 

Leftover dal paratha method:

  1. Take atta, leftover dal, spice powders, salt, turmeric and ghee in a mixing bowl. Mix well.dough
  2. If you need water add little to make a dough. If it is sticky sprinkle more flour and make a non sticky soft dough. Rest 10 mins and divide into 7-8 equal sized balls. Reset 10 more mins.divide
  3. To make paratha, take a ball, flatten evenly by giving it a press against counter top. Dust it generously with flour.spread
  4. Spread to thick parathas. sprinkle flour for dusting if needed.
  5. Heat pan/ tawa side by side and cook both sides with generous drizzle of oil or ghee until golden spots appear. Press gently while cooking to ensure even browning.ready

Serve hot with any subji. I had with chole.

leftover-dal-paratha-recipe

The post Leftover dal paratha recipe, dal paratha appeared first on Raks Kitchen.


from Raks Kitchen https://ift.tt/2VIiqd3
via KITCHEN MASALA
Tuesday, March 3, 2020

Ripe nendran banana chips, Nendran pazham chips

Ripe nendran banana chips recipe mildly sweet chips made with a variety of banana popularly known as nendran.

I love sweet chips more than the normal salted ones and this ripe nendran banana chips tops the list.So when I got this ripe nendran banana this came to my mind to try and it came out soo tasty and crispy.

Print

Ripe nendran banana chips

Ripe nendran banana chips sweet chips made with rippended nendran banana
Author Sharmilee J

Ingredients

  • 5 nos Ripe nendran Banana
  • Coconut oil as needed to deep fry

Instructions

  • Slit the edges and peel off the skin.Repeat to finish.
  • Cut into thin slices...as thin as possible.Don't use a slicer for ripe banana as it may stick and the slices will not come perfect.
  • Heat coconut oil, add the slices in batches.Fry in medium high flame.
  • Flip over and fry until reddish brown(should be crisp).Drain and add next batch.Repeat to finish.
  • Cool down then store in airtight container.

How to make ripe nendran banana chips

  1. Slit the edges and peel off the skin.Repeat to finish.
  2. Cut into thin slices…as thin as possible.Don’t use a slicer for ripe banana as it may stick and the slices will not come perfect.
  3. Heat coconut oil, add the slices in batches.Fry in medium high flame.
  4. Flip over and fry until reddish brown(should be crisp).Drain and add next batch.Repeat to finish.
  5. Cool down then store in airtight container.

Mildy sweet and crispy snack ready for tea time!

The post Ripe nendran banana chips, Nendran pazham chips appeared first on Sharmis Passions.


from Sharmis Passions https://ift.tt/3aqBRLy
via KITCHEN MASALA
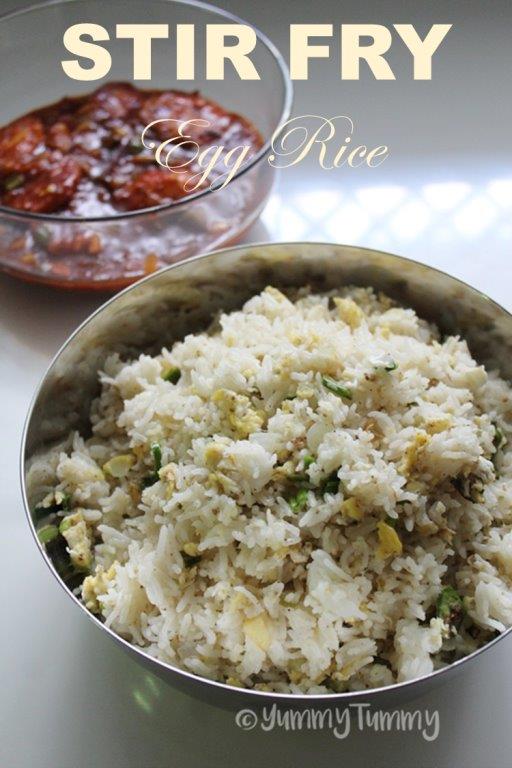
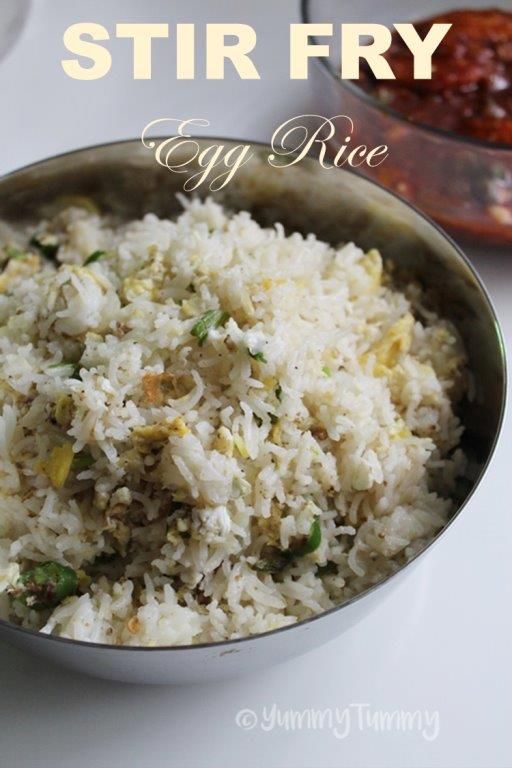
Stir Fry Egg Rice Recipe

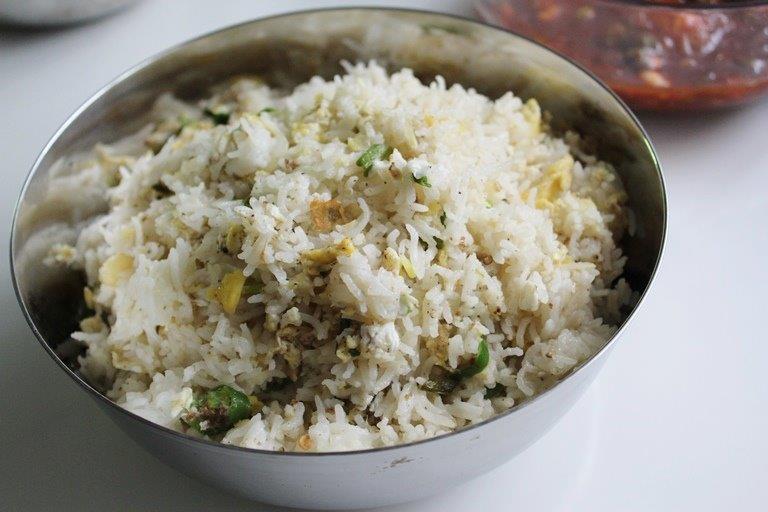
Stir Fry Egg Rice with Step by Step Pictures.

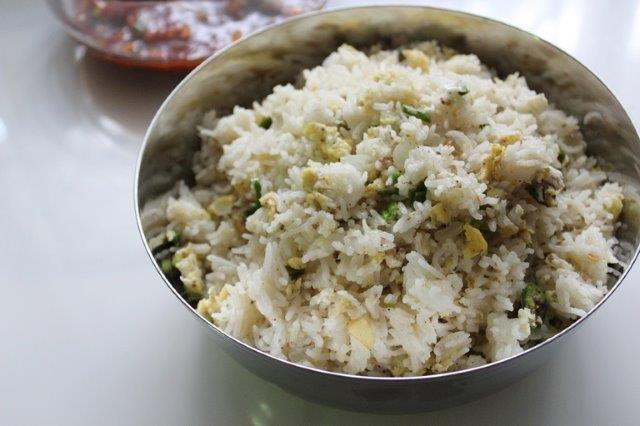
Egg rice has very simple seasoning as salt and pepper in it and no other seasoning. This rice is super delicious and taste so healthy. It makes a great lunch box recipe as well.

Tips to make best fried rice.

1)Always use cooled rice, fridge cold rice is best.

2)Cook rice a day in advance and store in fridge, This rice is best for fried rice.

3)Always cook fried rice in high heat.

4)Serve fried rice piping hot.

Similar Recipes,
Jeera Pulao
Soya Pulao
Shahi Pulao
Jeera Veg Pulao
Beetroot Pulao

Hope you will give this a try and let me know how it turns out for you.

Thai Sausage Fried Rice

Stir Fry Egg Rice Recipe
 
Prep time
Cook time
Total time
 
Stir Fry Egg Rice taste so delicious when served hot with some spicy curry. This rice is super good for lunch box as well.
Author:
Recipe type: Main
Cuisine: Chinese
Serves: 2 servings
Ingredients
  • Basmati Rice - 1 cup
  • Oil - 3 tblsp
  • Garlic - 2 tblsp chopped finely
  • Spring Onion - 2 chopped finely
  • Green Chillies - 2 chopped finely
  • Egg - 3 to 4
  • Salt to taste
  • pepper to taste
Instructions
  1. Cook basmati rice till done. Set aside to cool.
  2. Heat oil in a wok. Add in spring onion, garlic and chillies.
  3. Add in eggs and scramble lightly.
  4. Add salt and pepper and mix well.
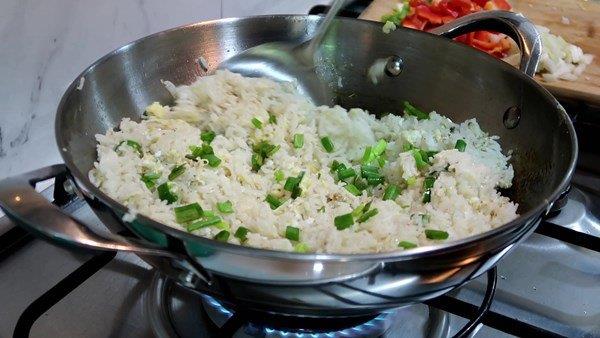
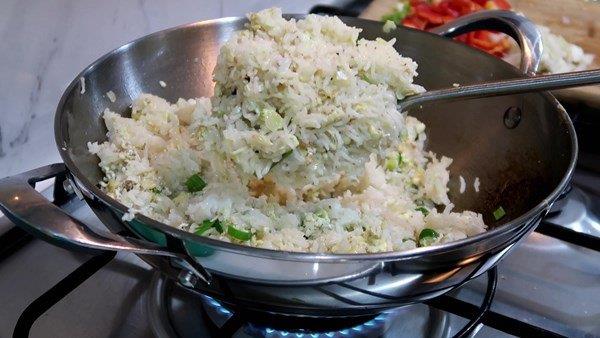
  5. Add in cooked rice and toss well.
  6. Add spring onion and mix well.
  7. Serve


Pictorial:

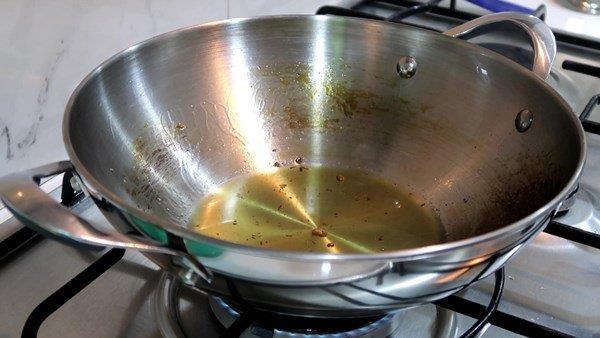
1)Heat oil in a wok

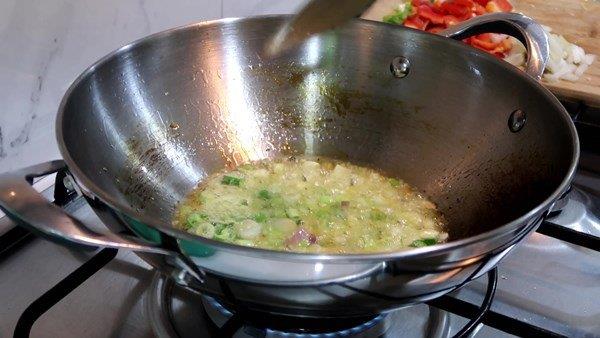
2)Add in chopped garlic, spring onions and green chillies

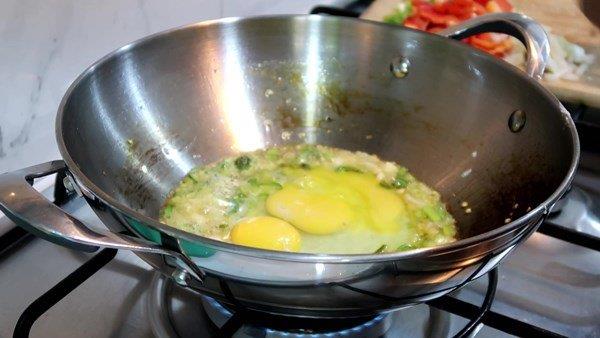
3)Stir fry for a min. Then add in eggs

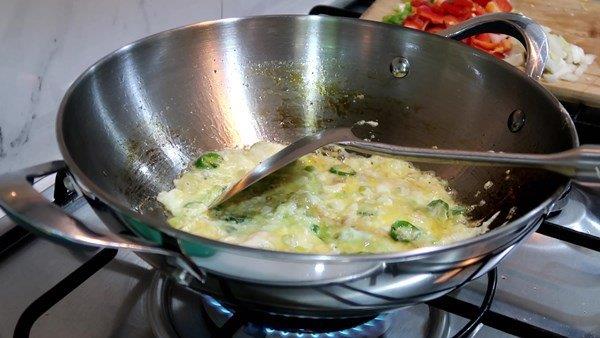
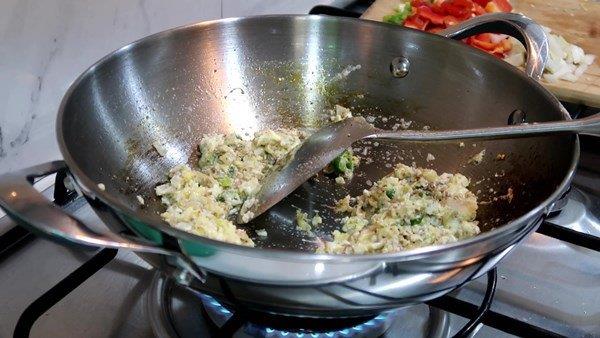
4)Scramble it.

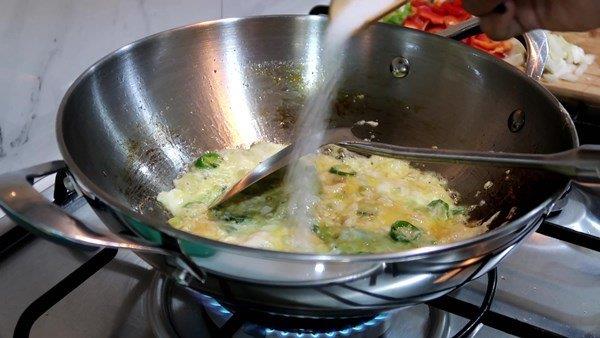
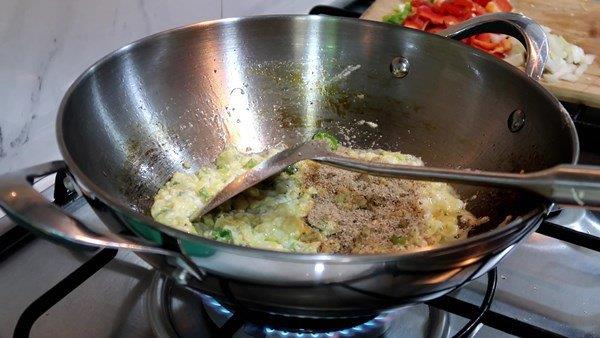
5)Add salt to taste

6)Add in black pepper powder

7)Mix well

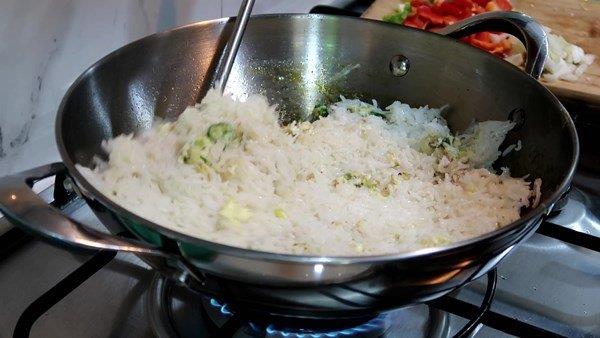
8)Add in rice

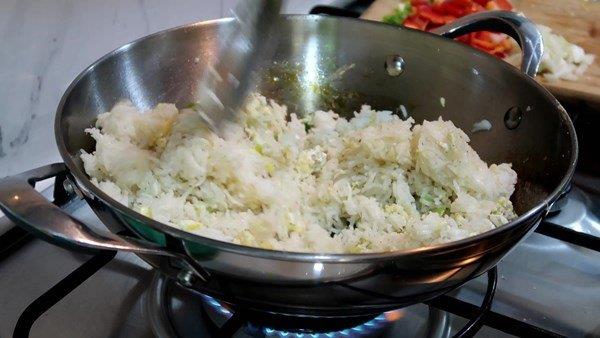
9)Toss well

10)Add in spring onion

11)Mix well and serve

12)Enjoy

The post Stir Fry Egg Rice Recipe appeared first on Yummy Tummy.


from Yummy Tummy https://ift.tt/2VI1m7g
via KITCHEN MASALA